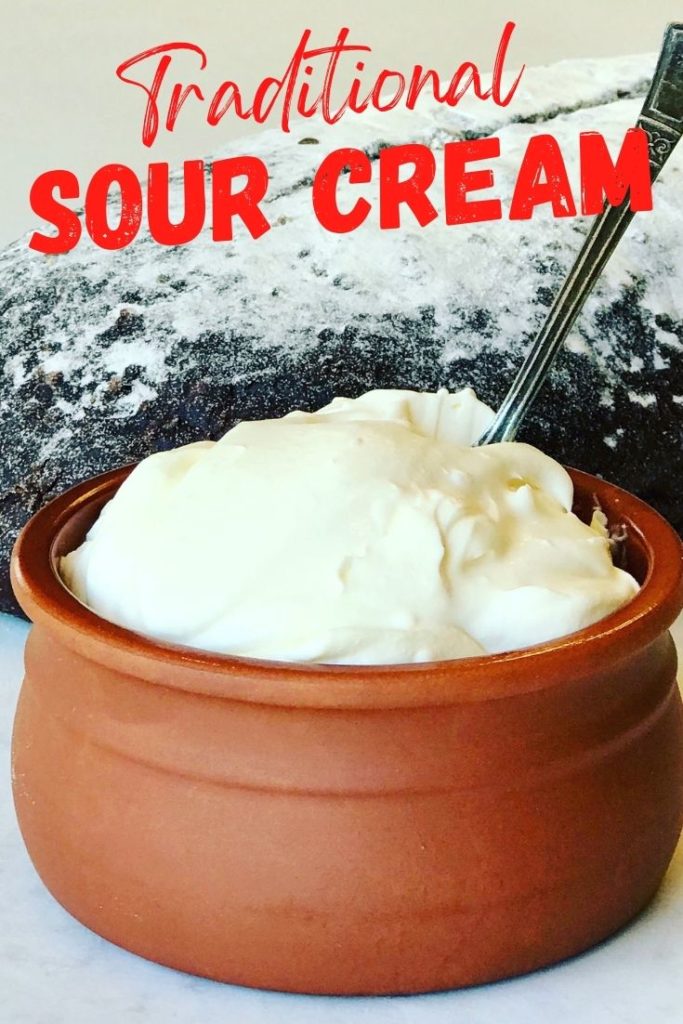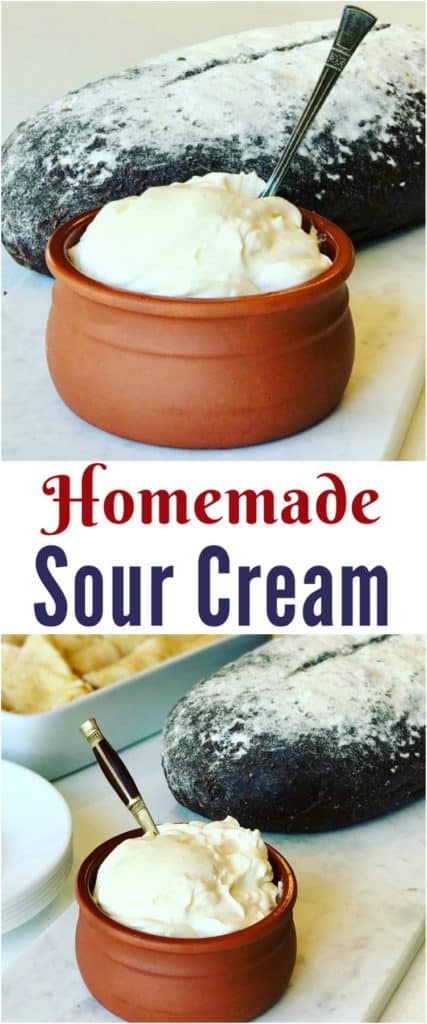
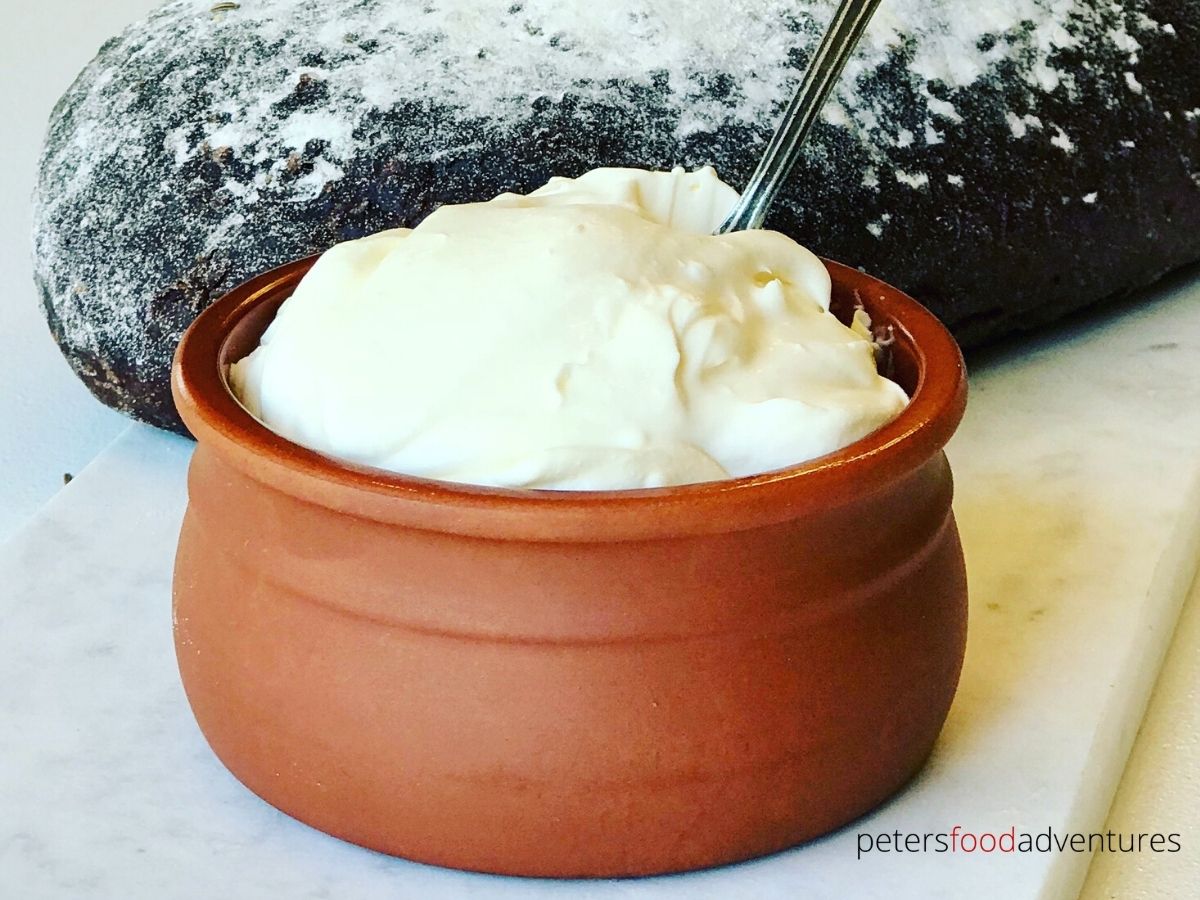
Ever wondered how to make Homemade Sour Cream? Full of probiotics, no preservatives and easy to make. Perfect for Pierogi, Chicken Stroganoff or Cabbage Rolls, everyone will love traditional sour cream! Try these 4 different methods to make Russian sour cream.
Sour Cream Origins
The original Russian name for sour cream is Smetana (Сметана). Creamier and tastier than sour cream you buy in a store. It's a delicious Russian export!
Yup, Sour Cream has it's origins in Russia/Eastern Europe and is called Smetana. It's a staple in all Slavic and Russian meals. It wasn't really discovered in 'the West' until the early 20th century, although popular across Eastern Europe.
How Traditional Smetana is Made
I remember watching my grandmother making traditional homemade Smetana in her kitchen. Smetana was originally made by allowing natural farm milk to ferment for a few days in a warm room or oven. Natural farm milk has more cream in it compared to what you buy in the store, which makes great Smetana. My grandma always had farm milk, but would separate the milk and cream, then let the cream ferment to make Smetana. Using cream is tastier than using milk.
Lacto-fermentation turns the top layer into thickened Smetana or Soured Cream. You would then 'smetat' (сметать) or sweep the top off, which led to the word Smetana or Sour Cream. You could still use this method, but is sometimes unpredictable.
Nowadays, Smetana usually involves adding a culture to milk, allowing it to ferment. In Russian, it's called zakvaska (закваска) which is a fermentation starter full of probiotics you can buy. I use a natural probiotic rich Greek Yogurt to make sour cream. You can also use some Russian Smetana or Homemade Sour Cream from a previous batch to kick start this batch. Simply allow to lacto-ferment for a day or two, and there you have it!
Fake Sour Cream
The sour cream we buy in stores isn't really sour cream, but just a starch thickened milk product. It's quite hard to find authentic sour cream without thickeners in stores. You'd never buy yogurt that doesn't have probiotics. I think many people don't even realise that sour cream is supposed to be full of probiotics!
Many sour cream recipes aren't really sour cream at all! (certainly not in the traditional sense). I call these fake sour cream recipes. They ask you to add lemon juice and vinegar, some ask you to whip it like whipped cream, and most of them have no probiotics. Boy, am I glad you came here to read about different ways to make real sour cream!
How to make Sour Cream - 4 Methods
Sour Cream Made From Heavy Cream
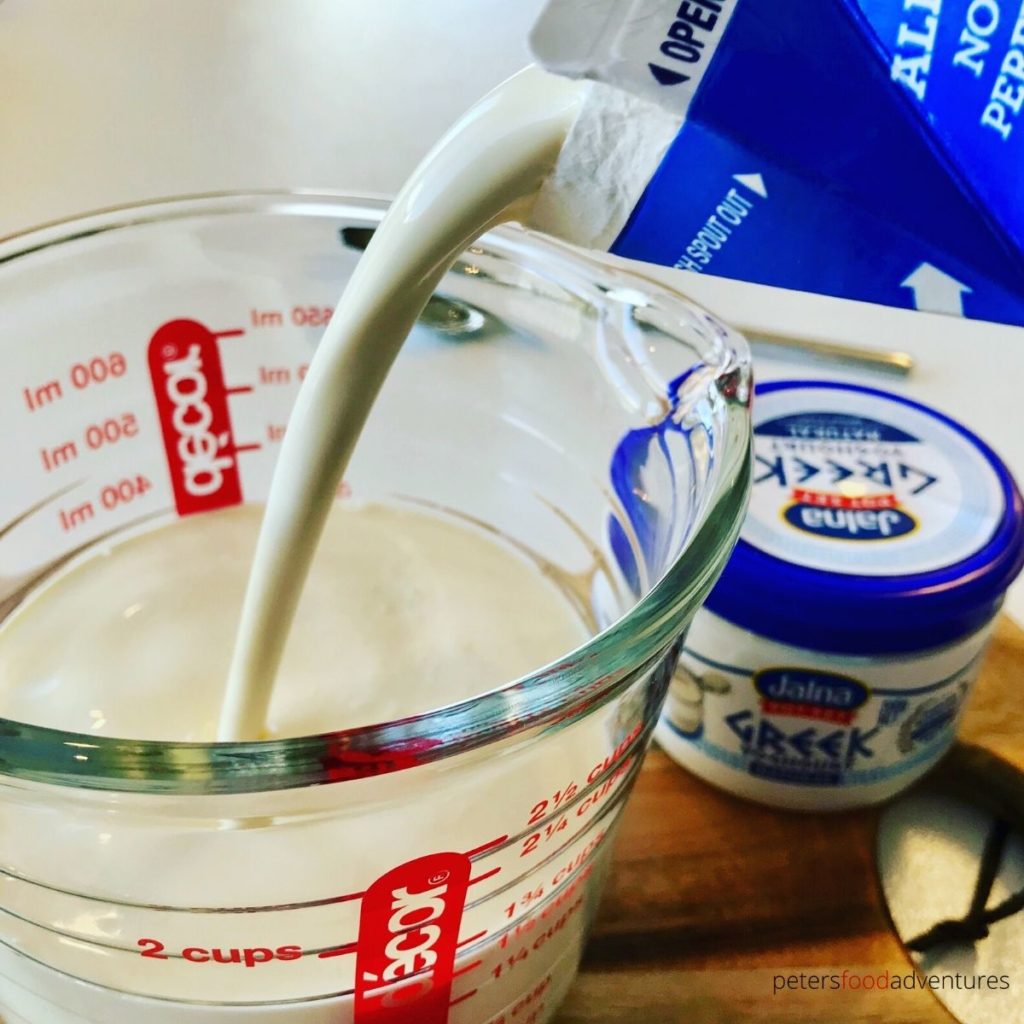
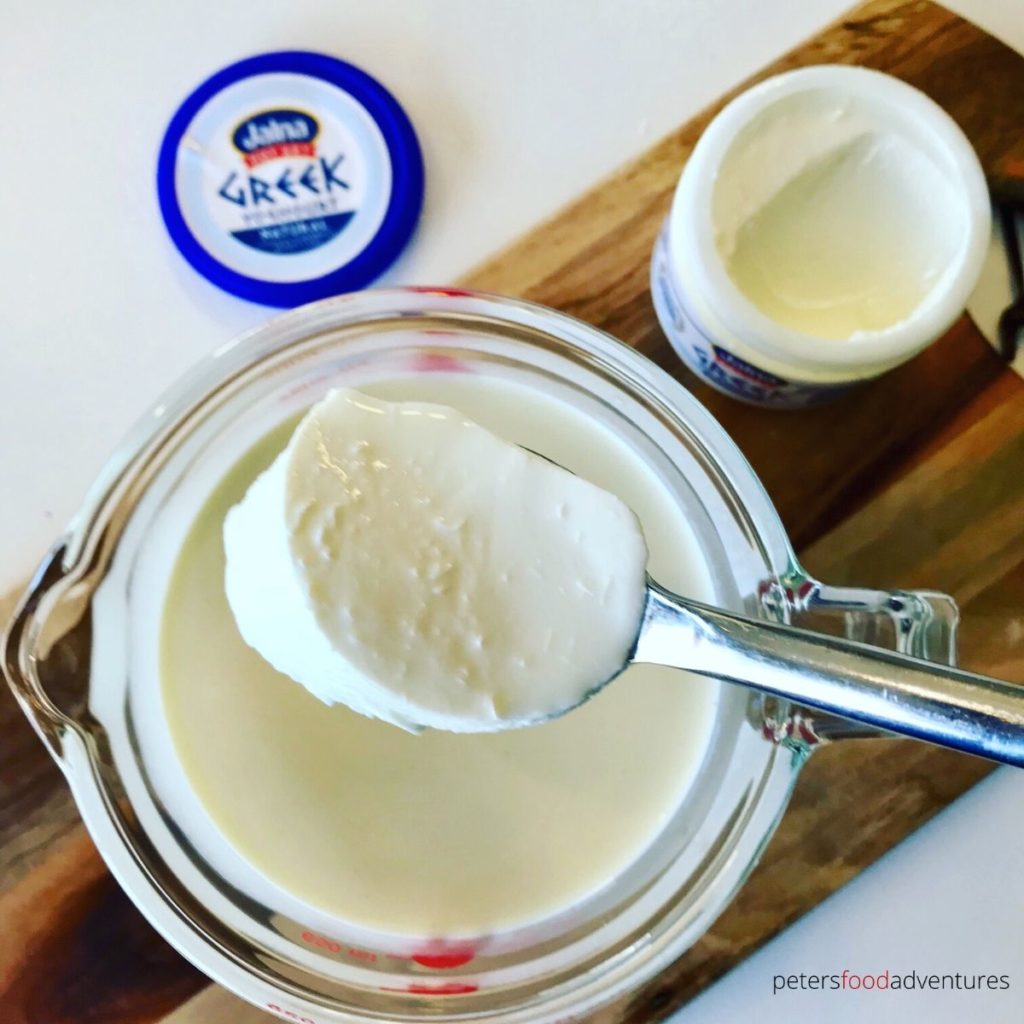
This is my preferred method of making homemade Sour Cream. I always use a natural, probiotic rich, Greek Yogurt that isn't thickened with gelatine or has added sugars. (read your labels!). You can also use some Russian Smetana or Homemade Sour Cream from a previous batch to kick start this batch. You also need a heavy cream or whipping cream with the highest fat content.
- Warm the whipping cream to no higher than 104°F/40°C degrees
- Whisk together ⅓ of the warmed cream and the Greek Yogurt until lump free
- Add all the ingredients together into a jar and cover with a cheesecloth
- Leave in a warm place for 24 to 48 hours until it thickens
- Refrigerate for 12 hours before using
Sour Cream Made from Milk
This is the most economical way to make homemade sour cream. It's best when you have unprocessed milk from the cow, however that's hard to find. Use the highest cream % milk you can find.
Some people even melt a tablespoon or two of butter into the milk to increase the fat content to make this budget sour cream. This version tastes much better if making sour cream with Heavy Cream instead of milk (but will end up costing more).
- Bring the milk to a boil in a pot and allow to cool until it's warm, again around 104°F/40°C degrees
- Whisk in Buttermilk or Kefir, close lid of the pot and cover it with a towel or blanket to keep warm
- Leave on counter for about 7 hours until it resembles a thick yogurt
- Line a colander with several layers of cheesecloth and place inside a bowl
- Pour the fermented milk into the colander, cover and refrigerate for about 8 hours, giving it the occasional stir.
- The whey separates into the bowl, leaving the sour cream inside the colander.
- To ensure the sour cream is smooth, whisk by hand, adding extra milk if it's too thick
- Place in a sterilized glass jar and refrigerate until you're ready to use
Sour Cream Made from Kefir
Kefir is a Russian and Slavic staple, so it's used in so many recipes. It's found in every Russian grocery store, and isn't as expensive there as it is here. Kefir is rich in probiotics, which translates to a fantastic, healthy homemade sour cream.
- Line a colander with 7 or 8 layers of cheesecloth and place in a bowl
- Pour the Kefir into the colander and place it into the fridge for about 8 hours
- Whisk to ensure there aren't any lumps, place in sterilized glass jar keep refrigerated
Sour Cream Made from Starter
You can buy Sour Cream Starter in some health food stores or online. In Russian, this is called Zakvaska.
- Whisk Sour Cream Starter with heavy cream until it's combined (about 2 minutes)
- Pour into a glass jar, cover with cheesecloth so it breaths, and place in a warm, dark place for 12 hours
- Place in fridge for a few hours before using
How Can I Use Leftover Whey?
When you have leftover whey, DON'T THROW IT OUT! It's high in protein, has low lactose and is nutritious. When I make homemade Farmer's Cheese or Homemade Sour Cream, there is usually leftover whey. I usually keep it in the fridge and use it the next day. Here are some tips to use.
- Blini - Russian Crepes - substitute some milk or water with whey
- Breakfast - add it to your morning oatmeal for breakfast
- Smoothies - blend it with your fruit smoothie for extra protein
- Baking - substitute milk or water with whey
- Soups - Mix it into your homemade soups
- Fermenting - Add leftover whey to your ferment when making pickles or sauerkraut
- Freeze it - until you're ready to use it
Recipe Tips and FAQs
- Skip the Curdling Method - make traditional homemade sour cream, don't waste your time on the lemon/vinegar versions which will curdle when added to soups
- Add Herbs - flavor sour cream by mixing in fresh herbs like chopped dill or chopped chives
- Smell it - if you are ever unsure about the safety of your lacto-fermentation, trust your nose. If in doubt, throw it out. Dairy products aren't that expensive. Sterilise your glass jars, start again
- Keep the Fats - don't use low fat milk or light cream. The sour cream will be thin and lack depth in flavor
- Cheesecloth - when fermenting, always allow your sour cream to breath with a cheesecloth. Only close with a lid when it's finished fermenting and you are storing it in the fridge
- Sourness - The longer the sour cream ferments, the more the bacteria is multiplying, equals more sour in your sour cream. When you're happy with your desired sourness, place in the fridge to slow down the fermentation
How Long Can I Store Sour Cream?
When kept in the refrigerator, I usually get 7-10 days for my homemade sour cream. Some people report longer. When I make it, I usually eat it all up pretty quickly, it's so good!
Is Sour Cream the Same as Creme Fraiche?
This sometimes is an easy confusion as they are both very similar, and made in a similar way. The main difference is that Sour Cream is lower in fat content (20% fat) and tastes more sour. 🤣 Creme Fraiche has a higher fat content (30%+ fat) and has a milder taste. Both milk products should be soured with bacterial culture.
Recipes that Love Smetana
- Pelmeni Dumplings
- Borscht
- Vareniki Dumplings with Tvorog
- Blini Pancakes
- Shchi Cabbage Soup
- Cheese Blintzes
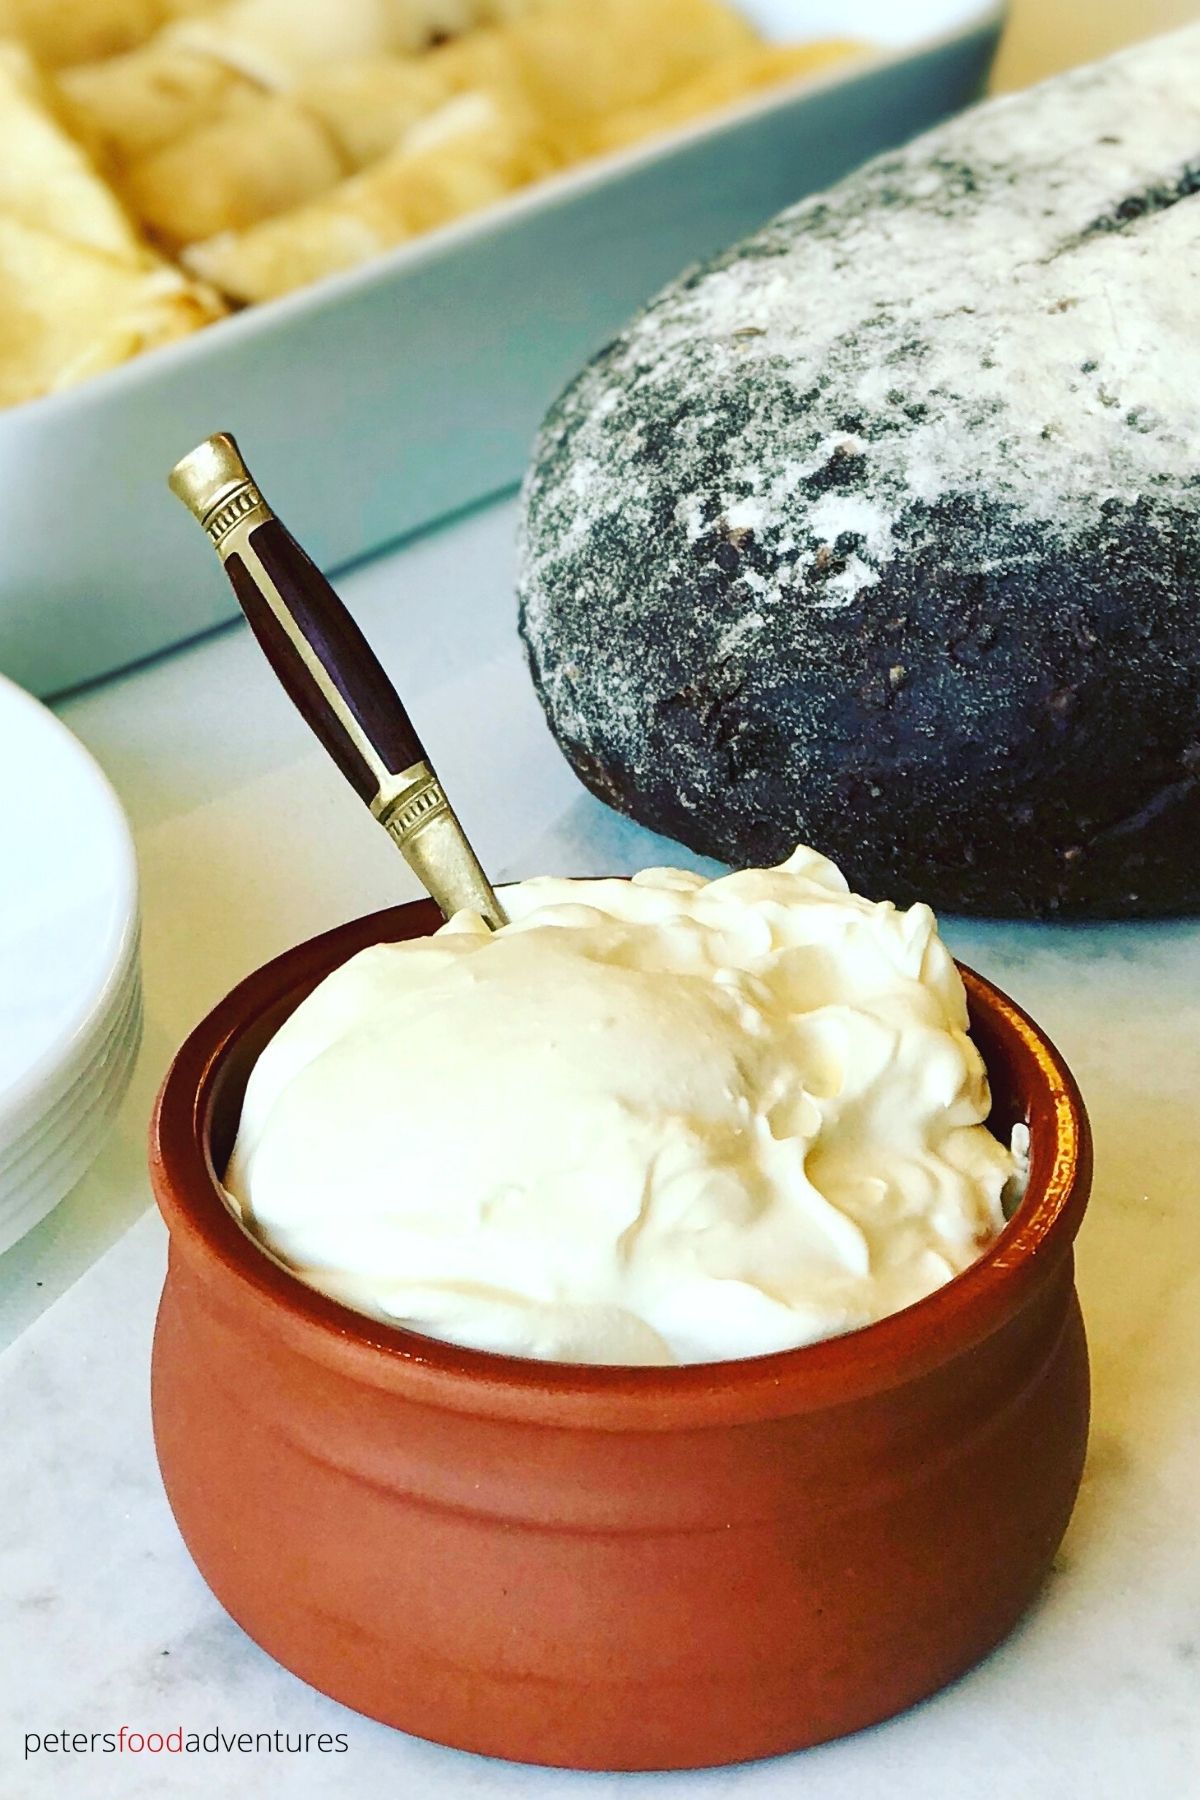
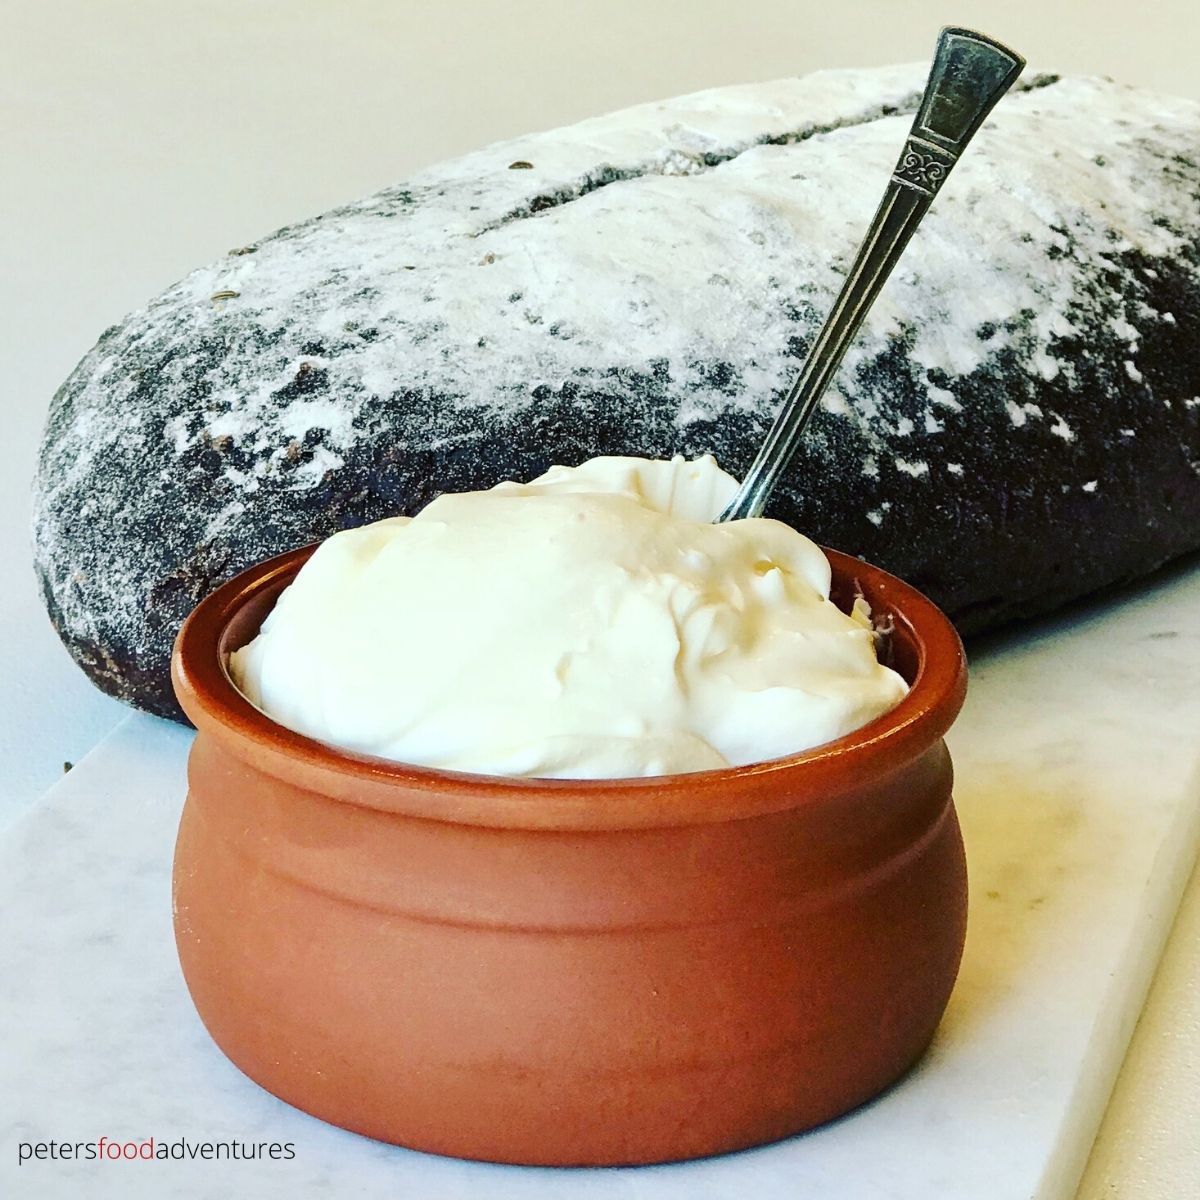
This is an authentic Sour Cream or Smetana recipe, that's easy to make, authentic, with no thickeners, and full of probiotics. Perfect for eating, baking or cooking. These are the best reasons to make your own homemade Russian Sour Cream or Smetana (Сметана). Bon Appetit! Приятного аппетита!
Equipment
- colander for Kefir and Milk Method
Ingredients
Sour Cream Made with Whipping Cream
- 2 cups Whipping Cream with high butter fat (heavy cream)
- 2 tablespoons natural yogurt or homemade Sour Cream
Sour Cream Made with Milk
- 32 oz milk or 1 litre
- 4 tablespoons Buttermilk or Kefir
Sour Cream Made with Kefir
- 32 oz Kefir or 1 litre
Sour Cream Made with Starter
- Whipping Cream
- Sour Cream Starter
Instructions
Sour Cream Made with Whipping Cream
- It's best to warm the whipping cream, to slightly warmer than room temperature, but not hot! You can either warm in a pot and pour into a jar, or pour into a jar and warm in a pot of water. Either way, place the warmed cream into a mason jar.
- In a small bowl, mix together the yogurt and about ⅓ cup of whipping cream until smooth and all lumps are gone. This will break up the thick yogurt, allowing for even distribution through the whipping cream. Add the whipping cream jar and mix.
- Cover the jar with a cheesecloth and leave in a warm spot for 24-48 hours. In summertime, the warmer house temp should be enough. In winter, place in a warmed oven. Don't leave oven on!
- The sour cream is ready when it is thick and creamy. It will thicken as you cover with plastic film and refrigerate for 12 hours before serving. Enjoy.
Sour Cream Made with Milk
- Bring the milk to a boil in a pot and allow to cool until it's warm, again around 104°F/40°C degrees
- Whisk in Buttermilk or Kefir, close lid of the pot and cover it with a towel or blanket to keep warm
- Leave on counter for about 7 hours until it resembles a thick yogurt
- Line a colander with several layers of cheesecloth and place inside a bowl
- Pour the fermented milk into the colander, cover and refrigerate for about 8 hours, giving it the occasional stir
- The whey separates into the bowl, leaving the sour cream inside the colander
- To ensure the sour cream is smooth, whisk by hand, adding extra milk if it's too thick. Place in a sterilized glass jar and refrigerate until you're ready to use
Sour Cream Made with Kefir
- Line a colander with 7 or 8 layers of cheesecloth and place in a bowl
- Pour the Kefir into the colander and place it into the fridge for about 8 hours
- Whisk to ensure there aren't any lumps, place in sterilized glass jar keep refrigerated
Sour Cream Made with Starter
- Whisk Sour Cream Starter with heavy cream until it's combined (about 2 minutes)
- Pour into a glass jar, cover with cheesecloth so it breaths, and place in a warm, dark place for 12 hours
- Place in fridge for a few hours before using
©PetersFoodAdventures.com