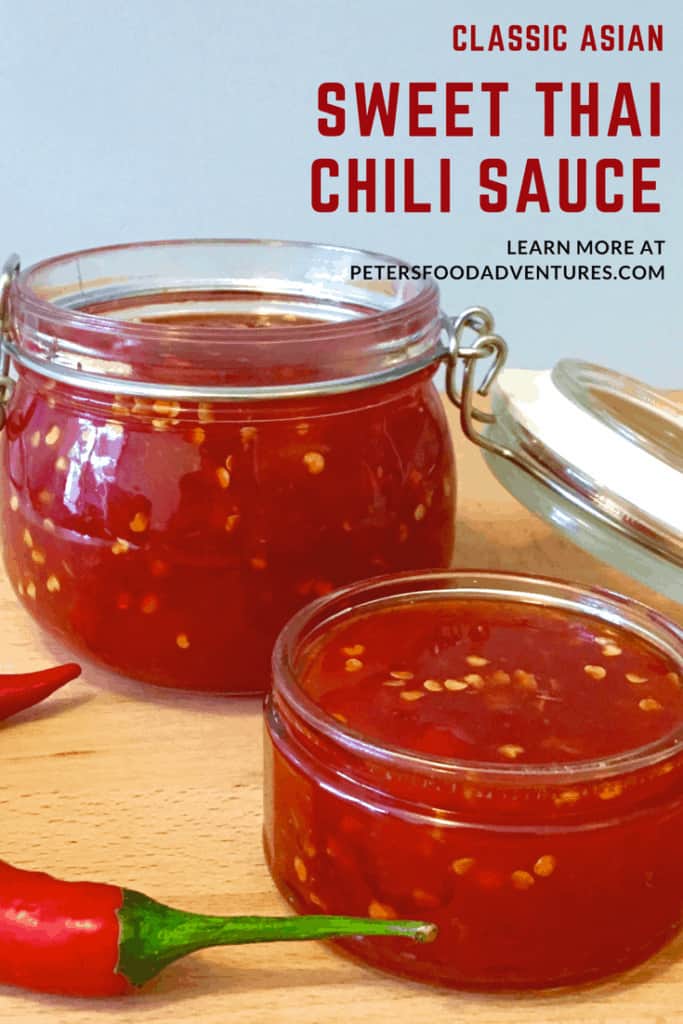
Homemade Thai Sweet Chili Sauce is much tastier than store-bought! So much flavor with spicy red peppers, garlic and ginger. It's perfect as a marinade or dipping sauce!
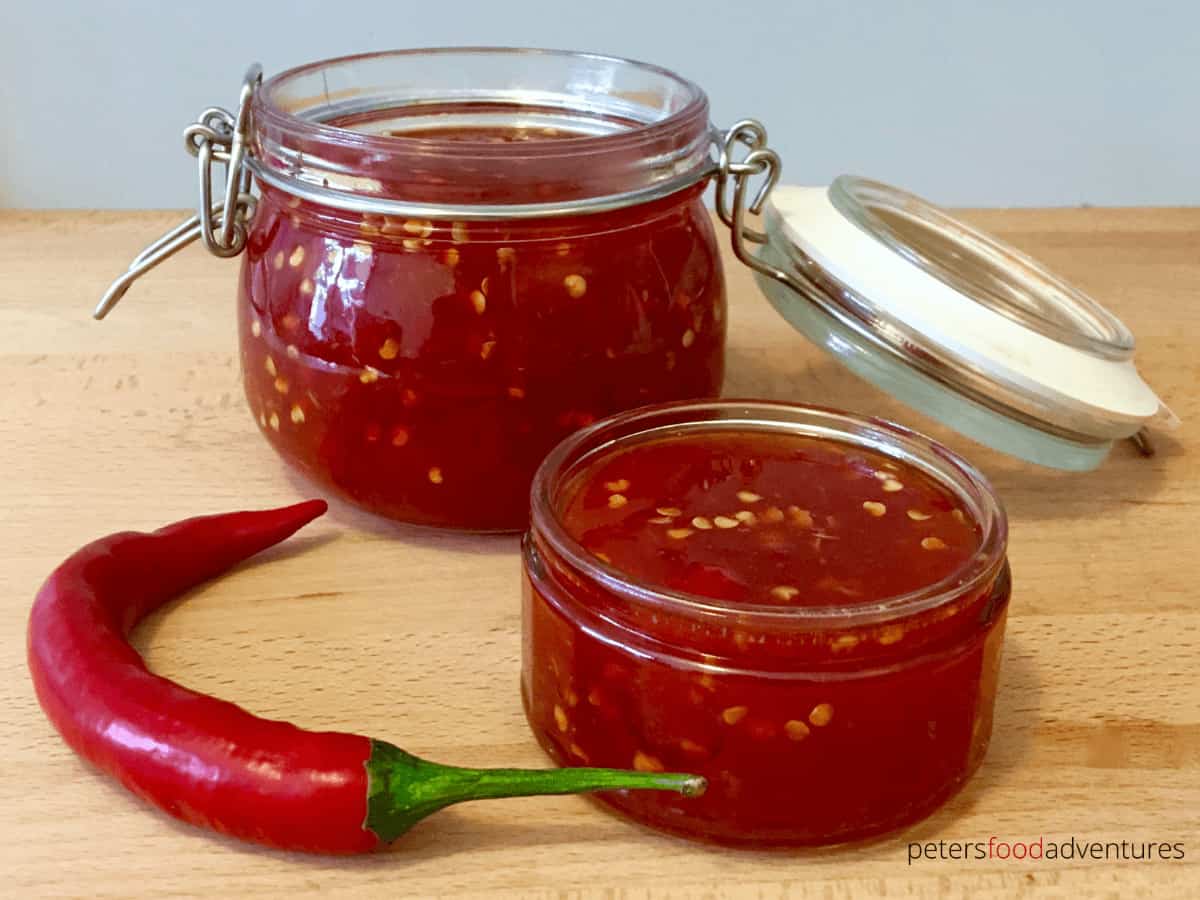
I love sauces, especially this Thai Sweet Chili Sauce, which is the same thing as Sweet Chili Sauce. I've been told I drown my food in sauces, but I can't help it, I really love sweet and spicy sauces like Mango Chili Sauce.
I remember the first time I had Thai Sweet Chilli Sauce, it was here in Australia. We were invited to a bbq, where I ate the most delicious bbq grilled chicken. They told me it was marinated in a Sweet Chili Sauce, and simply bbq'd on a grill. It was so easy, I was hooked.
I soon discovered that it was commonly used as a dipping sauce for chicken nuggets and chicken strips. Even Australian McDonald's and every fast food restaurant has Sweet Chilli sauce for dipping as an option. Here are my favorite recipes to enjoy Sweet Chili Sauce.
- Thai Pineapple Fried Rice
- Asian Lettuce Wraps
- Air Fryer Potato Wedges
- Thai Cauliflower Fried Rice
- Salt and Pepper Shrimp
It's pretty common to buy a large bottle of Sweet Chili Sauce available in all Asian supermarkets, but it's much tastier when you make it at home. Some people might know it by a brand name, Mae Ploy, which is available all around the world. In Thai, it's known as nam chim, which translates into "dipping sauce for chicken".
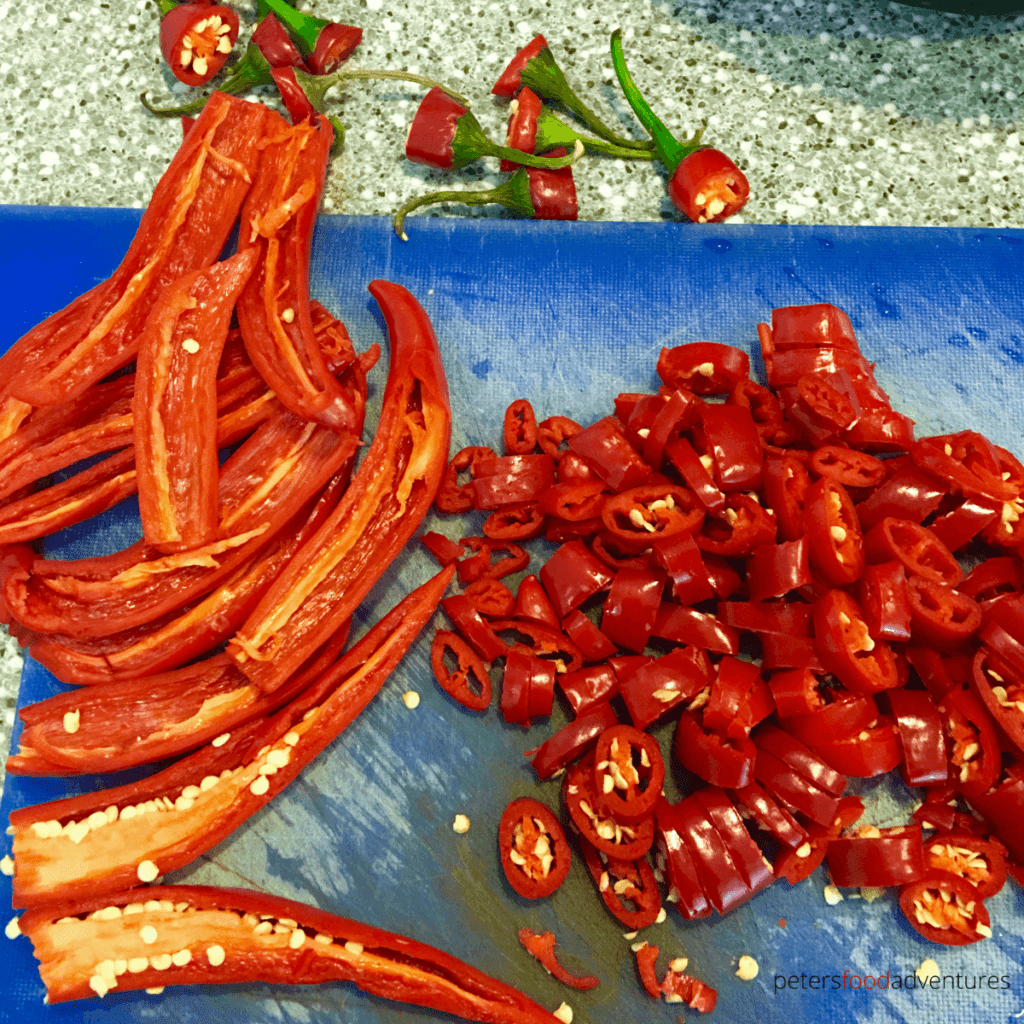
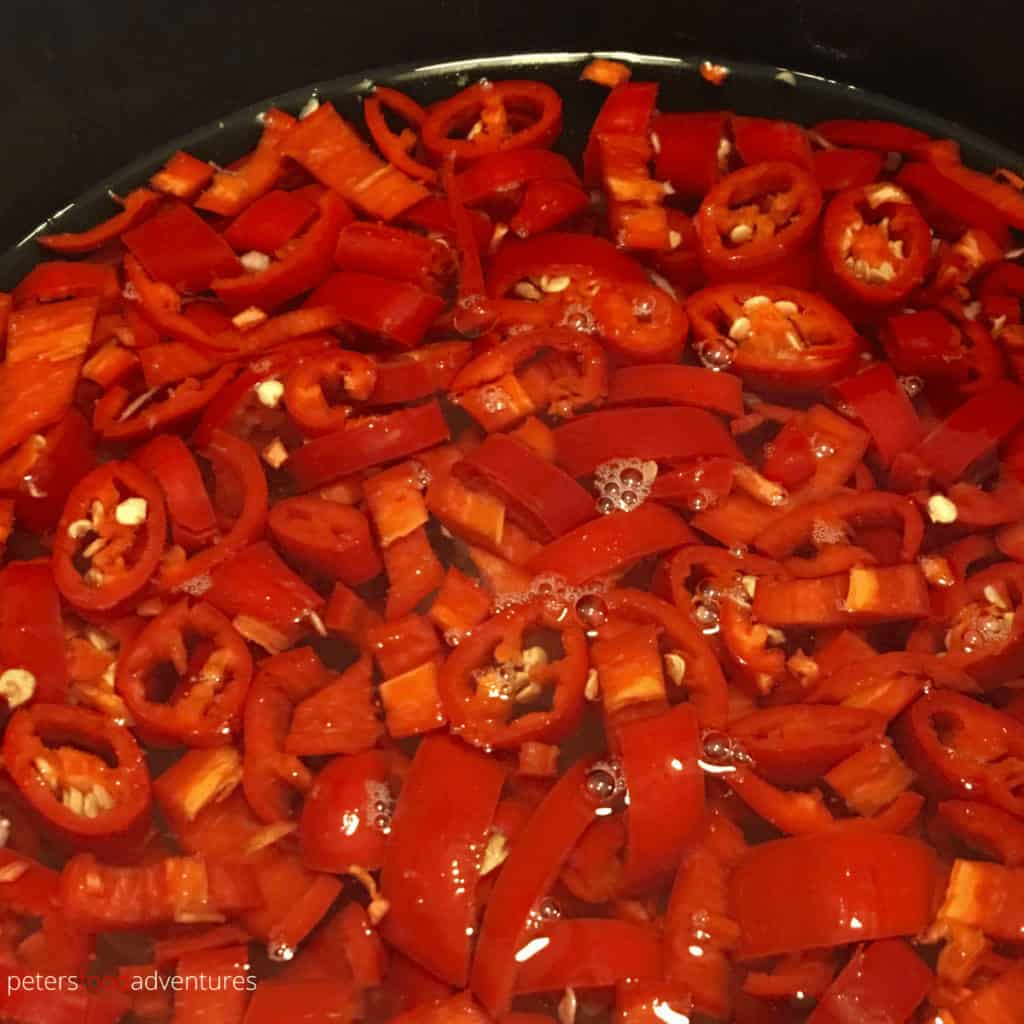
Which Chili Peppers do I use?
Thai Sweet Chili Sauce (น้ำจิ้มไก่ nam chim) is really not hard to make, and only takes about an hour. I'm lucky that I have red Thai chilli peppers growing in my garden, also known as Bird's Eye Chilis. These peppers are much spicier than Jalapeños, but about half the heat of Habanero Peppers.
If you want to substitute with other peppers, check how they rank on the Scoville unit scale. It's best made as intended, by using Bird's Eye Chili Peppers. And you don't need a lot of peppers, this recipe uses only a ½ pound or 250 grams.
You decide the amount of heat in the sauce by the amount of chilli seeds you leave in the peppers. I deseeded half of my peppers for this recipe. If you want it milder, then only keep the seeds of 1 or 2 peppers in the recipe. It's always hard to gauge how spicy a recipe will turn out. It's not like you can bite it to test the heat of each pepper!
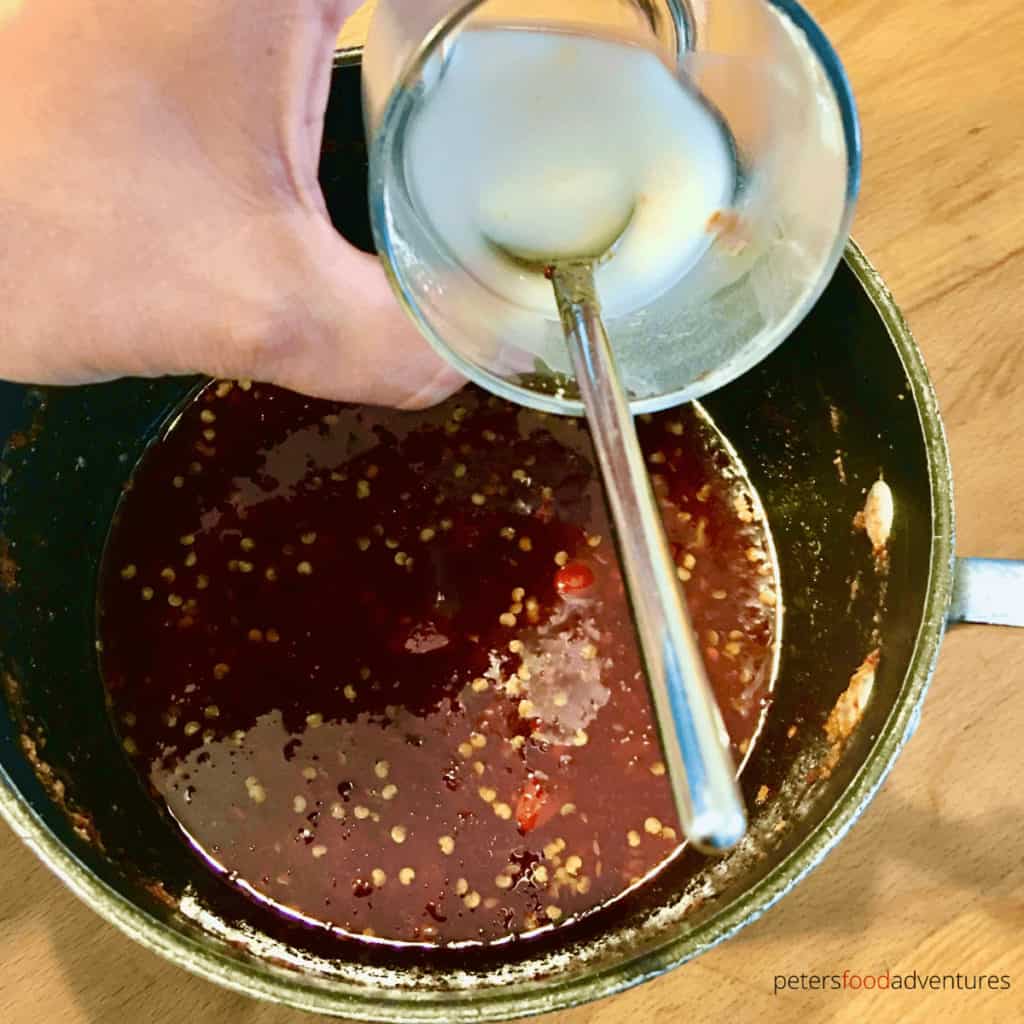
Sweet Chili Sauce Thickener
In my video, I use a Potato Starch or Potato Flour to thicken the Sweet Chili Sauce. Potato Starch is a default thickener in many countries, but harder to find in North America. You can substitute with Corn Starch, which is easily found.
However, there is a reason why I prefer to use Potato Flour as a thickener, clearer liquids. Corn Starch will make the Sweet Sauce cloudier, which doesn't look as nice. There is no difference in taste, but Potato Starch keeps liquids clear and glistening in all sauces. We use it for all our thickening needs. You can find Potato Starch in Asian grocery stores or online.
Hot Hot Hot!
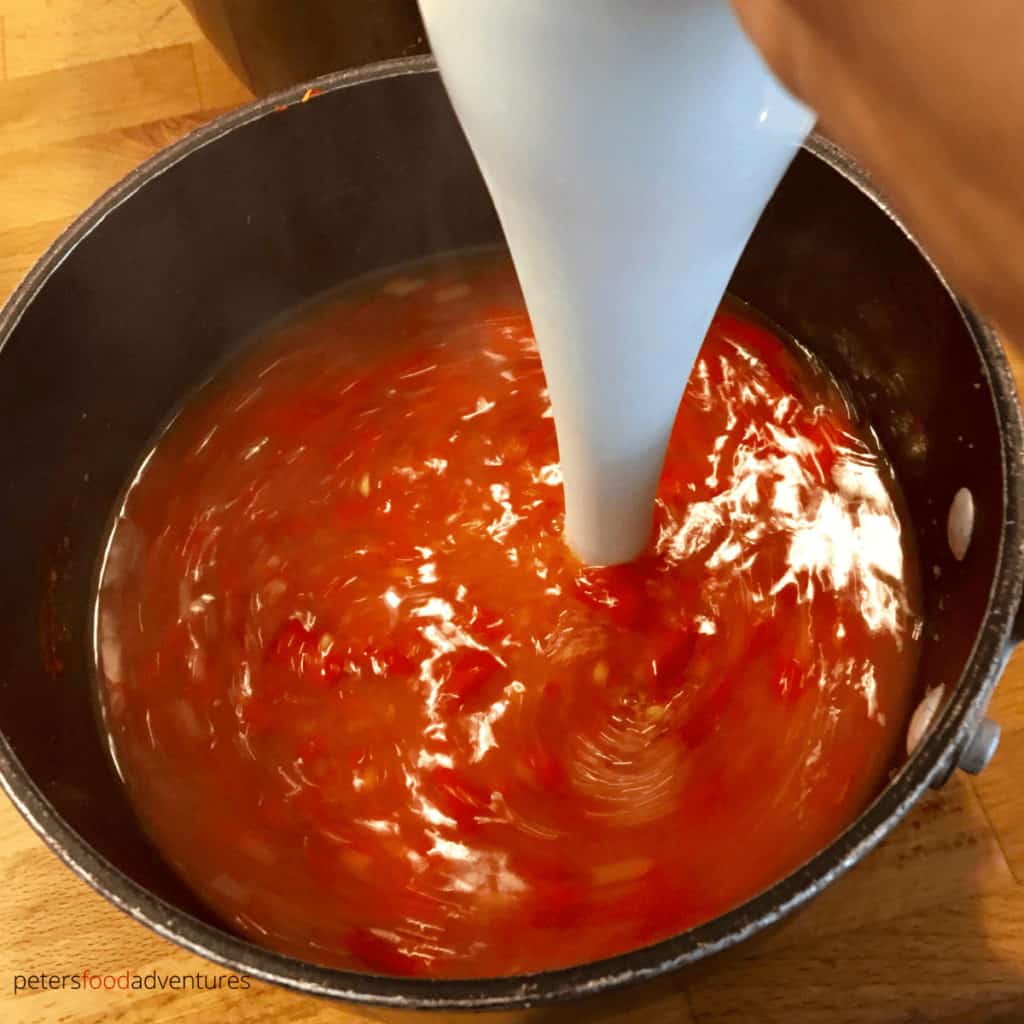
You need to be very careful when simmering and cooking the chili peppers in the vinegar mixture. The vinegar heats up and is incredibly hot, and you could burn yourself if you aren't careful. When using the stick blender to blend together the chili mixture, so it doesn't splash and burn you.
The other 'hot' is the heat of the chili peppers! Always wear disposable gloves when chopping the Red Chili Peppers. Nothing worse than accidentally touching you eyes after chopping chilis! As I mentioned, I roughly chop and de-seed about half of the peppers. It should be spicy and sweet at the same time. This recipe makes about 3 cups of sauce, so I recommend to double the recipe, you won't be sorry.
This is a vegan Chili Sauce recipe, as it should be. There is no need to add Fish Sauce, although used in Thai cooking, not necessary for this recipe. Keep it simple as the Thai people originally intended!
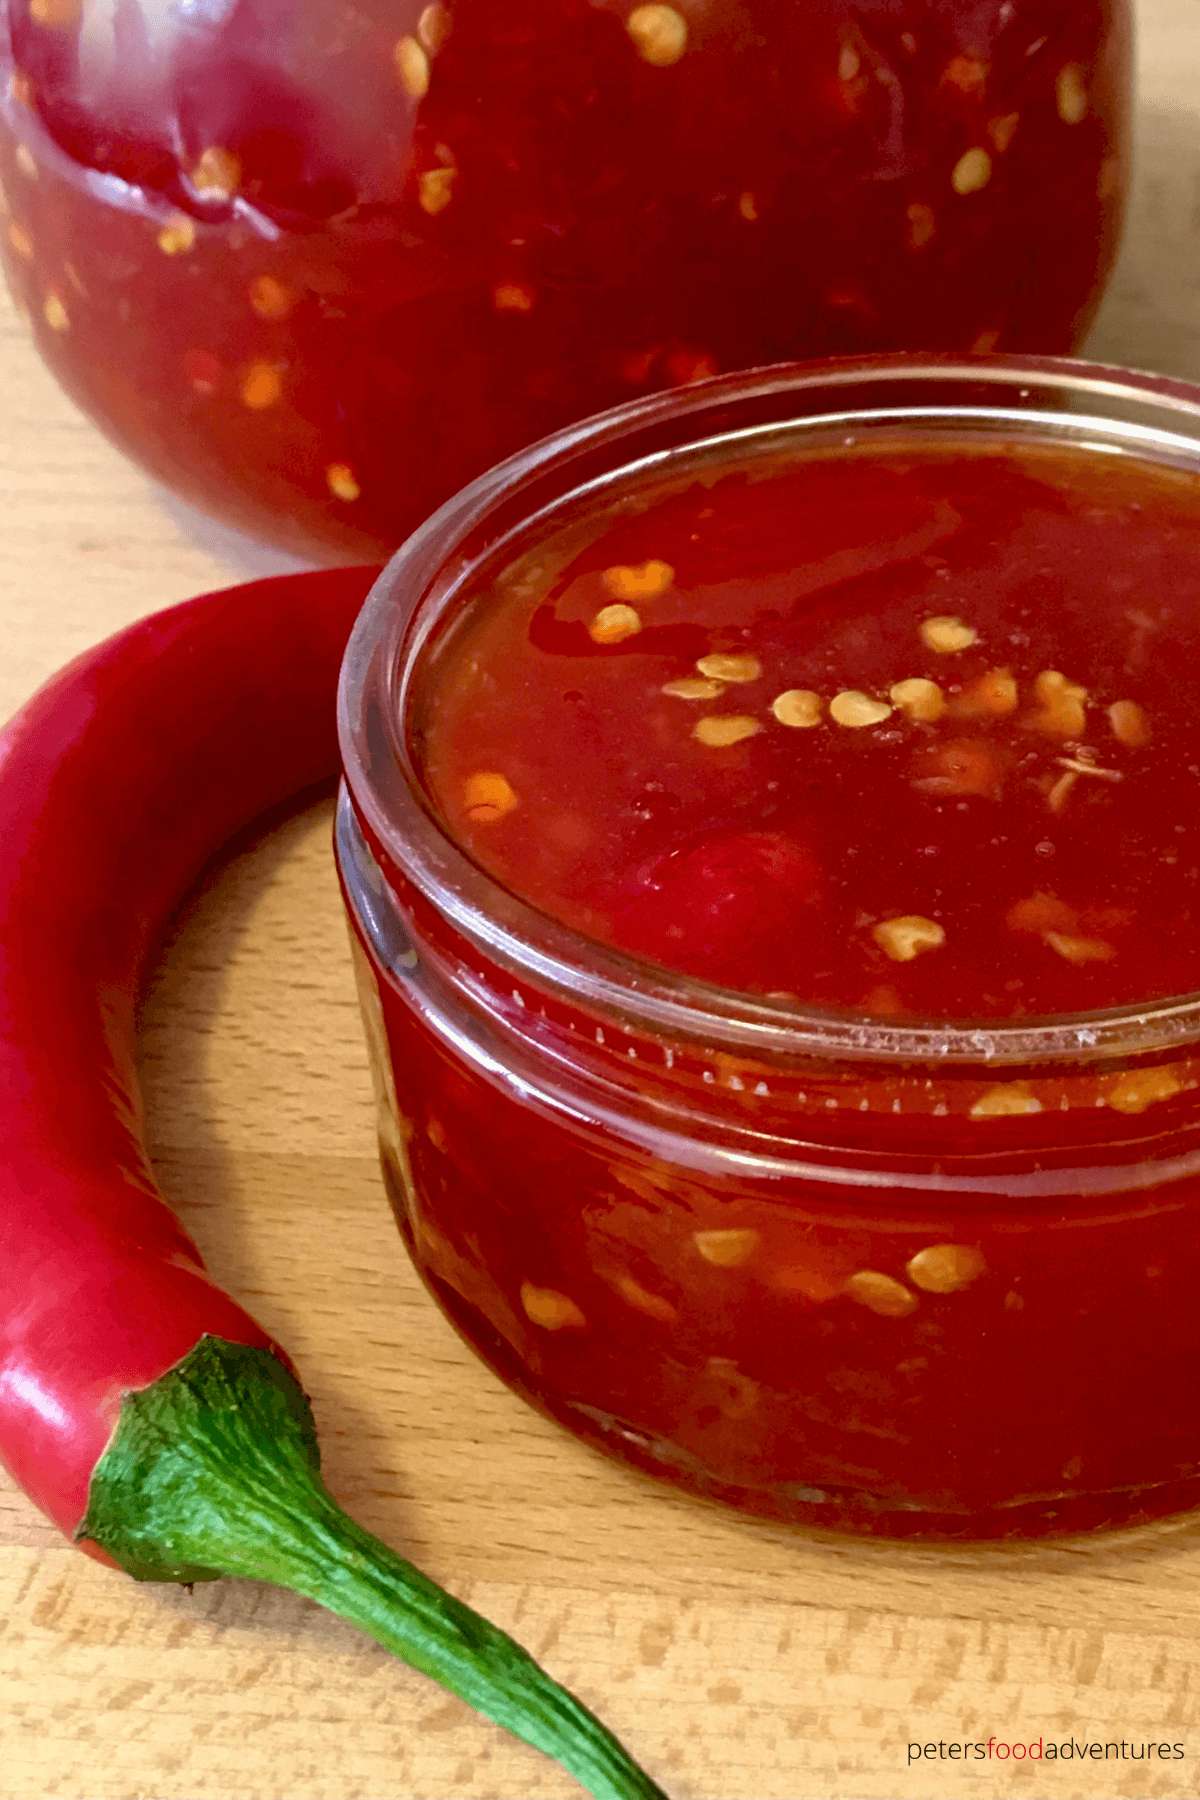
Does Thai Sweet Chili Sauce Need to be Refrigerated?
The answer to this question is yes and no. When my fridge gets too full, I pull out the sweet chili sauce and keep it in the pantry. It's been suggested that it will keep in the pantry for about 1 month unrefrigerated. When kept in the fridge, Sweet Thai Chili Sauce can last 9 months, even up to a year, if you don't eat it first!
Sauce Recipes You'll Love
- Mango Chili Sauce
- Creamy Sweet Chili Sauce
- Sriracha Mayo
- Yogurt Garlic Sauce
- Creamy Honey Mustard Sauce
- Sambal Kicap - Sweet Spicy Soy dipping sauce
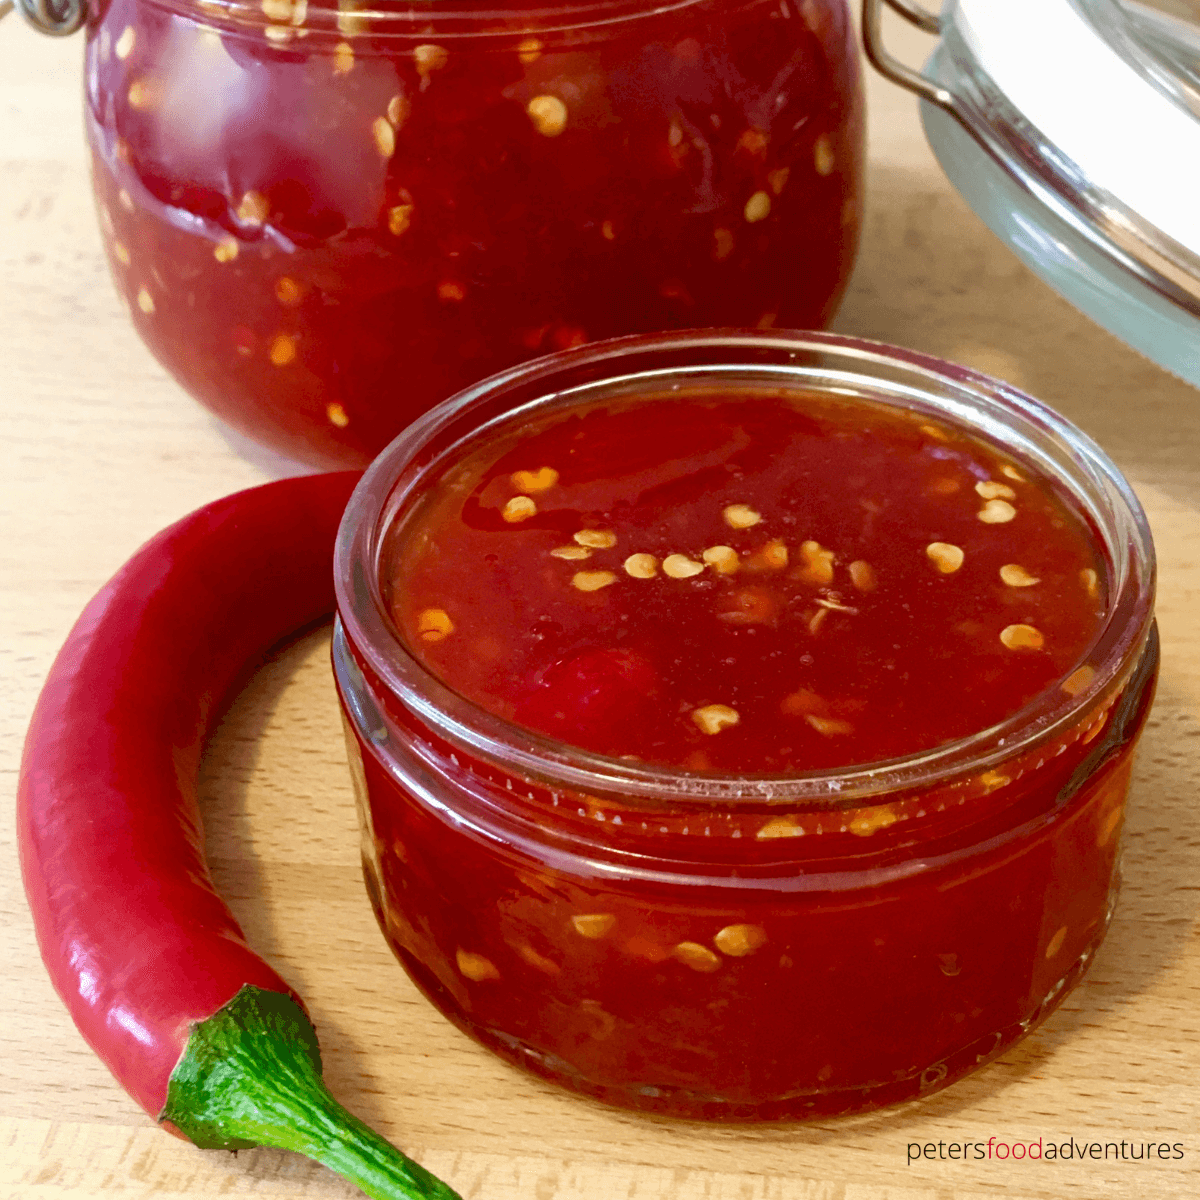
This made from scratch Thai Sweet Chili Sauce is more flavorful than store-bought. A sweet hot sauce that's perfect for boosting flavors on your dinner plate. Bon Appetit! Приятного аппетита!
Ingredients
- ½ lb /250g red Thai Chili Peppers 50/50 deseeded
- 2 cups white vinegar
- 2 cups water
- 2 cups sugar
- 6 cloves garlic minced
- 1 teaspoon salt
- 1 teaspoon grated ginger
- 1 tablespoon potato starch can use corn starch
Instructions
- Chop chilis either coarsely if you are using a stick blender, or finely if you are not. Remove the seeds from at least 50% of your chillis, which leave make this a medium/hot chilli sauce. For a mild sauce, deseed all but 1 or 2 chili peppers.
- In a pot, mix all the ingredients except the cornstarch and bring to a boil. Reduce heat ans simmer for 30-45 minutes, or until mixtures reduces by half.
- Using a stick blender, blend the vinegar mixture until it reaches desired consistency. I don't blend to death, but leave a few chunky pieces and seeds as it will continue to cook down. Be very careful, the vinegar mixture is extremely hot and you will burn yourself if any splashes on you during the blending. Alternatively, you can allow to cool for a bit before blending, or chop chilis finely, so you don't need to blend.
- Return to stove, bring back to a simmer. Take 1 tablespoon of cornstarch and mix with 2 tablespoons of cold water making a slurry. Add the corn starch slurry to the chilli sauce and cook for a few minutes until it thickens. Stir throughout and allow to cook and thicken for a few minutes. If desired thickness of sauce isn't reached, add one more teaspoon of cornstarch with 2 teaspoons of water, and repeat process.
- Allow to cool before bottling.
Video
Notes
©PetersFoodAdventures.com
