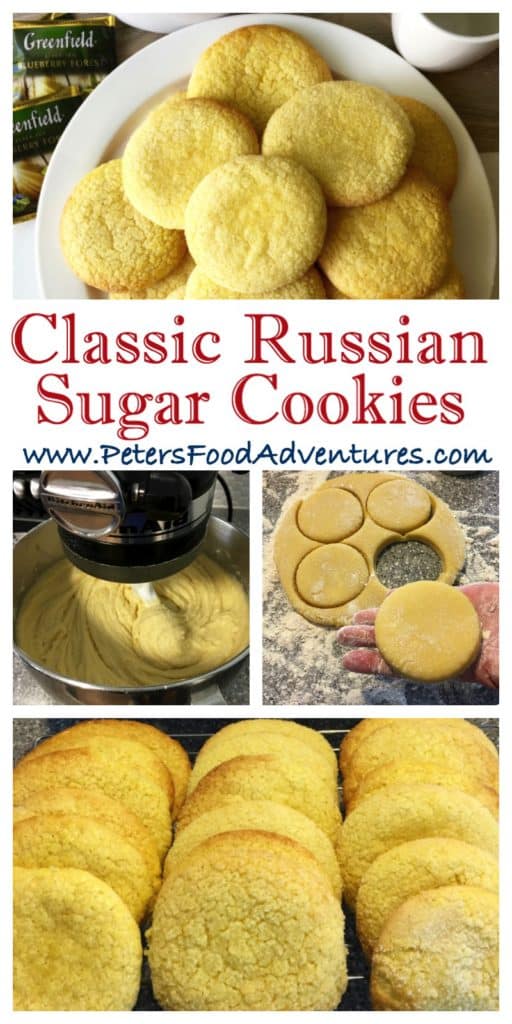
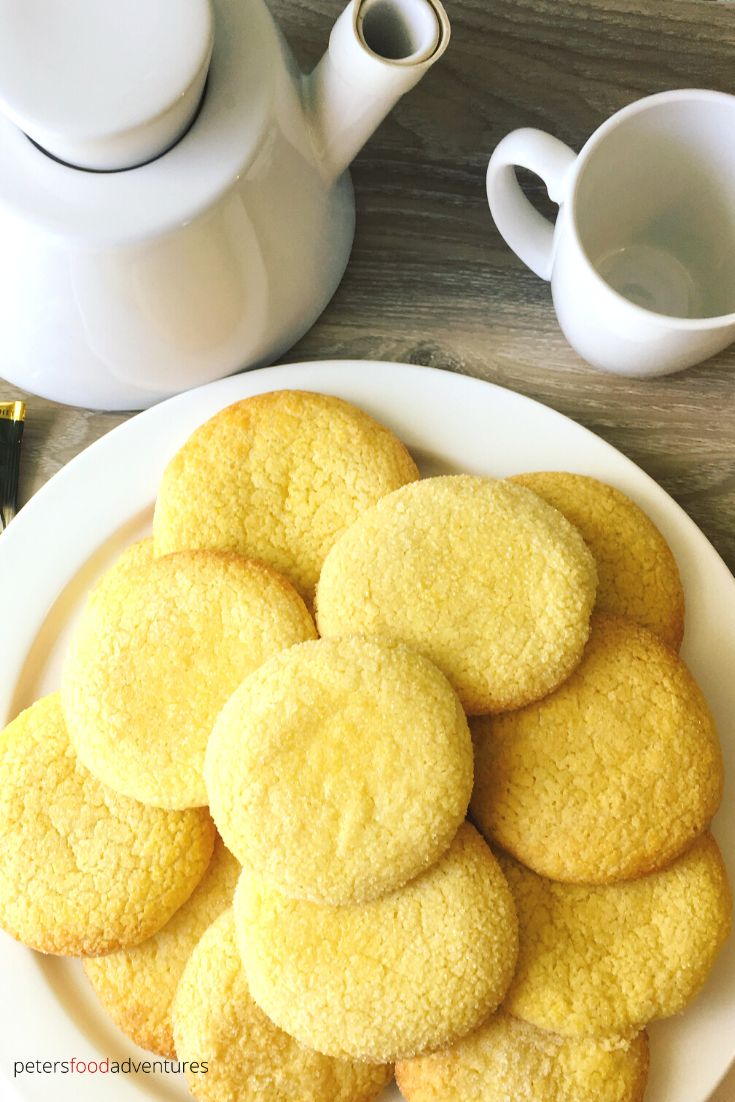
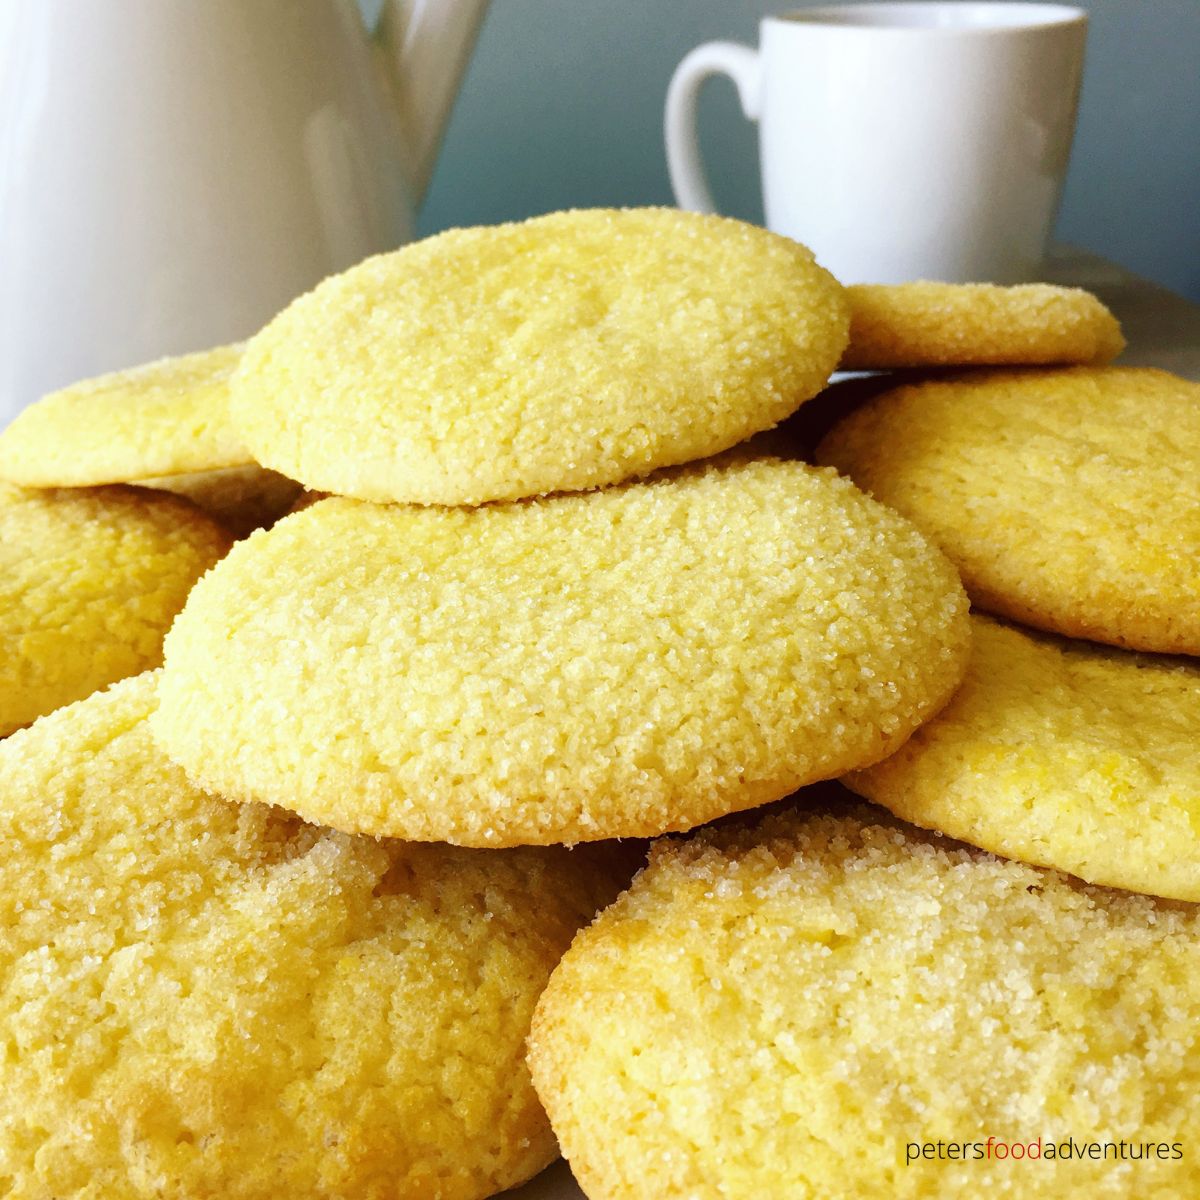
This easy to make Russian Sugar Cookies (коржики) are sure to be a hit. So many types of Russian cookies, this recipe was passed down from babushka to my mom, and now sharing with you. Make a large batch, perfect for freezing to enjoy later.
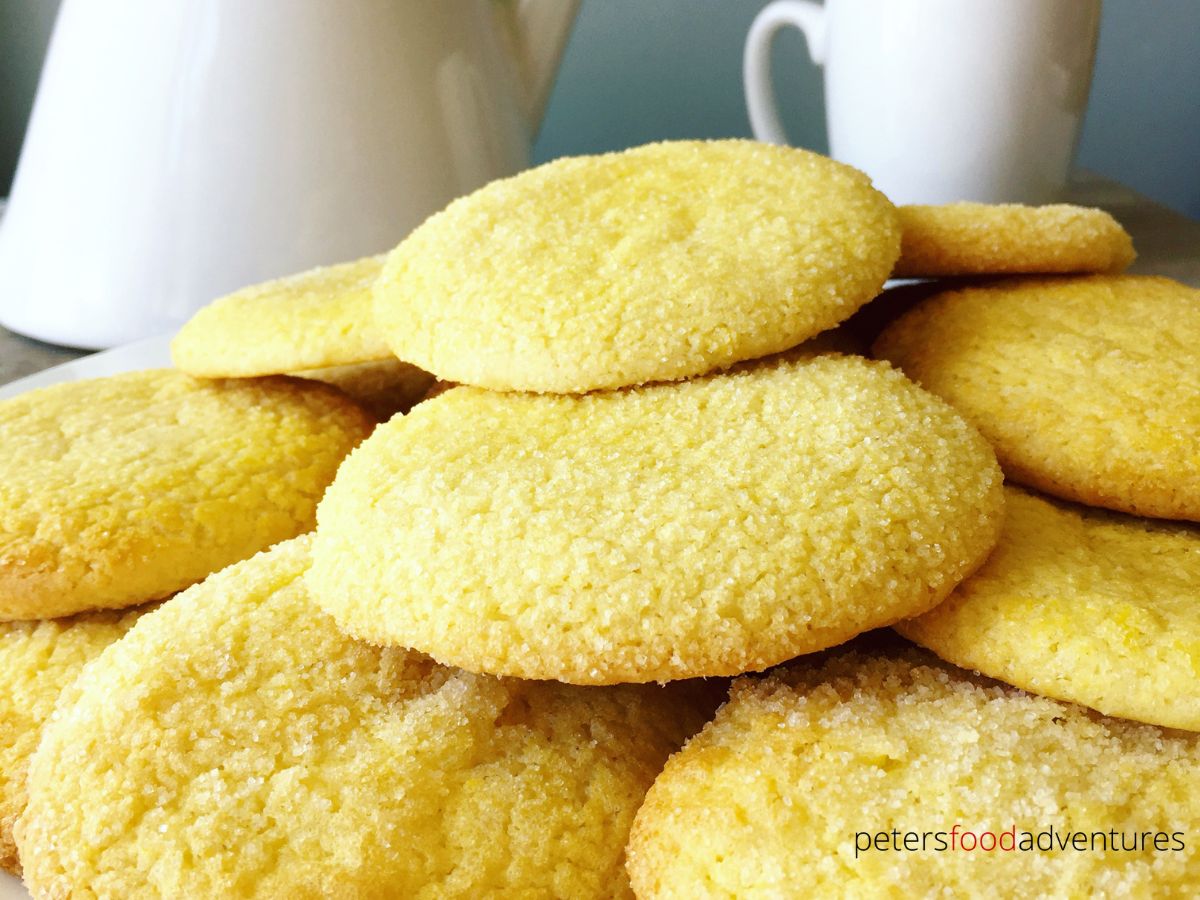
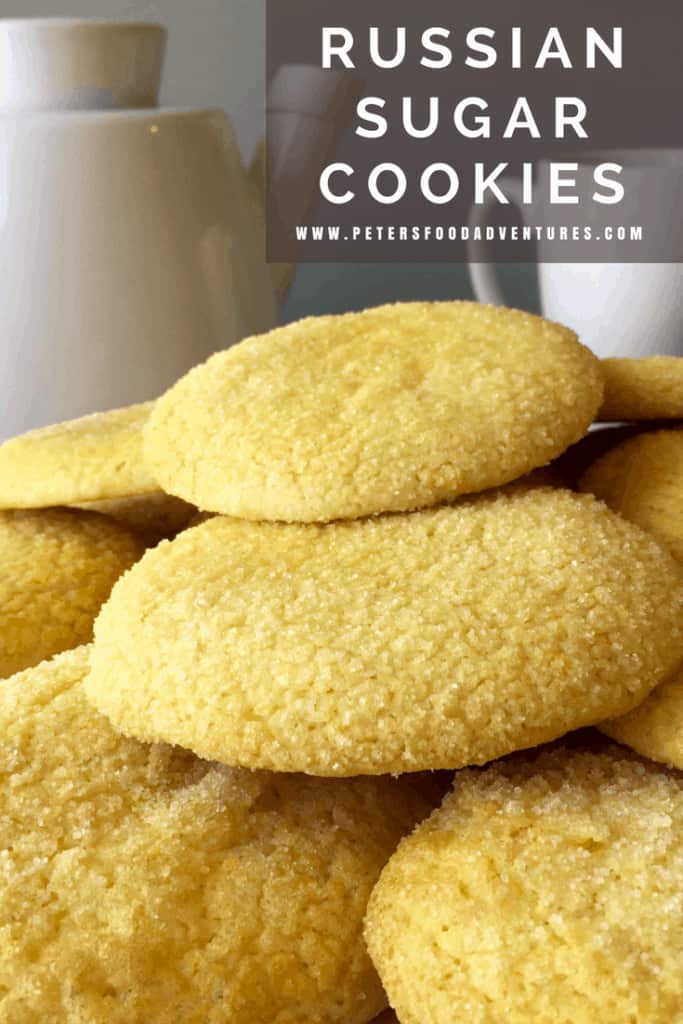
Everyone has warm memories of fresh baked cookies, and these taste the best when served warm with a glass of cold milk. Otherwise served as a sweet treat with Zavarka style tea.
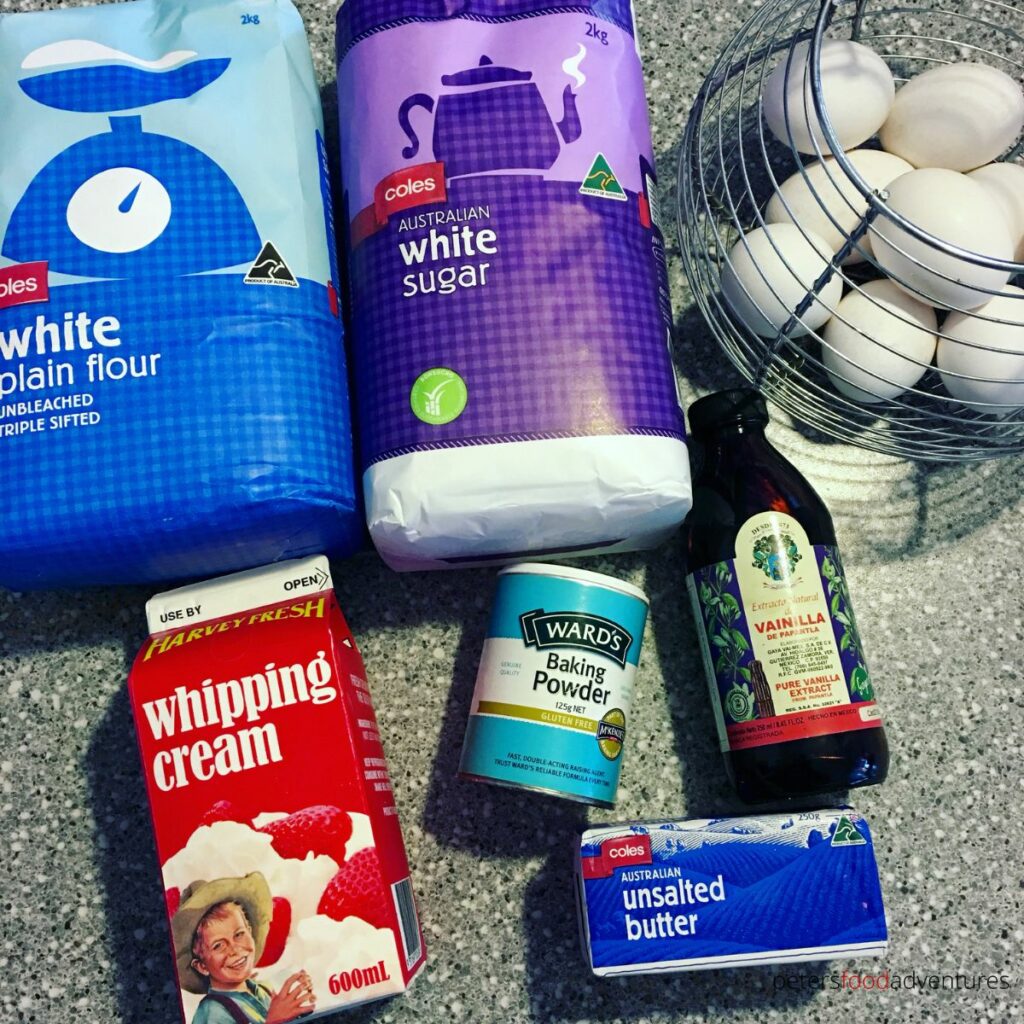
Ingredients
- Flour - all purpose flour works great for this recipe
- Baking Powder
- Eggs
- Whipping Cream
- Butter - unsalted, at room temperature
- Sugar
- Vanilla Essence
- Sugar Finishing Dip - egg yolks, whipping cream, sugar
How to Make Russian Sugar Cookies
- Sift Dry Ingredients - in a bowl, sift together the flour and baking powder until evenly mixed. Set aside.
- Cream Eggs and Sugar - In a separate bowl, beat the eggs and half of the sugar together until smooth and creamy. Add whipping cream and vanilla into the egg mixture and mix together. Set aside.
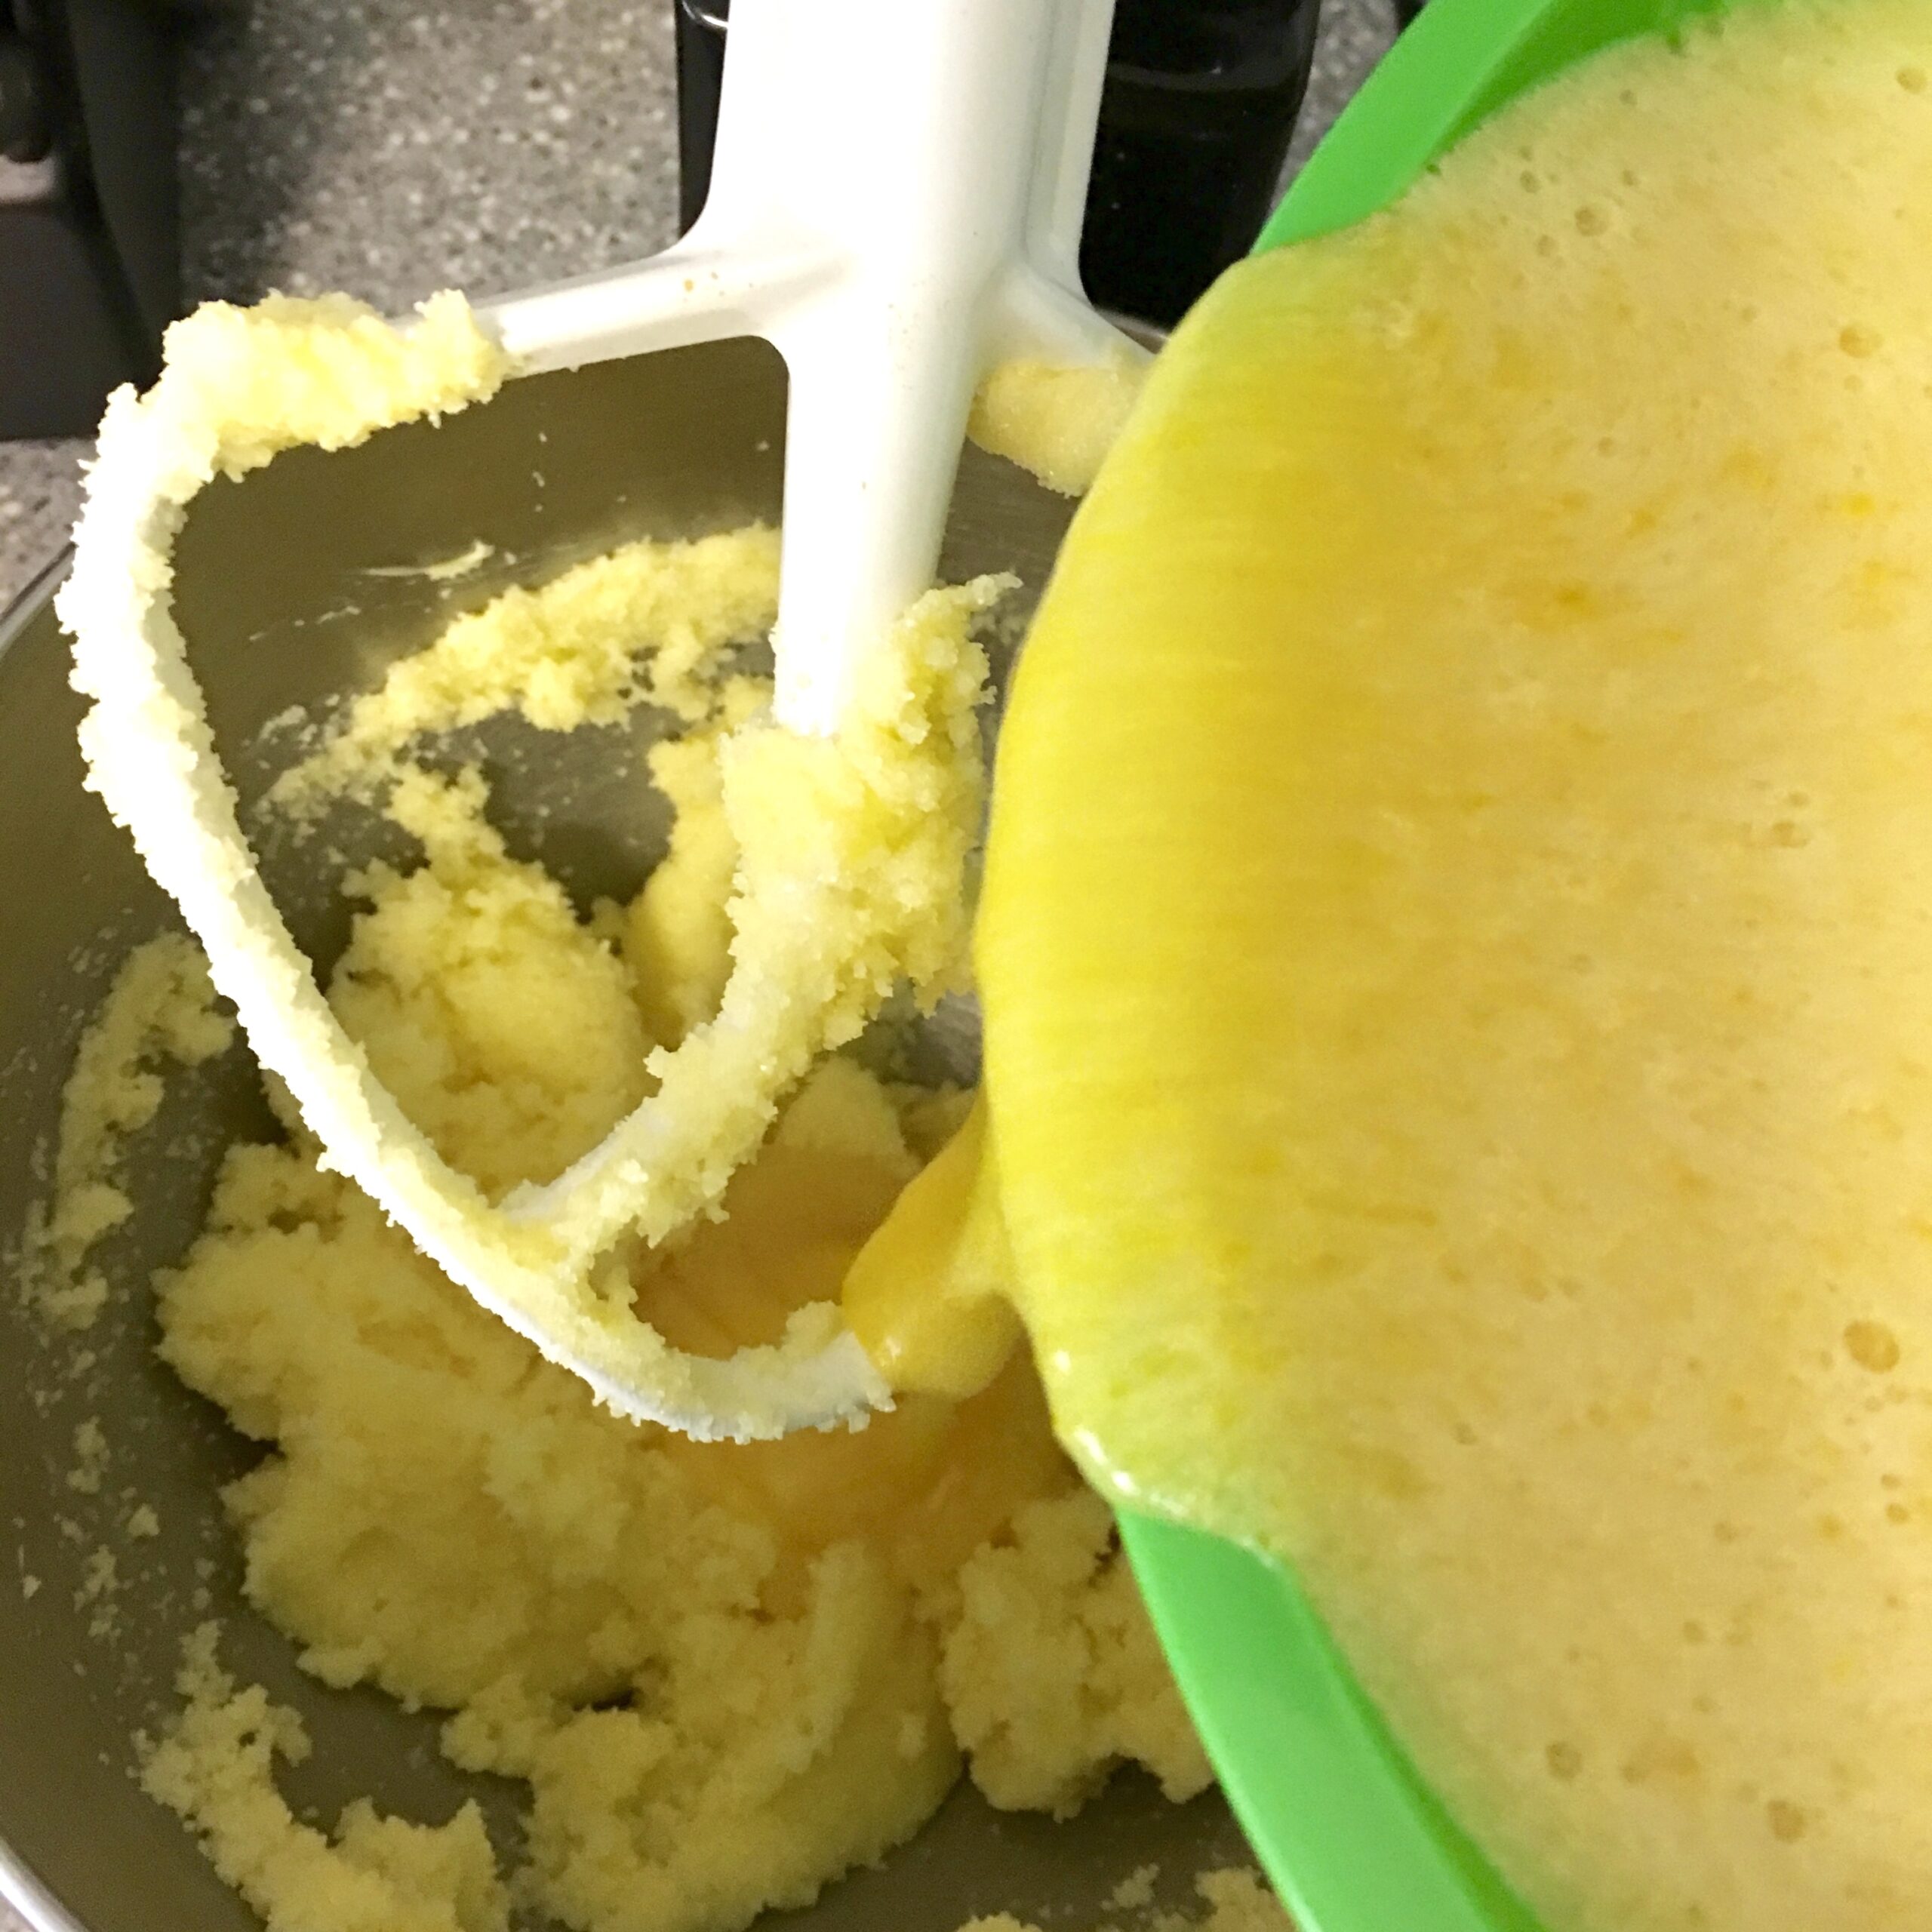
- Cream Butter and Sugar - using a KitchenAid Mixmaster, cream the room temperature butter and remaining sugar.
- Combine - add the creamed eggs into the creamed butter and mix until smooth. Gradually add in the flour mixture to your batter. Mix until combined into a sticky dough.
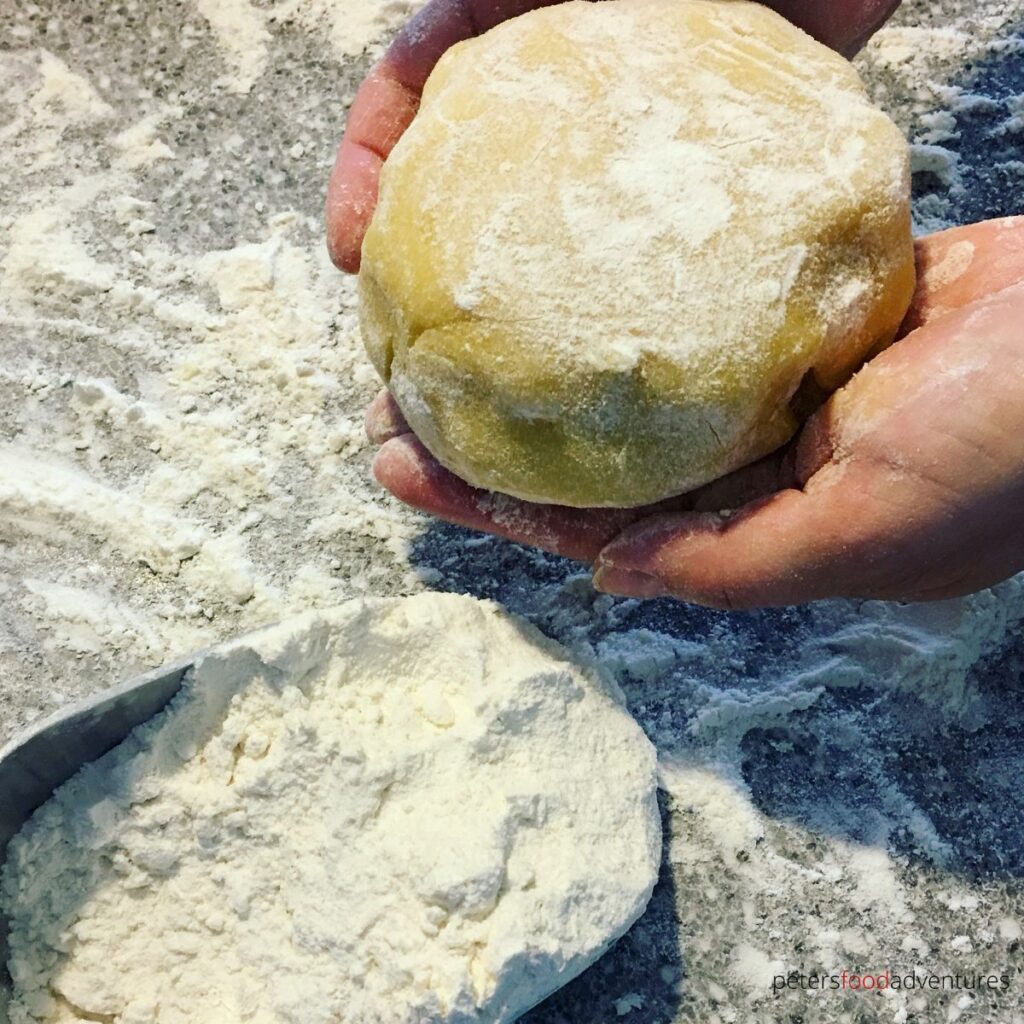
- Chill Dough - place the cookie dough the fridge overnight to firm up, otherwise its too soft to work with.
- Preheat Oven - pre-heat oven to 350°F (180°C)
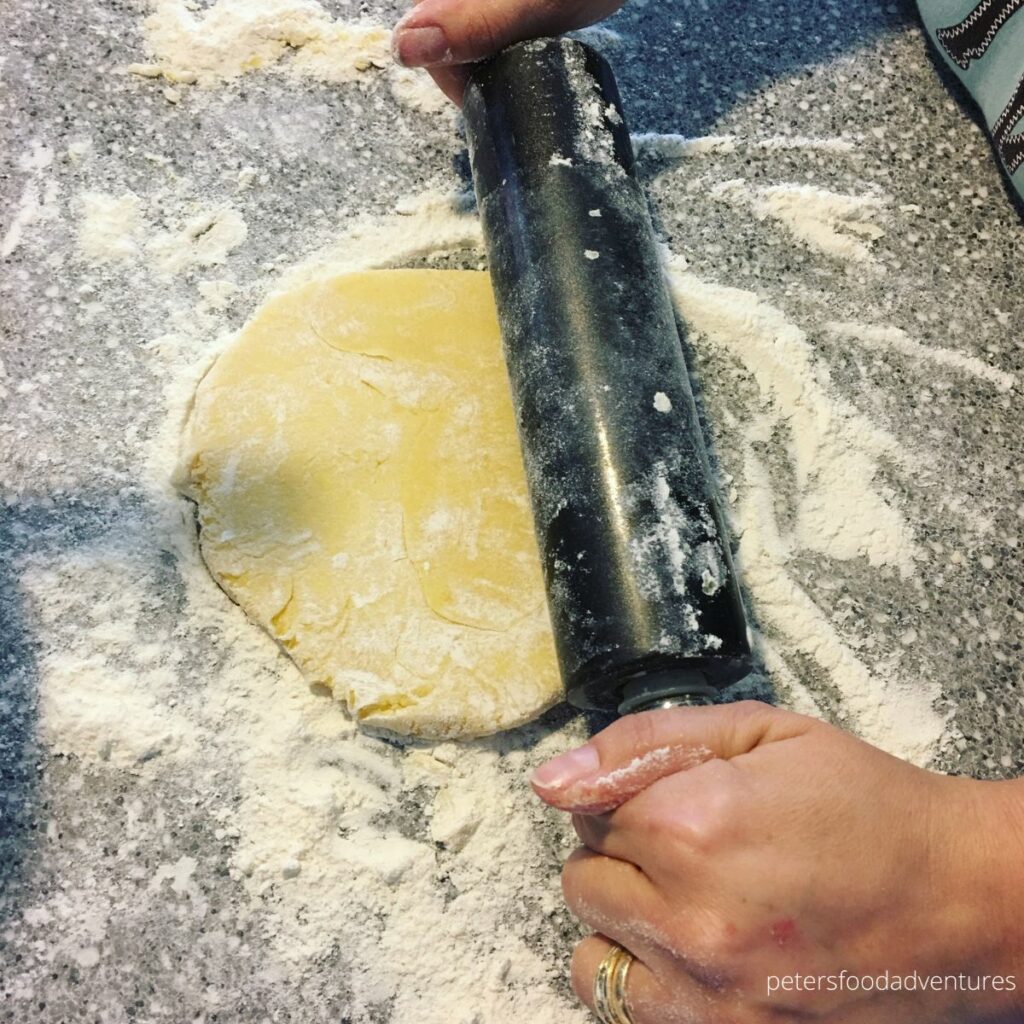
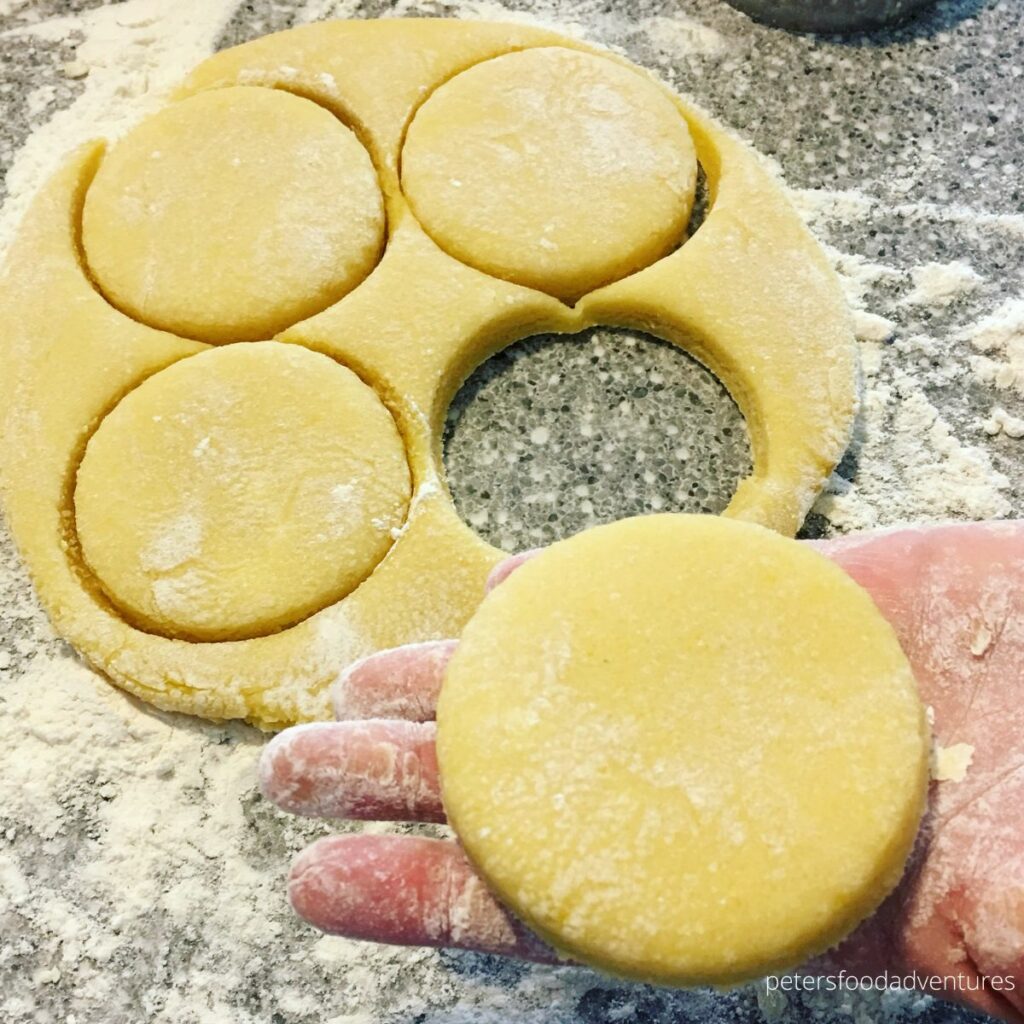
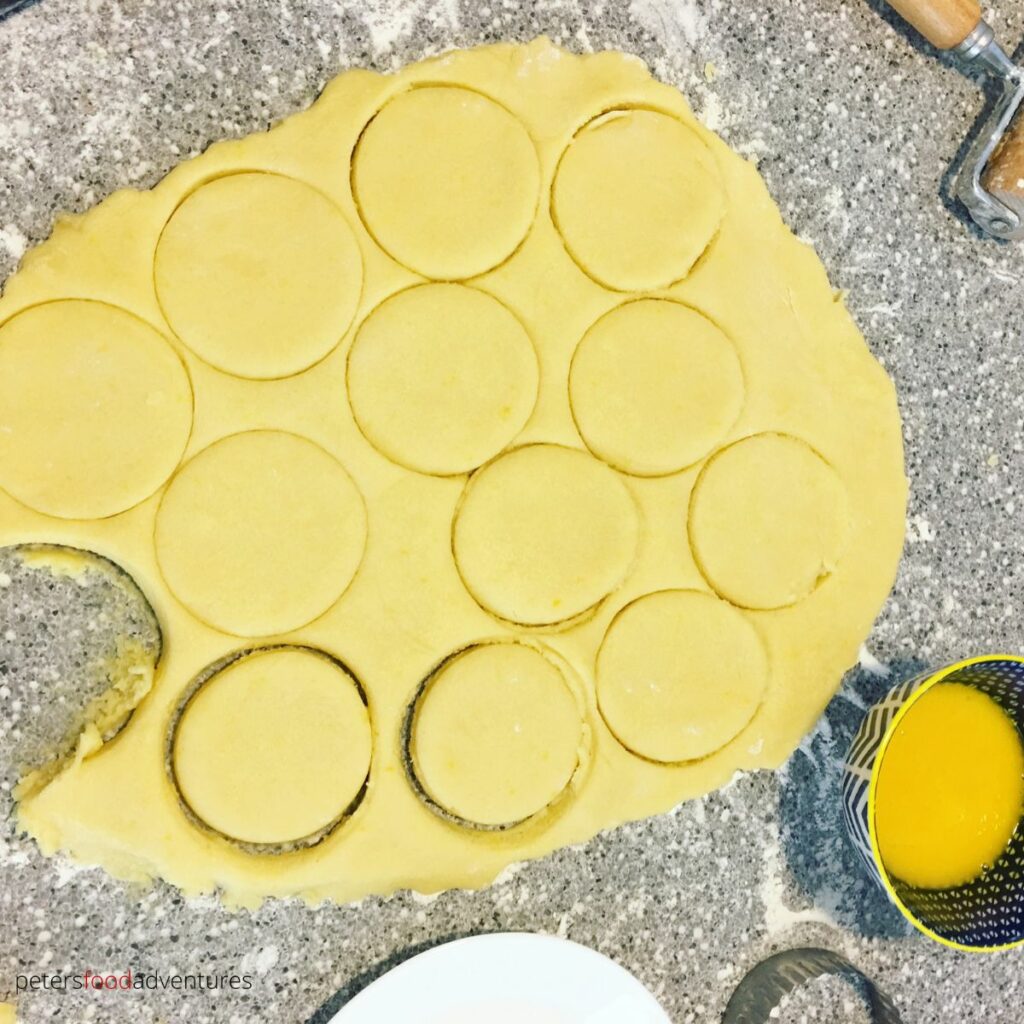
- Roll Dough and Shape - place dough on a well floured surface as you roll it out flat, about ⅓ of an inch thick (8mm). Using a round cookie cutter, cut cookies. Tip: work with small amounts of dough, about 4-5 cookie rounds at a time. The dough will be very soft and will require a fair bit of flour to keep from sticking.
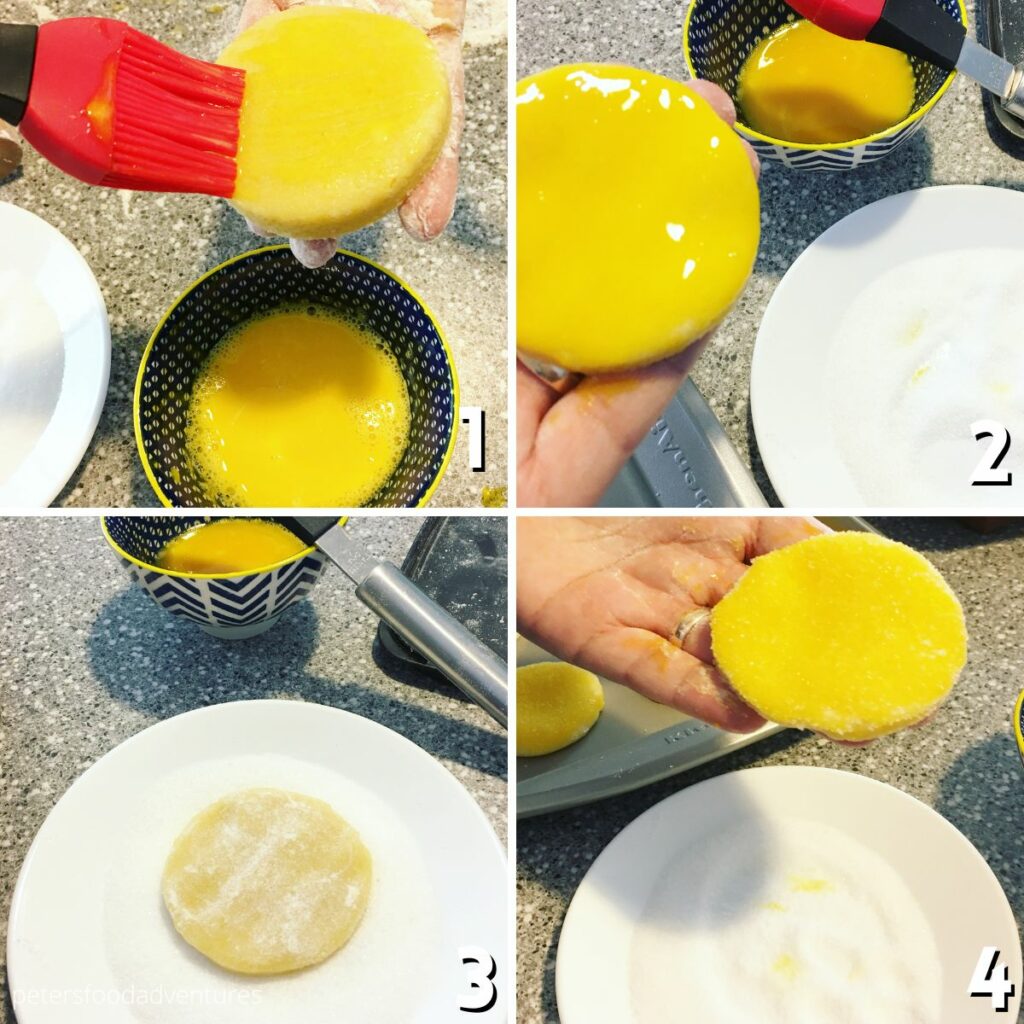
- Sugar Finishing Dip - in a small bowl, whisk egg yolks with whipping cream. Place 1 cup of sugar on a small plate.
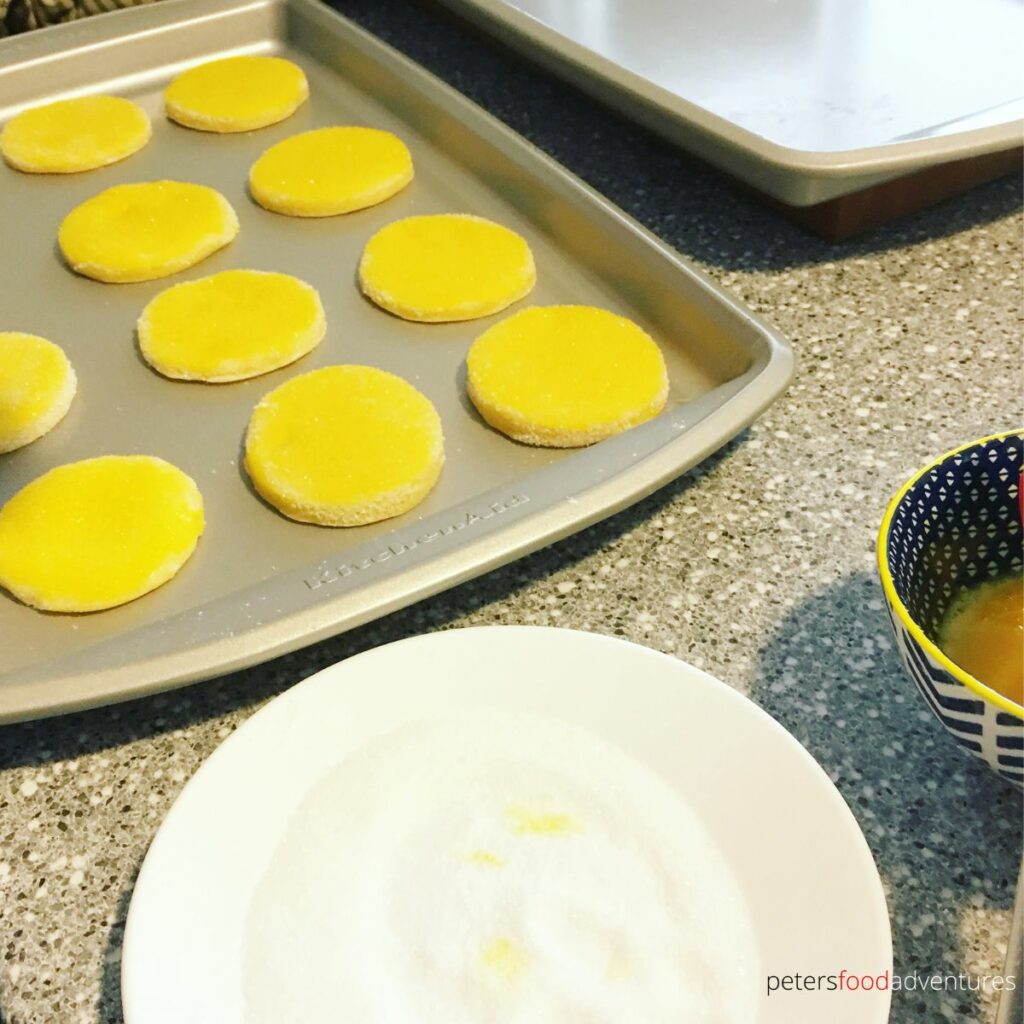
- Brush and Coat - using a pastry brush, coat the top of a cookie with egg wash. Flip coated side of cookie (upside down) onto the sugar plate to coat with sugar. Place on a greased cookie sheet.
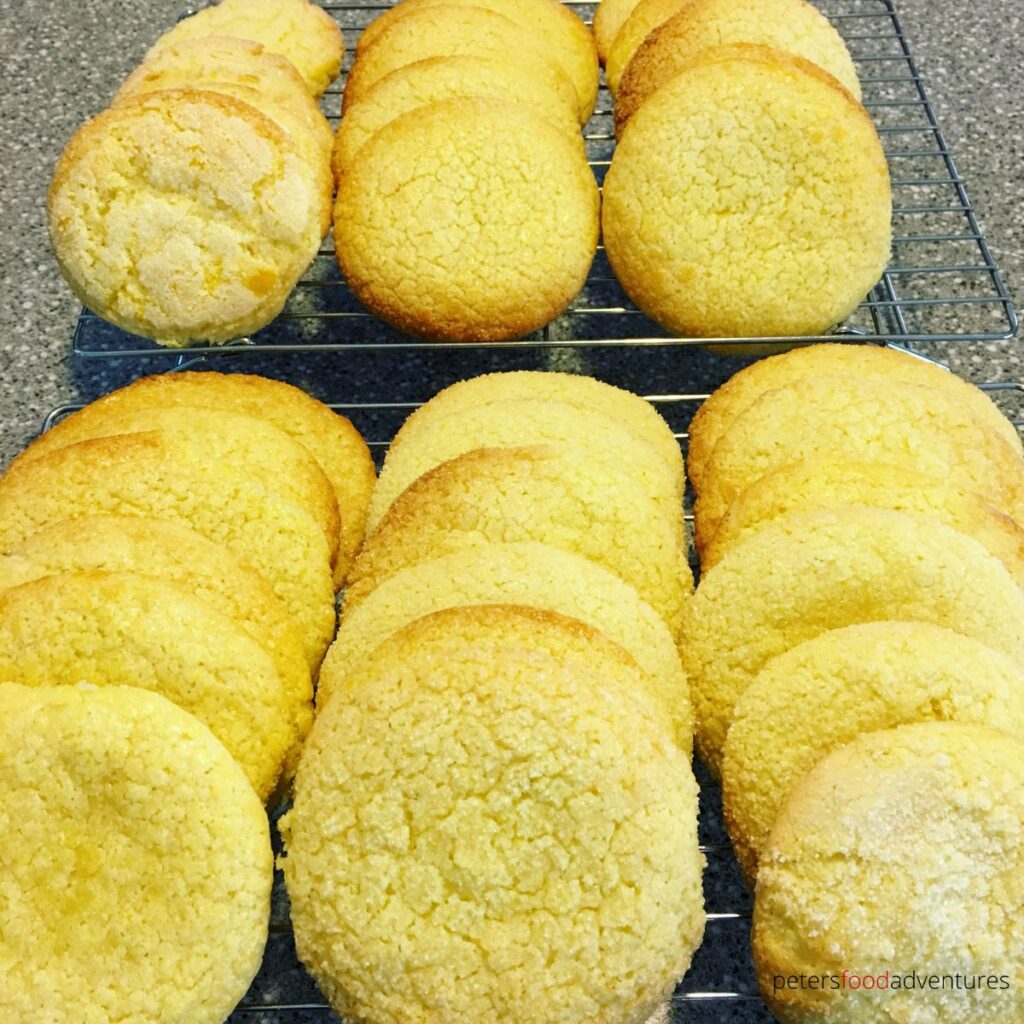
- Bake - place in pre-heated oven and bake for about 10 minutes, keep an eye on it. They will start to have a very light golden colour. Be careful not to overcook the cookies.
- Cool - remove the cookies from the oven. Using a flipper, scrape off each cookie and put on a cooling rack to cool. (or domino layer over each other until fully cool).
- Serve - when the cookies are cool, enjoy with tea or a cold glass of milk.
Sugar Cookie Variations
- Citrus - add some lemon zest or orange zest into the dough to a lovely citrus flavor
- Nutty Cookies - mix in chopped walnuts or almonds for crunch and texture
- Chocolate Drizzle - drizzle melted chocolate over the cookies before serving, white chocolate is my favorite
Recipe Tips and FAQs
- Room Temperature Butter - ensure butter is softened to room temperature before creaming to the mixture is creamy and smooth
- Cookies Can Burn - if oven is too hot and cookies look like they are burning, reduce temperature to 325°F (160°C). If these cookies are crunchy, chances are that you over-baked them, and the sugars will taste burnt.
- Don't Skip the Chill - best chilled for 8-12 hours in the fridge. If you don't have the time to leave overnight, prepare dough in the morning and bake in the evening.
Can I Use Salted Butter?
Yes you can, however it's better to use unsalted butter so you can control the salt content in recipe.
Can I Freeze Sugar Cookies?
Definitely. Allow to fully cool before placing into a Ziploc freezer bag and place in freezer. Enjoy within 3 months for best flavor. Defrost and warm in the oven for a freshly baked taste!
Storage
Place cookies in an airtight container and keep at room temperature for up to one week.
Cookie Recipes You'll Love
- Pryaniki Honey Cookies
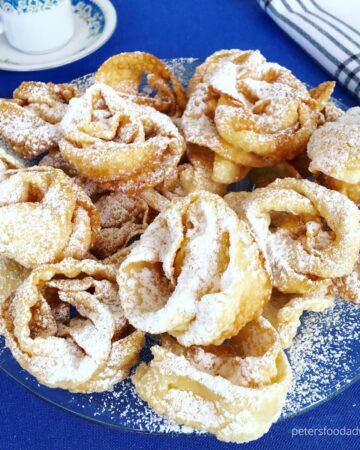
- Goose's Feet Cookies
- Oatmeal Monster Cookies
- Spice Cookies
- Bird's Nest Cookies
This simple, easy to make Sugar Cookies (Молочные коржики) are a great large batch cookie recipe, freezes great and will be loved by the kids. Often made with milk, but whipping cream adds a richer flavor. From babushka's kitchen to yours. Bon Appetit! Приятного аппетита!
Equipment
- KitchenAid Mixmaster
Ingredients
- 5 cups flour
- 6 teaspoon baking powder
- 5 eggs
- ½ cup whipping cream
- 1¼ cups (250g) butter room temperature
- 2½ cups sugar
- 1 teaspoon vanilla
Sugar Finishing Dip
- 2 egg yolks beaten
- 1 tablespoon whipping cream
- 1 cup sugar
Instructions
- Sift Dry Ingredients - in a bowl, sift together the flour and baking powder until evenly mixed. Set aside.
- Cream Eggs and Sugar - In a separate bowl, beat the eggs and half of the sugar together until smooth and creamy. Add whipping cream and vanilla into the egg mixture and mix together. Set aside.
- Cream Butter and Sugar - using a KitchenAid Mixmaster, cream the room temperature butter and remaining sugar.
- Combine - add the creamed eggs into the creamed butter and mix until smooth. Gradually add in the flour mixture to your batter. Mix until combined into a sticky dough.
- Chill Dough - place the cookie dough the fridge overnight to firm up, otherwise its too soft to work with.
- Preheat Oven - pre-heat oven to 350°F (180°C)
- Roll Dough and Shape - place dough on a well floured surface as you roll it out flat, about ⅓ of an inch thick (8mm). Using a round cookie cutter, cut cookies. Tip: work with small amounts of dough, about 4-5 cookie rounds at a time. The dough will be very soft and will require a fair bit of flour to keep from sticking.
- Sugar Finishing Dip - in a small bowl, whisk egg yolks with whipping cream. Place 1 cup of sugar on a small plate.
- Brush and Coat - using a pastry brush, coat the top of a cookie with egg wash. Flip coated side of cookie (upside down) onto the sugar plate to coat with sugar. Place on a greased cookie sheet.
- Bake - place in pre-heated oven and bake for about 10 minutes, keep an eye on it. They will start to have a very light golden colour. Be careful not to overcook the cookies.
- Cool - remove the cookies from the oven. Using a flipper, scrape off each cookie and put on a cooling rack to cool. (or domino layer over each other until fully cool).
- Serve - when the cookies are cool, enjoy with tea or a cold glass of milk.
Notes
©PetersFoodAdventures.com *originally posted November 2016, updated January 2024