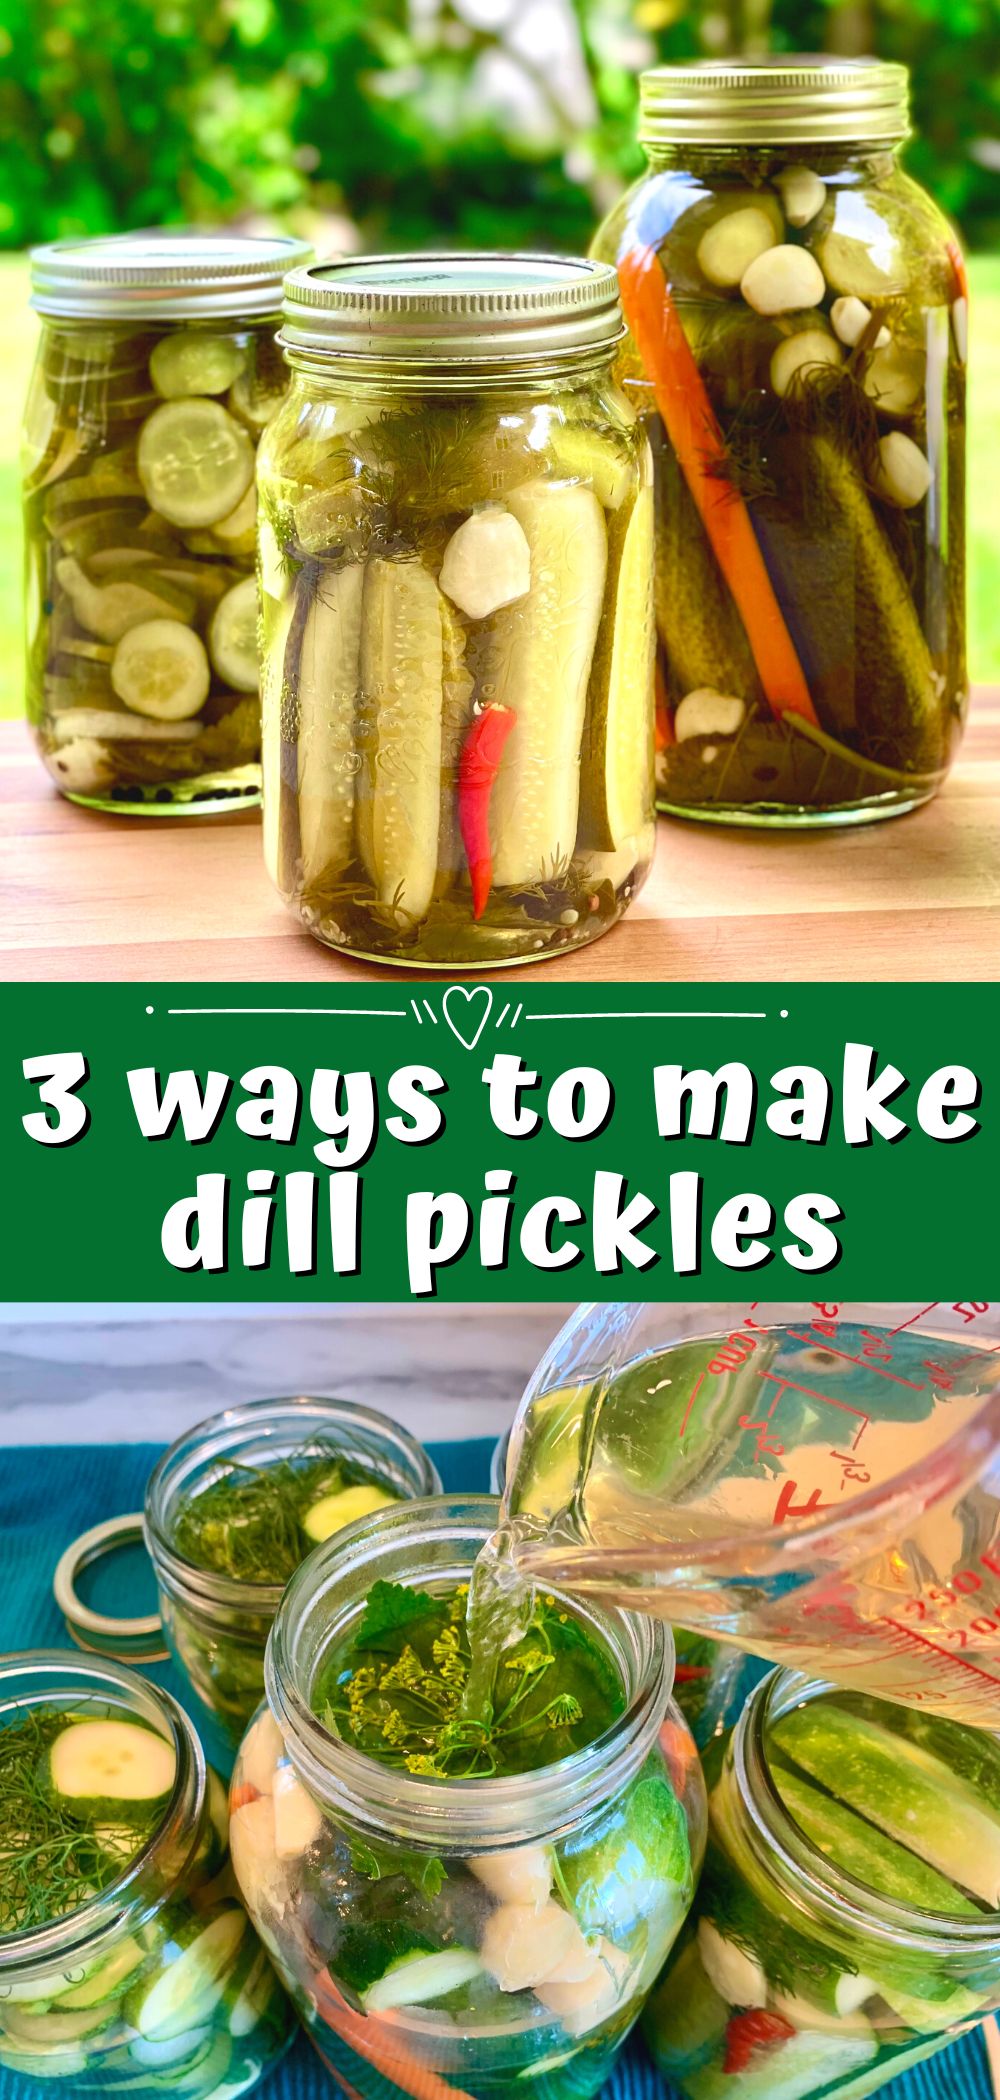
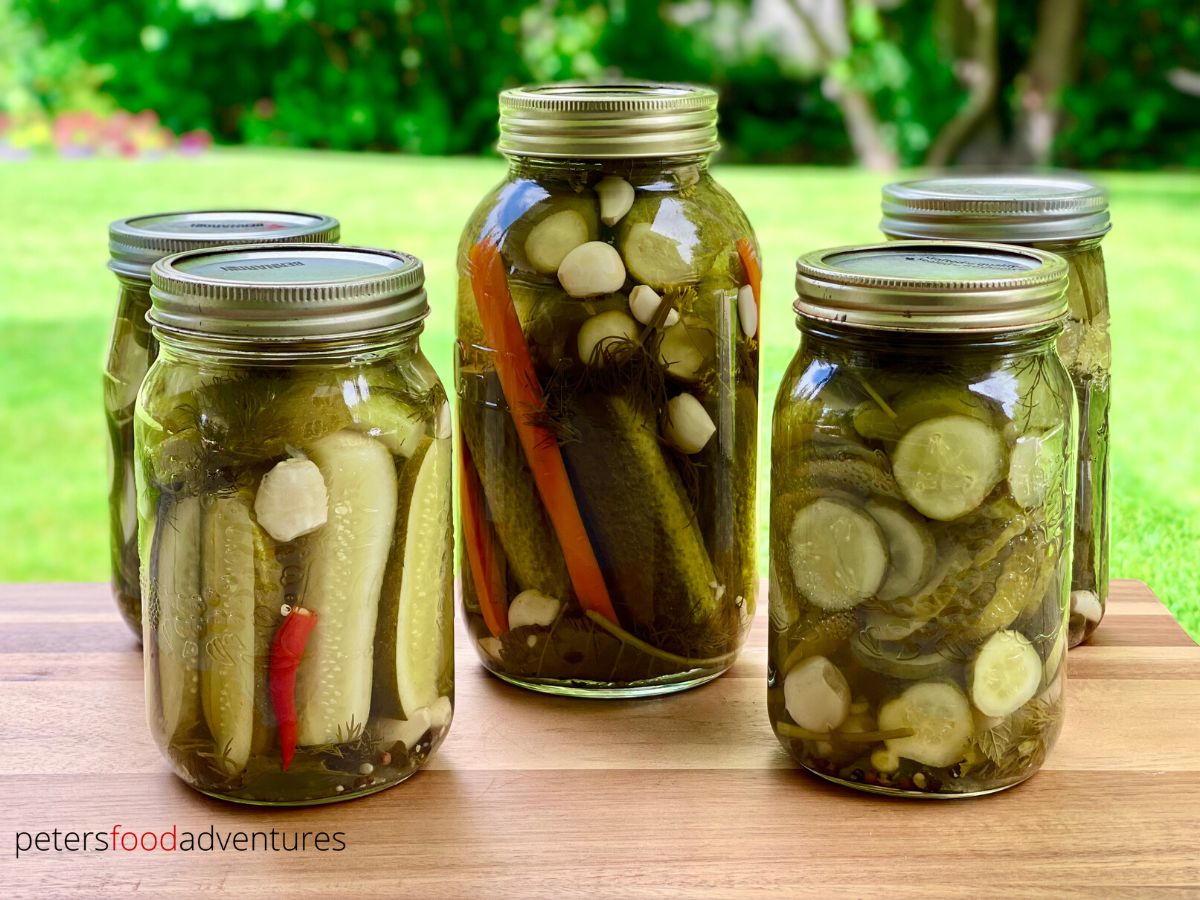
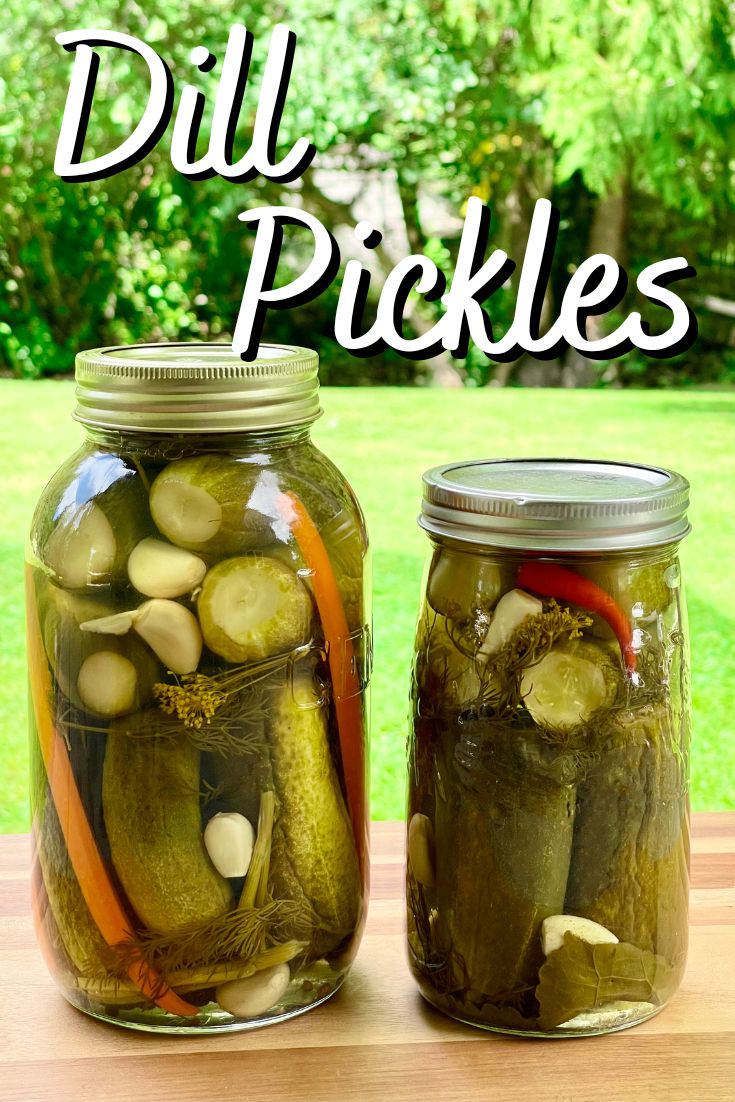
Homemade Dill Pickles are easy to make, and taste better than store bought. Let me show you 3 ways to make pickles; Hamburger Pickles, Classic Whole Pickles and Pickle Spears. Everyone will love these naturally crunchy pickles, an old Eastern European recipe (солёные огурцы).
What type of Cucumbers for Pickling?
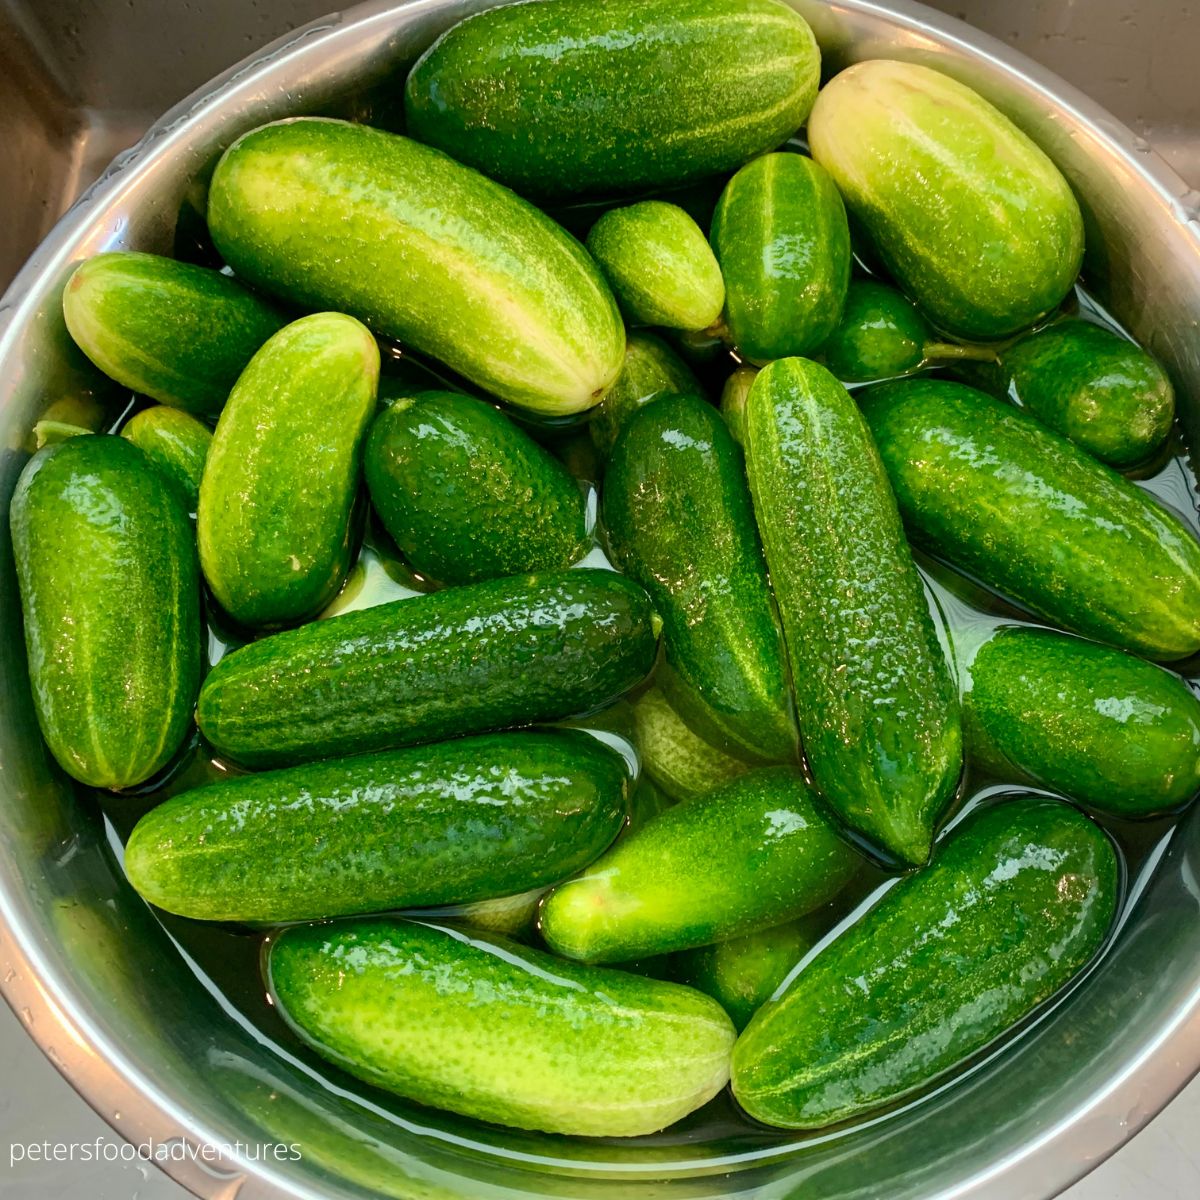
The most popular varieties are Eastern European pickling cucumbers. They're small, firm, bumpy and have a thicker skin when compared to salad cucumbers. Heirloom cucumbers have a nice internal structure that can hold up to the heat of pickling. You can pickle any cucumbers you have, however, it won't necessarily be crunchy like store bought pickles or the ones baba made.
I've pickled baby Lebanese cucumbers which have a smooth texture. However, they aren't crunchy as the internal structure is too soft. It's best to grow your own pickling cucumbers or find them at a Farmer's Market. Here are my suggestions.
- Kirby - a popular cucumber used for pickling
- Bushy - this one is one of my favorites, a Russian cultivar
- Boston Pickling - have few seeds and are crispy
- Burpee Pickler - has small seeds and thinner skin
Equipment You'll Need
- Water Canner or a huge pot - to boil the pickle jars so they seal
- Jar Lifter - so you don't burn yourself when handling hot jars
- Mason Wide Mouth Jars with lids - 1 quart size, probably need 4-5 depending on your cucumbers or use a large 3 litre glass jar
How to Make Cucumbers Crunchy
Everyone loves crunchy pickles and this is how Russians and Eastern Europeans add crunch. We add leaves that are high in tannin like Horseradish Leaf, Blackcurrant Leaf or even Cherry Leafs. Some add oak or even grape leaves, but Horseradish and Currant leaves give me best results. Some tips to consider;
- Only choose young and firm cucumbers, not soft ones
- Fresh! Pickle as fast as you can after picking
- Cut off the blossom ends of the cucumbers, they contain an enzyme which makes your pickle soggy
- Add Horseradish Leaf or Blackcurrant Leaf to each jar
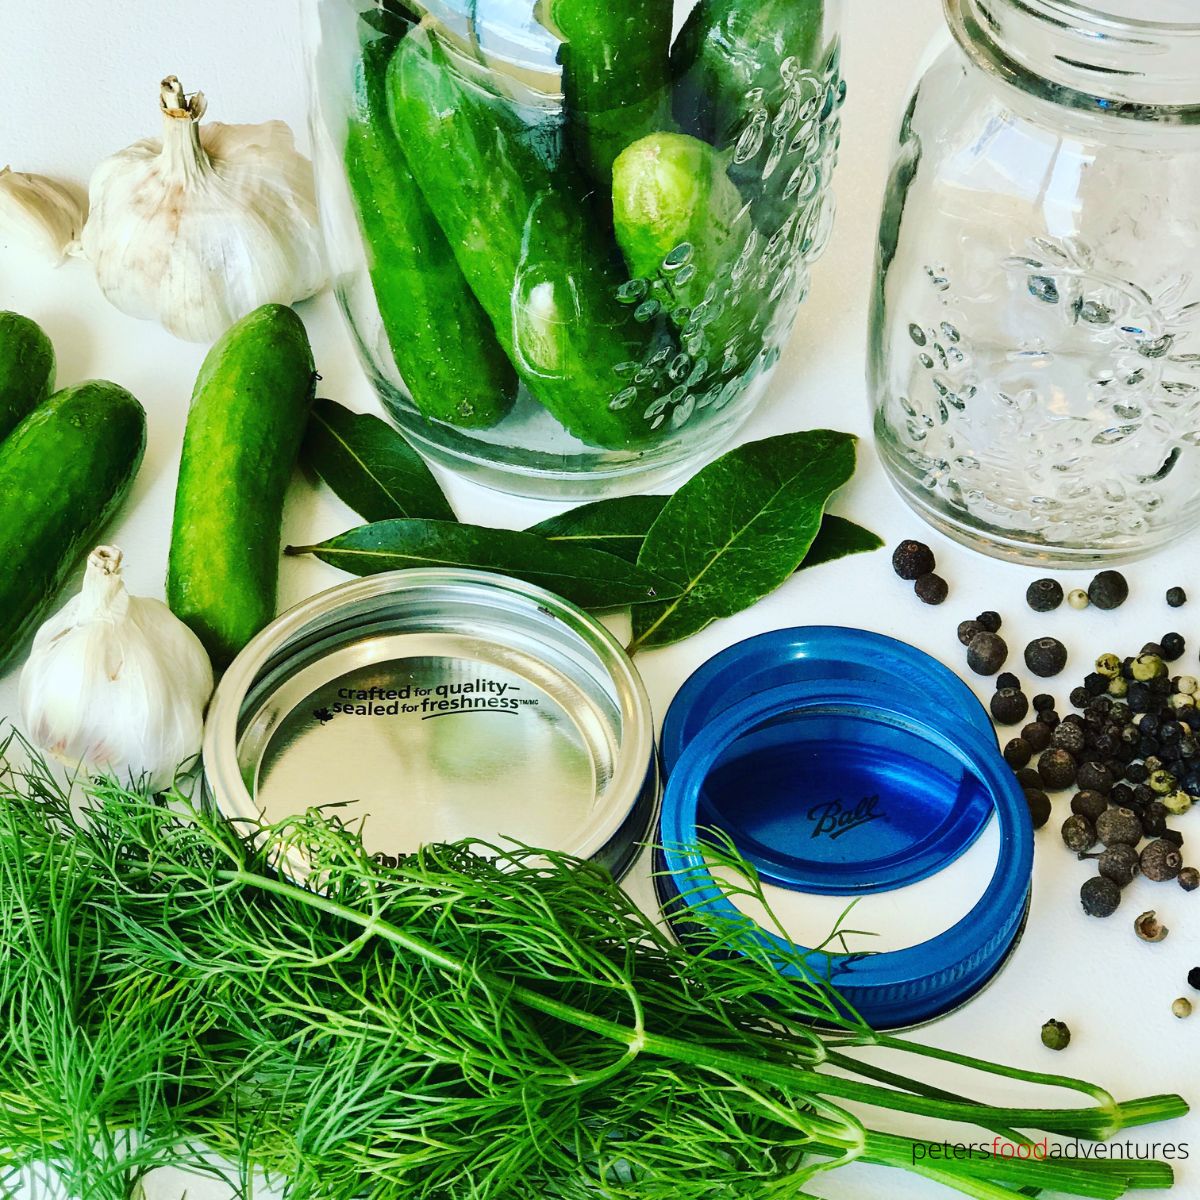
Ingredients You'll Need
- Pickling Cucumbers - homegrown heirloom varieties are best
- Vinegar - I used ½ White Vinegar and ½ Apple Cider Vinegar
- Water - part of the brine base
- Pickling Salt - don't use table salt
- White Sugar - to balance flavor
- Garlic - the more the merrier, use at least 1 head or more
- Fresh Dill - include the dill crown for extra flavor
- Black Peppercorns - for flavor depth, it's not spicy
- Bay Leaf - fresh is best, but use what you have
- Carrot - optional; tastes great and fits into any gaps between pickles
- Chili Pepper - optional; throw 1 or 2 for a spicy kick
Pickling Salt vs Table Salt
Pickling Salt is preferred when pickling because your foods will look nicer, more appealing. Pickling Salt is pure salt without any additives like anti-caking or iodine which is found in table salt. This causes your brine to turn cloudy and your vegetables to look darker and less appealing. If you can't find Pickling Salt, use Kosher Salt.
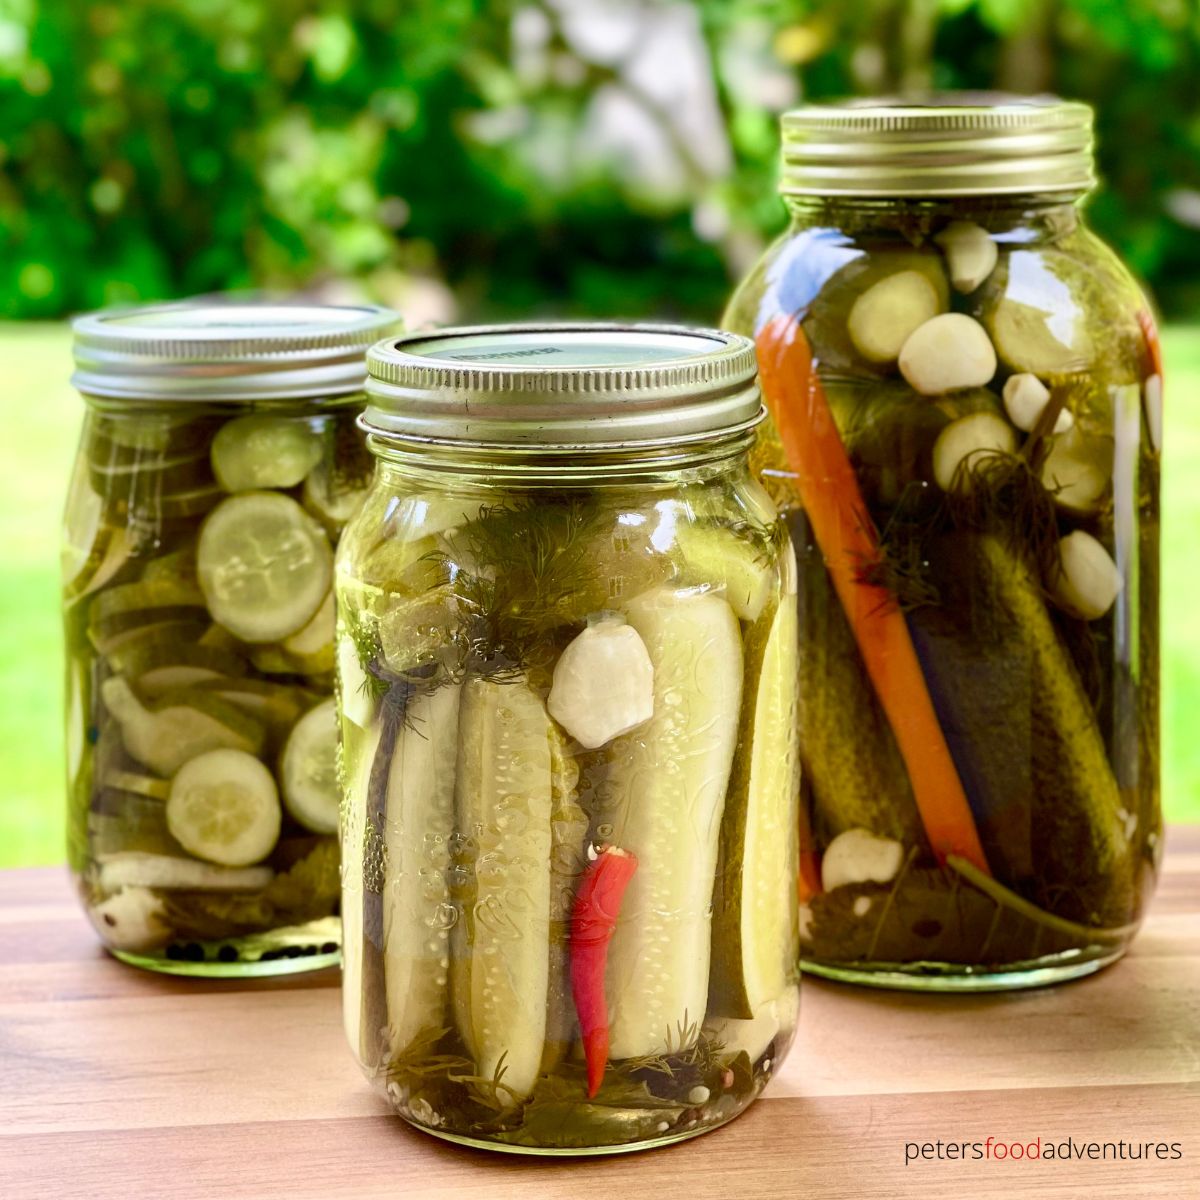
3 Ways to Make Dill Pickles
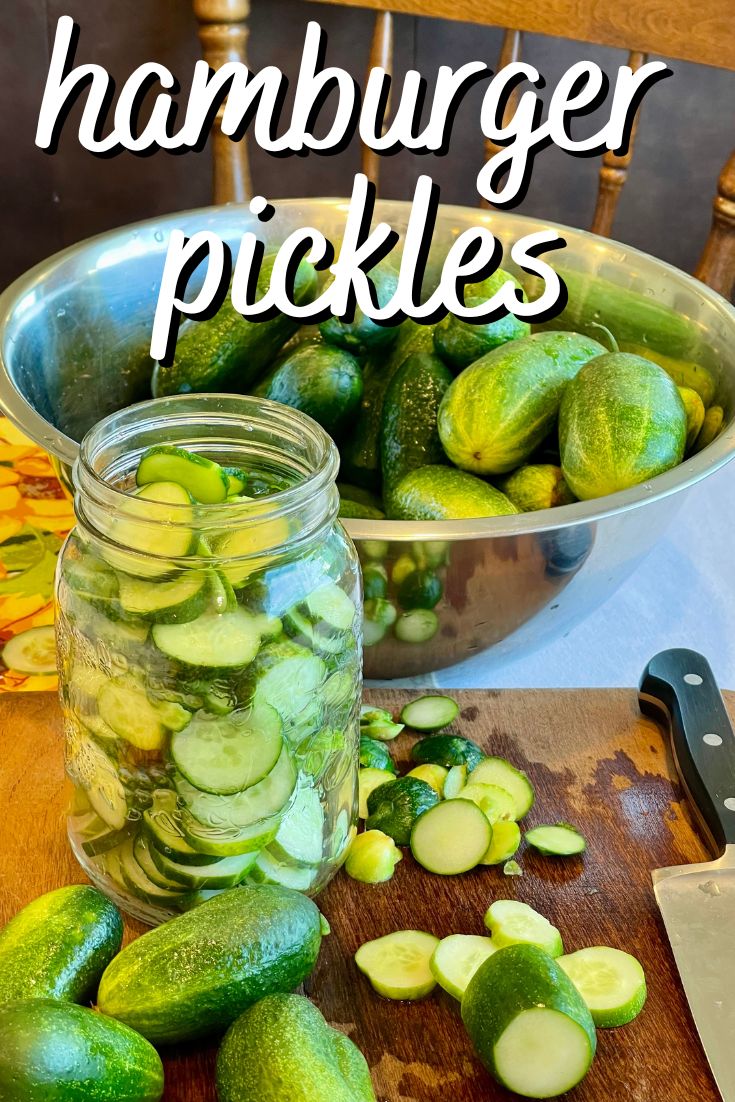
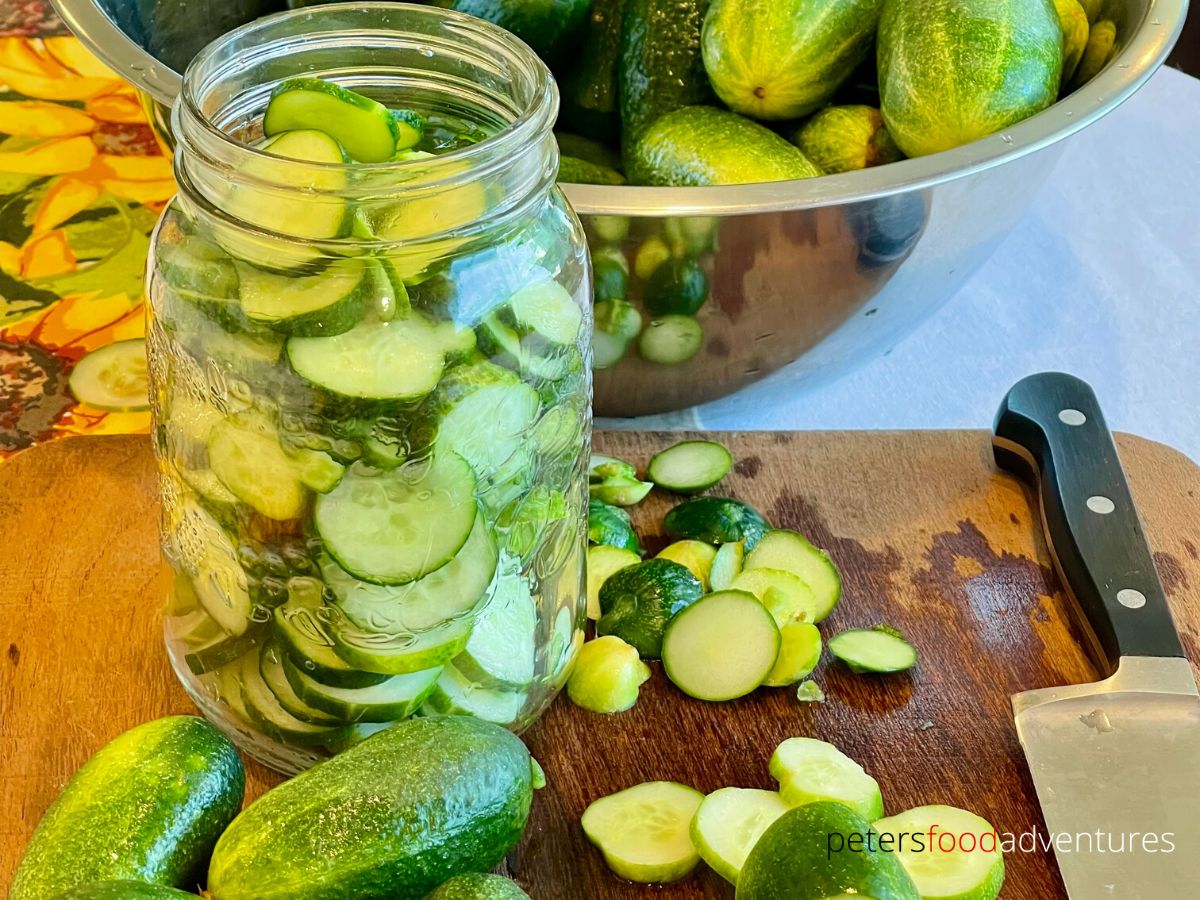
Hamburger Pickles
Sometimes your pickles grow funny, misshaped or are short and fat. Don't worry, you can still pickle this by making Hamburger Pickles!
- Choose firm pickles, wash and cut the blossom ends off
- Slice them into ¼" thin round slices
- Place fresh dill, garlic, sliced onion, Horseradish Leaf, Bay Leaf and peppercorns in bottom of sterilized jar.
- Pack with sliced cucumber rounds. Fill with hot brine, seal and place in water canner for 15 minutes
Dill Pickle Spears
Dill Pickle Spears are great for cucumbers that are a bit too fat or round, and aren't uniform with the classic pickle shape. Plus the pickle spears are fun to eat. I make these spicy by adding hot peppers.
- Choose firm pickles, wash and cut the blossom ends off
- Slice the cucumber lengthways in half, then in half or thirds again making long spears
- Place fresh dill, garlic, Blackcurrant Leaf, Bay Leaf and peppercorns in bottom of sterilized jar. Optional, add one or two Birds Eye Chili Peppers for heat
- Place the cucumber spears into the mason jar until firmly packed. Fill with hot brine, seal and place in water canner for 15 minutes
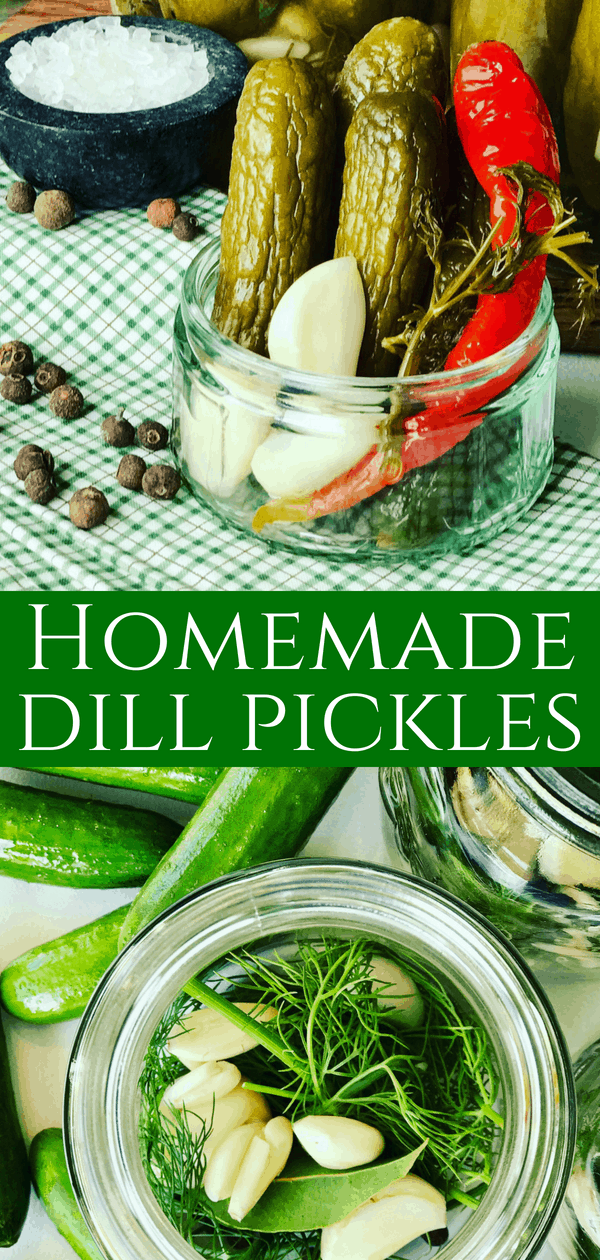
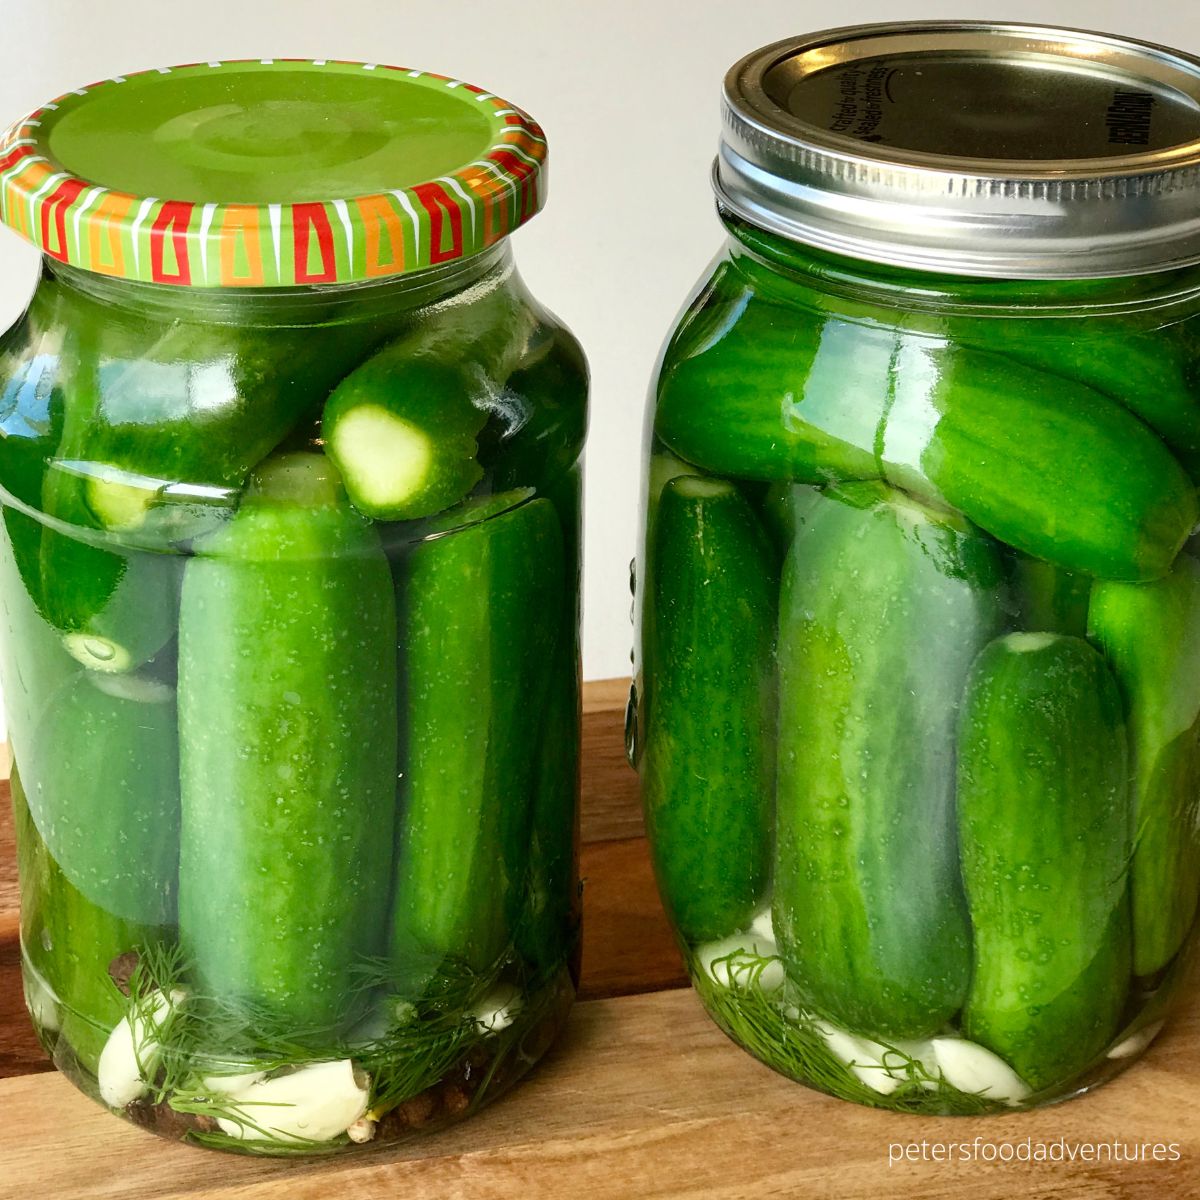
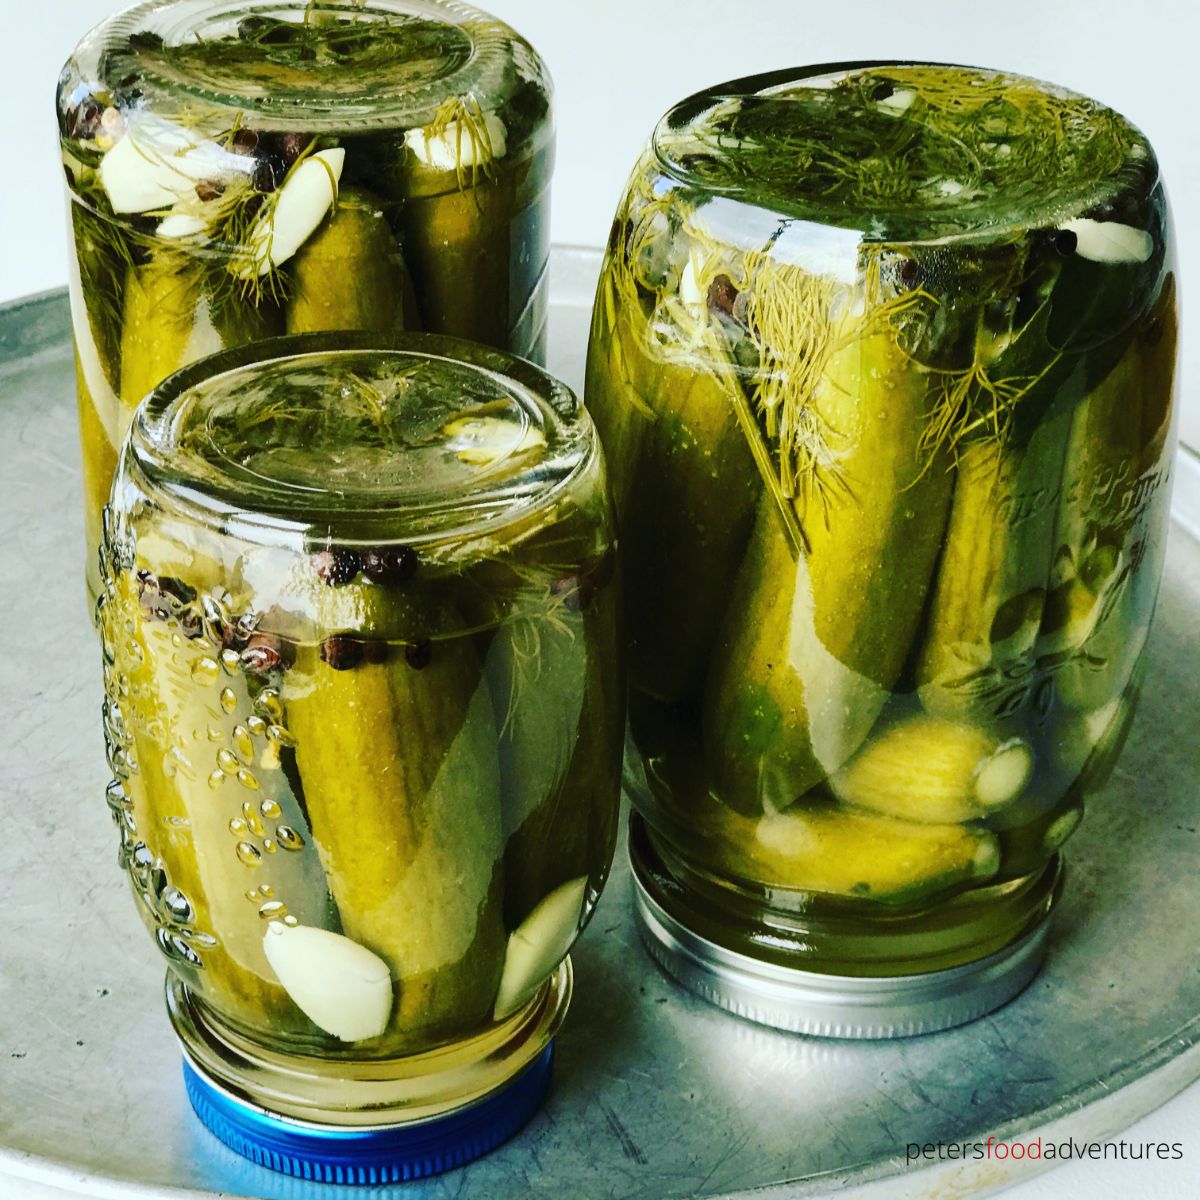
Classic Whole Dill Pickles
The Whole Dill Pickles we all grew up with and love. Filled with dill and garlic flavors exploding with juice when you bit into them. The easiest way to make pickles.
- Choose firm pickles, wash and cut the blossom ends off
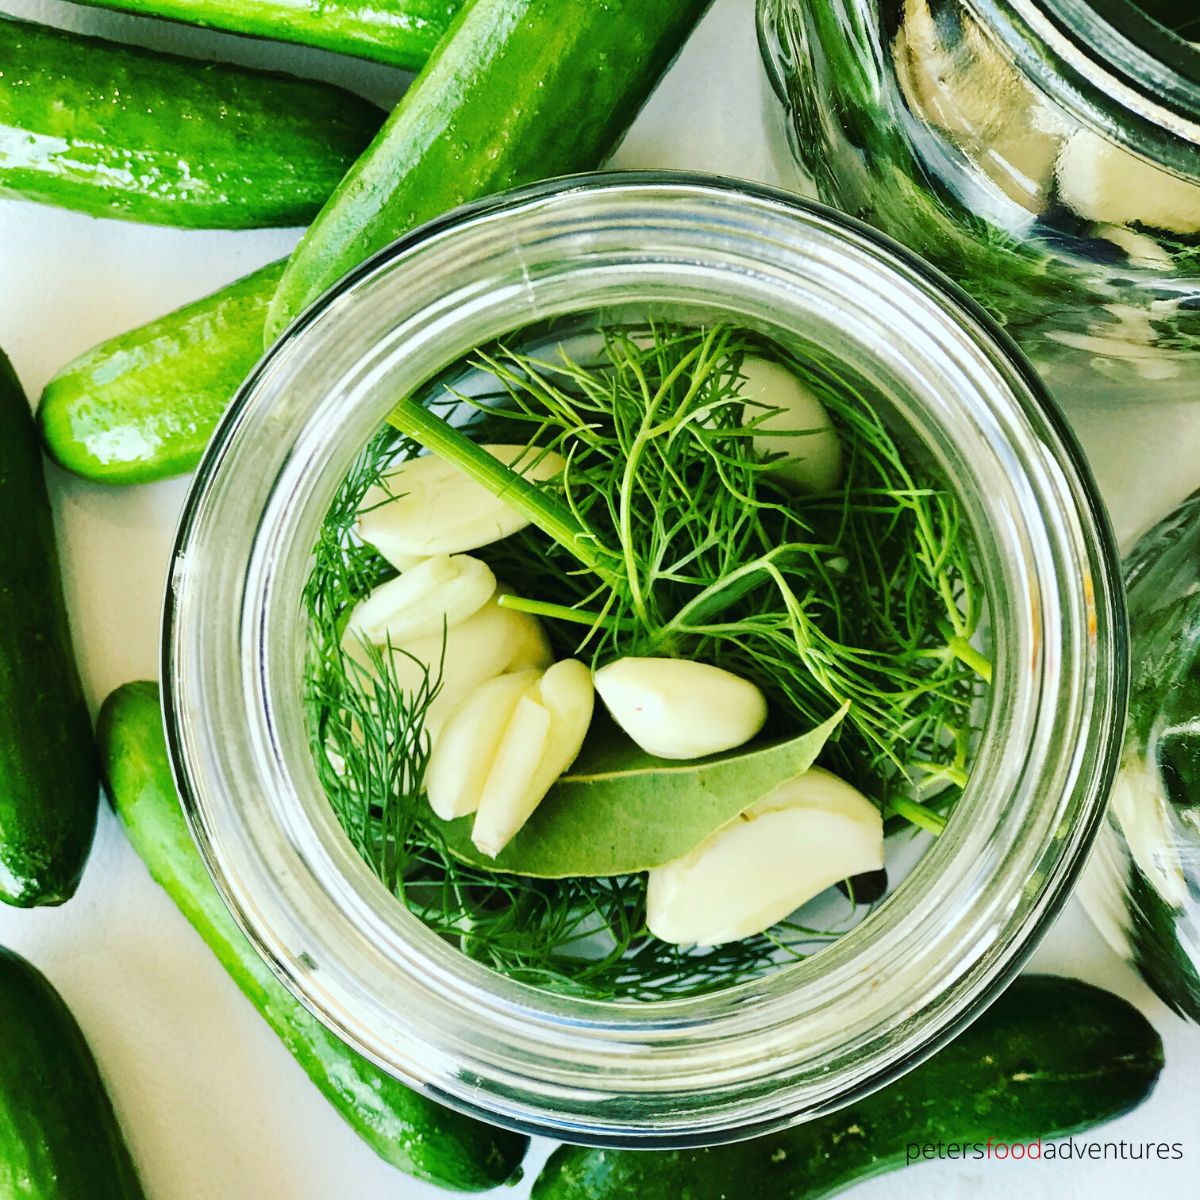
- Place fresh dill, garlic, Horseradish Leaf, Bay Leaf and peppercorns in bottom of sterilized jar.
- Pack whole cucumbers tightly into the mason jar. Add carrot slices in-between the gaps along edge of glass. Add extra dill and garlic
- Fill with hot brine, seal and place in water canner for 15 minutes
How to Can Dill Pickles
- Sterilize mason jars and lids
- Prepare cucumbers, garlic, herbs and spices
- Layer herbs, Horseradish Leaf, Bay Leaf, peppercorn and garlic inside the jars
- Bring pickling brine to a boil and pour into jars, leaving ½" gap from the top
- Cover the lid and screw into place
- Place into the water canner and boil for 15 minutes, jars should be fully submerged under water (at least 2 inches)
- Carefully remove from canner, flip upside down and allow to cool for 24 hours until it seals
- If the pickles don't seal and lid still pops, just place in fridge and enjoy within a month
Spice for Dill Pickles
There are many ways to add to flavor homemade pickles. This is a classic Dill Pickle recipe, however make this recipe your own by adding your favorite spices. Feel free to experiment, you only need to add 1 or teaspoons.
- Coriander Seeds
- Allspice Berries
- Mustard Seeds
- Dill Seed
Is Canning Pickles Safe?
There are a few rules to consider to ensure you canning is safe. The ratio of vinegar and salt in the pickling brine, length of time in the water bath, and using new lids with intact seals. You can re-use the lids, but over time they become less effective and can unseal. Canning can be tricky, if it looks, smells or seems funny, don't risk it. If in doubt, throw it out!
For proper canning guidelines, please refer to the USDA Canning Pickles Guide. The jars and lids must be clean and sterilized in boiling water for at least 10 minutes before using. After the homemade dill pickles have cooled and sealed, check by ensuring the lid doesn't pop up in the centre. If it does, you can still use the pickles but they need to be kept refrigerated.
Vodka Pickles
Ok, being Russian I have to talk about Vodka and Pickles. Although not traditional, you can add a splash of vodka to the pickles jar before you add the hot brine. Some people like the spicy flavor vodka adds to the dill pickles. However, Russians usually eat pickles between shot of vodka, not as part of the pickle recipe.
How to Use Pickle Juice
Don't throw out your pickle juice, re-use it again. Homemade Pickle Brine is always better than store bought, but don't throw it out. Russians use it as a hangover cure, it's called Rassol. It has electrolytes which your body needs, so there is always some in the fridge. 🤣
- Use as a brine for other vegetables, like onions or garlic
- Make homemade salad dressing by mixing oil and pickle juice
- Add some to your water when boiling potatoes for extra flavor
- Substitute vinegar with pickle brine in almost any recipe
- Add a shot to your Bloody Mary or Caesar
- Follow this Pickle Brine recipe to make Pickled Beans or Pickled Carrots
- Russian Hangover Cure - also works with Pickled Tomato Brine
Pickling Recipes You Need to Try!
- Easy Refrigerator Pickles
- Pink Pickled Garlic with Beets
- Kavkaz Pickled Tomatoes
- Pickled Summer Squash
- Quick Pickled Cabbage
- Vietnamese Pickled Carrots
- Russian Style Pickled Tomatoes
Canning Dill Pickles is the best way to preserve your cucumbers. An easy recipe that even your kids can help you during summer canning season. A classic pickling recipe made 3 ways with lots of garlic, dill and flavor with many uses. Bon Appetit! Приятного аппетита!
Equipment
- 1 Water Canner
- 4 glass quart canning jars
- 1 jar lifter
Ingredients
- 4 lbs /2kg cucumbers with ends cut off
- 1 horseradish leaf blackcurrant leaf or cherry
- bunch of dill
- 1 head of garlic peeled into cloves
- 1½ tablespoons peppercorns
- 4 Bay leaves
- 1 carrot (optional) sliced lengthways into spears
- 2 tablespoons sliced onion (optional) for hamburger pickles
Pickling Brine
- 4½ cups water
- 4½ cups vinegar
- 9 teaspoons pickling salt
- 6 teaspoons sugar
Instructions
- Sterilize the washed glass jars and lids in boiling water for at least 10 minutes. Carefully remove.
Hamburger Pickles
- Wash and rinse your cucumbers. Remove the ends off your cucumbers and slice into ¼" thick round pieces.
- Place fresh dill, a Blackcurrant Leaf, garlic cloves, onion slice, peppercorns, Bay Leaf into the bottom of the jars. Pack in the cucumbers tightly.
Pickle Spears
- Wash and rinse your cucumbers. Remove the ends off your cucumbers and slice the cucumbers in half lengthways and then in half again, making cucumber spears. Thicker cucumbers will need to be cut into thirds.
- Place fresh dill, a Horseradish Leaf, garlic cloves, peppercorns, Bay Leaf into the bottom of the jars. Pack in the cucumbers tightly. Add a chili pepper if you like it spicy.
Classic Dill Pickles
- Wash and rinse your cucumbers. Remove the ends off your cucumbers.
- Place fresh dill, a Horseradish Leaf, garlic cloves, peppercorns, Bay Leaf into the bottom of the jars. Pack in the cucumbers tightly and add carrot slices between the gaps. Add extra dill and garlic throughout.
Pickling Brine
- Bring the water, pickling salt, sugar and vinegar to a rolling boil.
- Pour the boiling brine over the cucumbers, filling up the jar leaving a ½ inch gap from the top. Close the lids tightly.
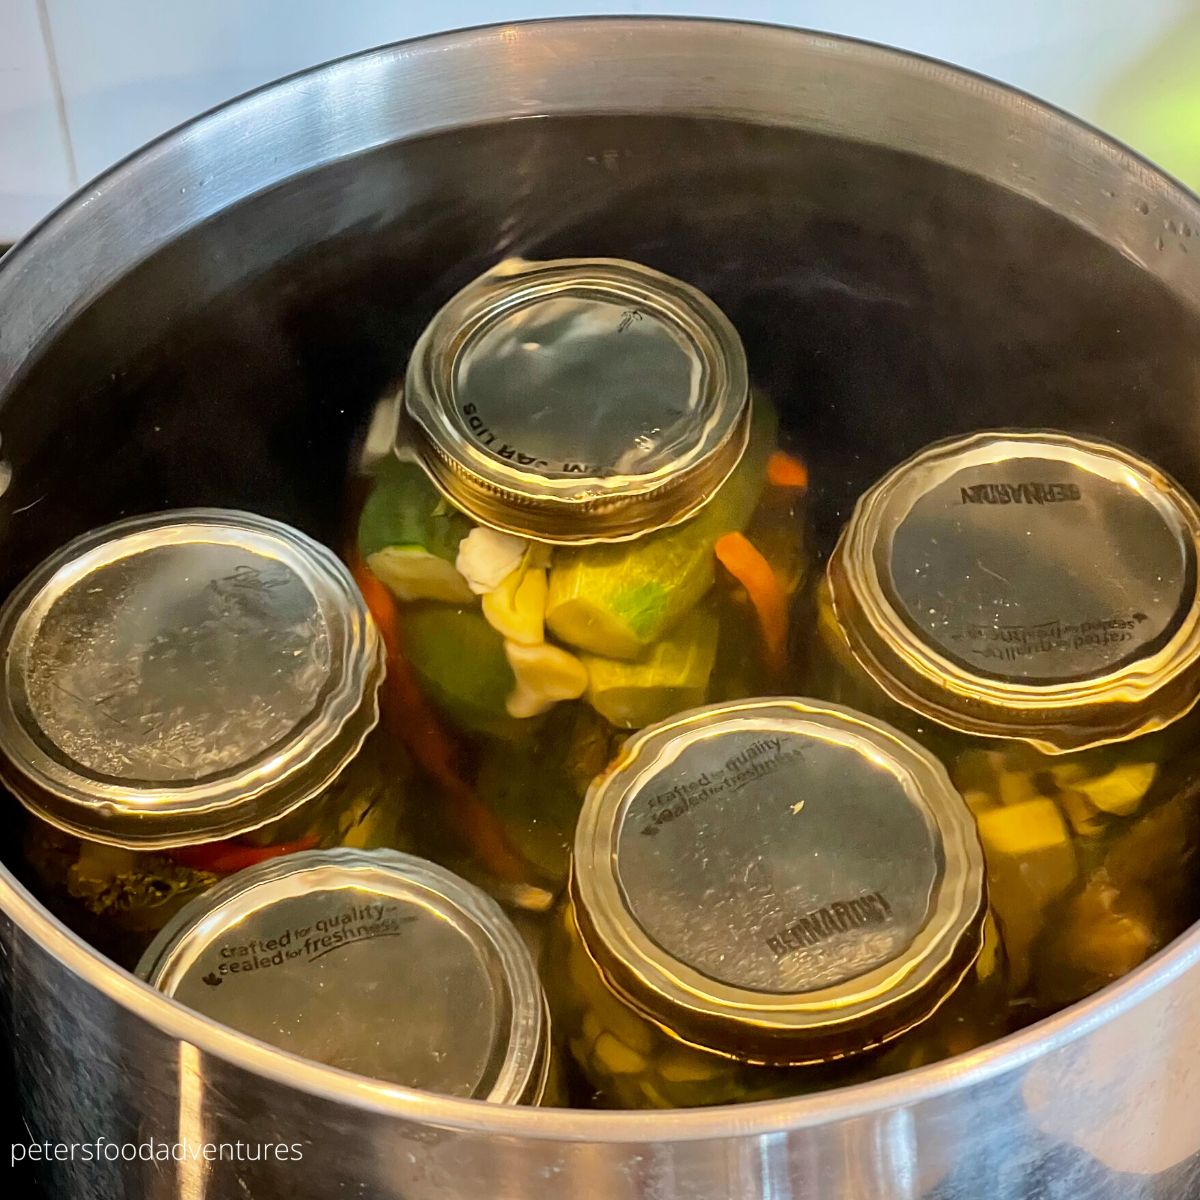
Water Canning Pickles
- Place the jars in the boiling water bath ensuring the lid is covered. Full canning recommendations from the USDA can be found here. Keep the pickles in the water bath (fully submerged) for 15 minutes before carefully removing and placing upside down on the countertop until fully cool.
- The jar should be sealed and ready for storing in your pantry. If the top of your lid still pops, then the seal did not take, so keep refrigerated and enjoy your pickles within a month.
Video
©PetersFoodAdventures.com