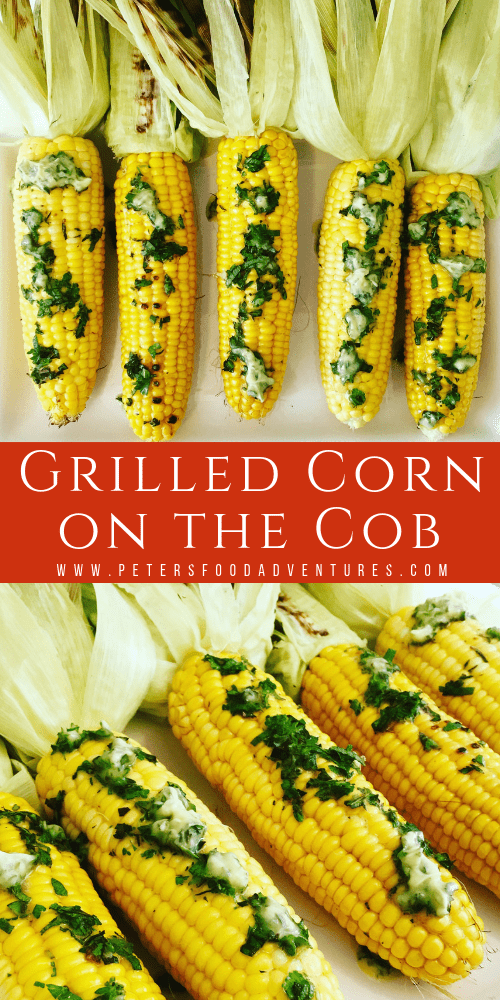
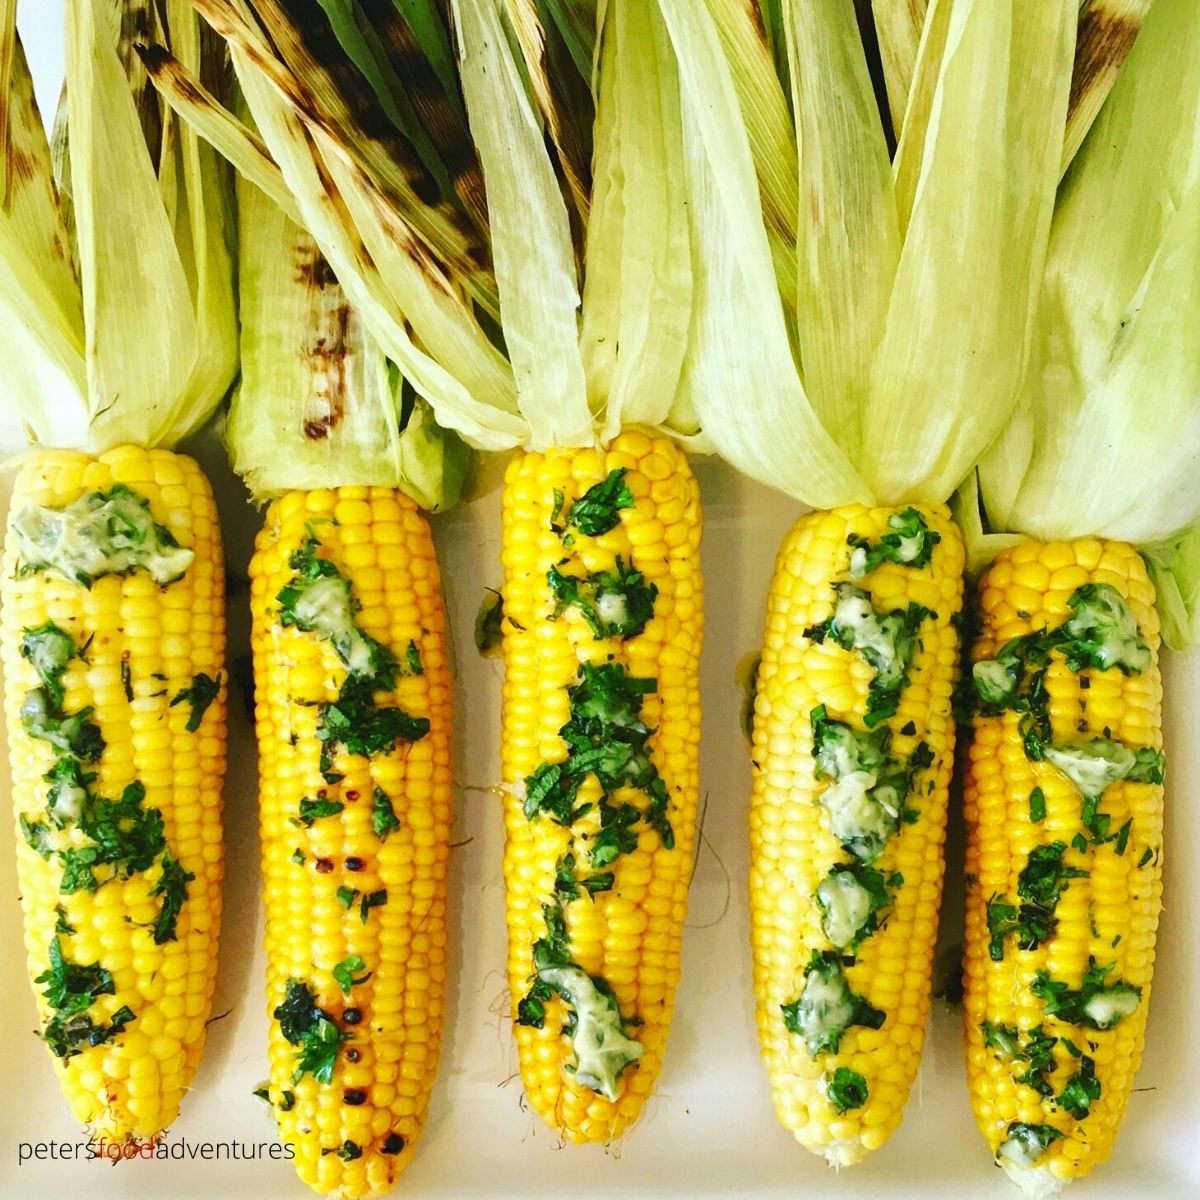
Grilling Corn in Husk is the best way to bbq corn, ensuring the corn kernels remain juicy. Perfect for summer barbecues, picnics or dinner. A tasty recipe that will impress your guests with the mouthwatering herb butter. Also Grilled Corn on the Cob in Foil instructions too! Something for everyone.
Why You'll Love This Recipe
- Easy - simple instructions, minimal ingredients, for any cooking skill level
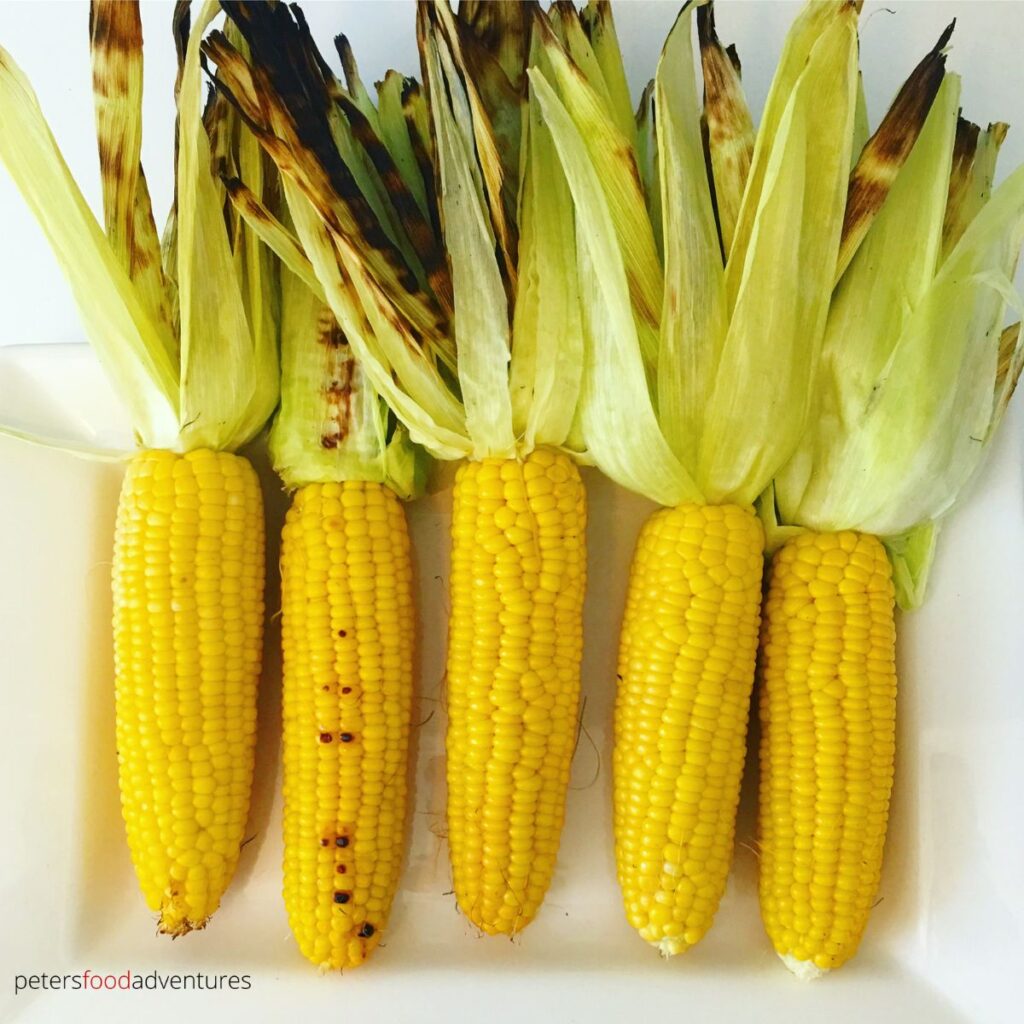
- Chargrilled - a slightly smokey flavor, while still keeping the corn kernels juicy and flavorful
- Impressive Visual Appeal - not boring corn on the cob, but a stand out side dish that looks incredible when serving with husks
What You Need For This Recipe
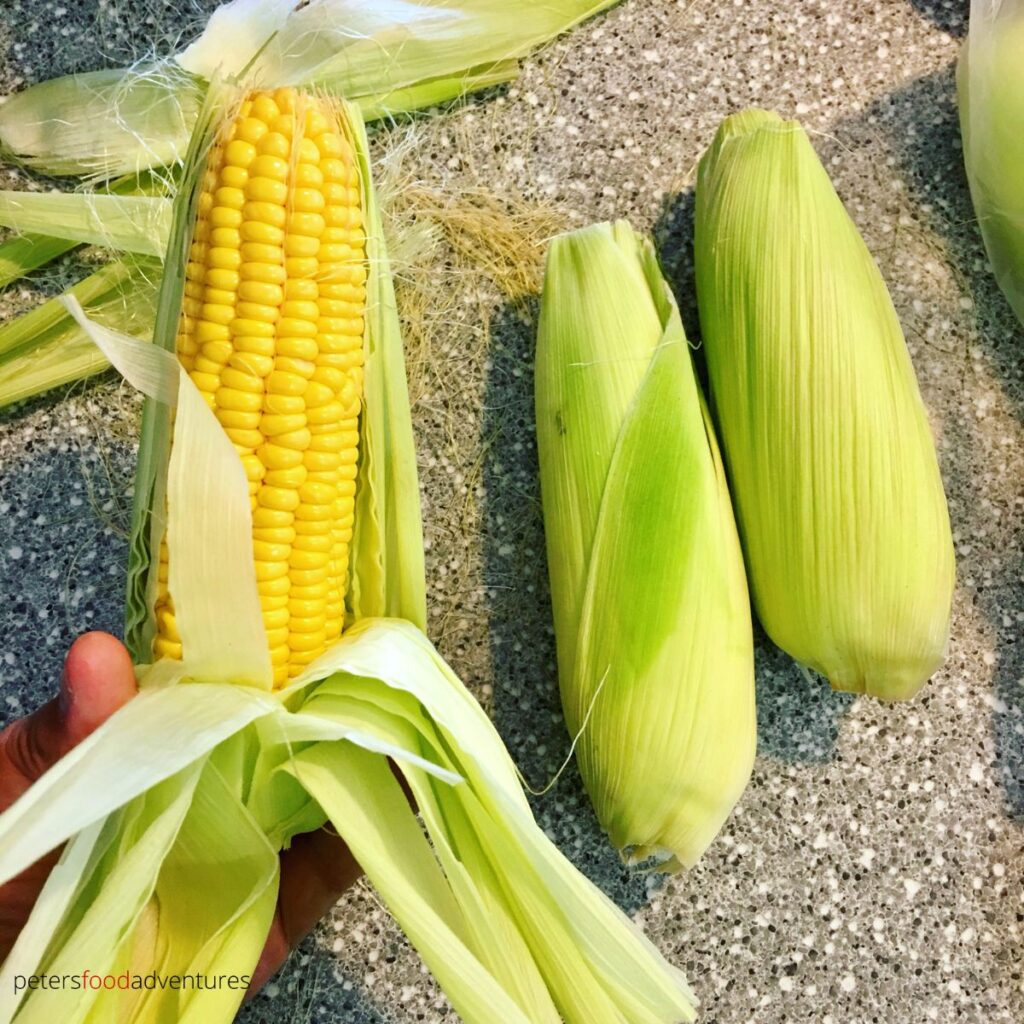
- Whole Ears of Corn - with husks attached
- Wire or String - to tie up the corn
- Water - to submerge the corn
- Salted Butter - softened to room temperature
- Fresh Herbs - parsley, oregano, basil
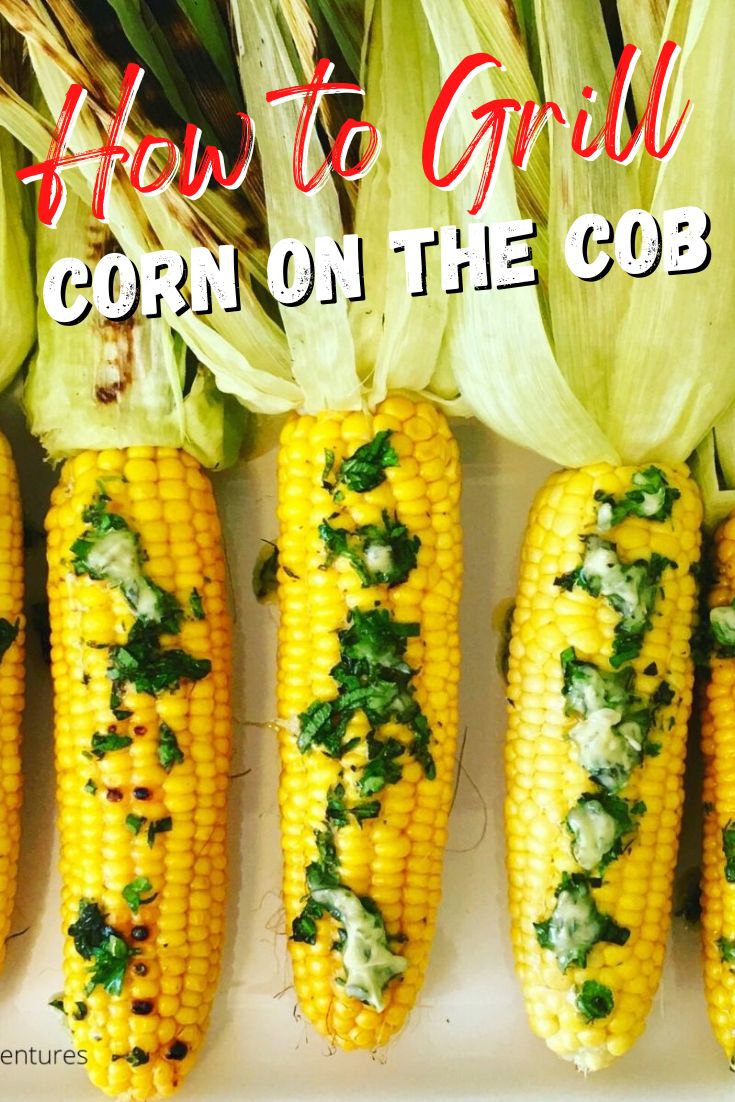
Grilling Corn in Husk
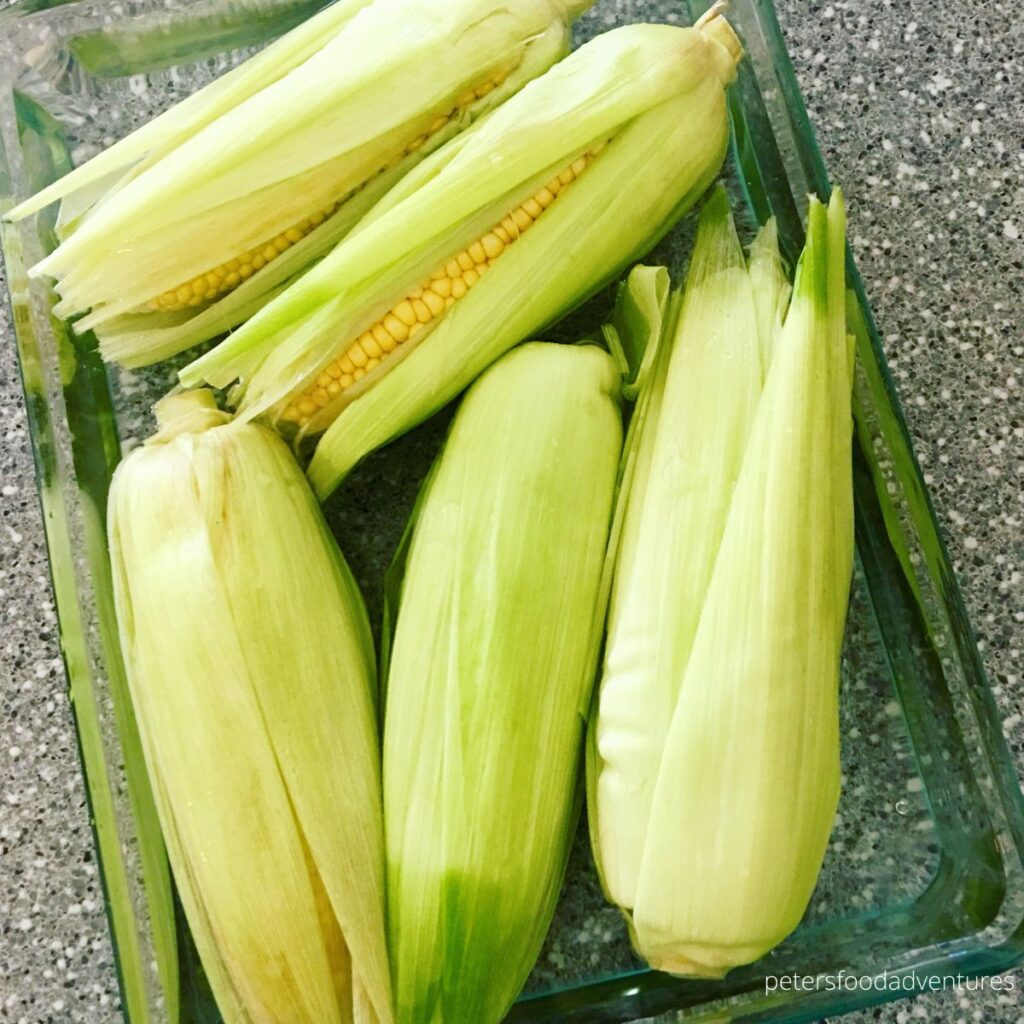
- Remove Corn Silk - pull the husks of corn down to the base, keeping them still attached to the corn. Remove the corn silk until the corn is clean.
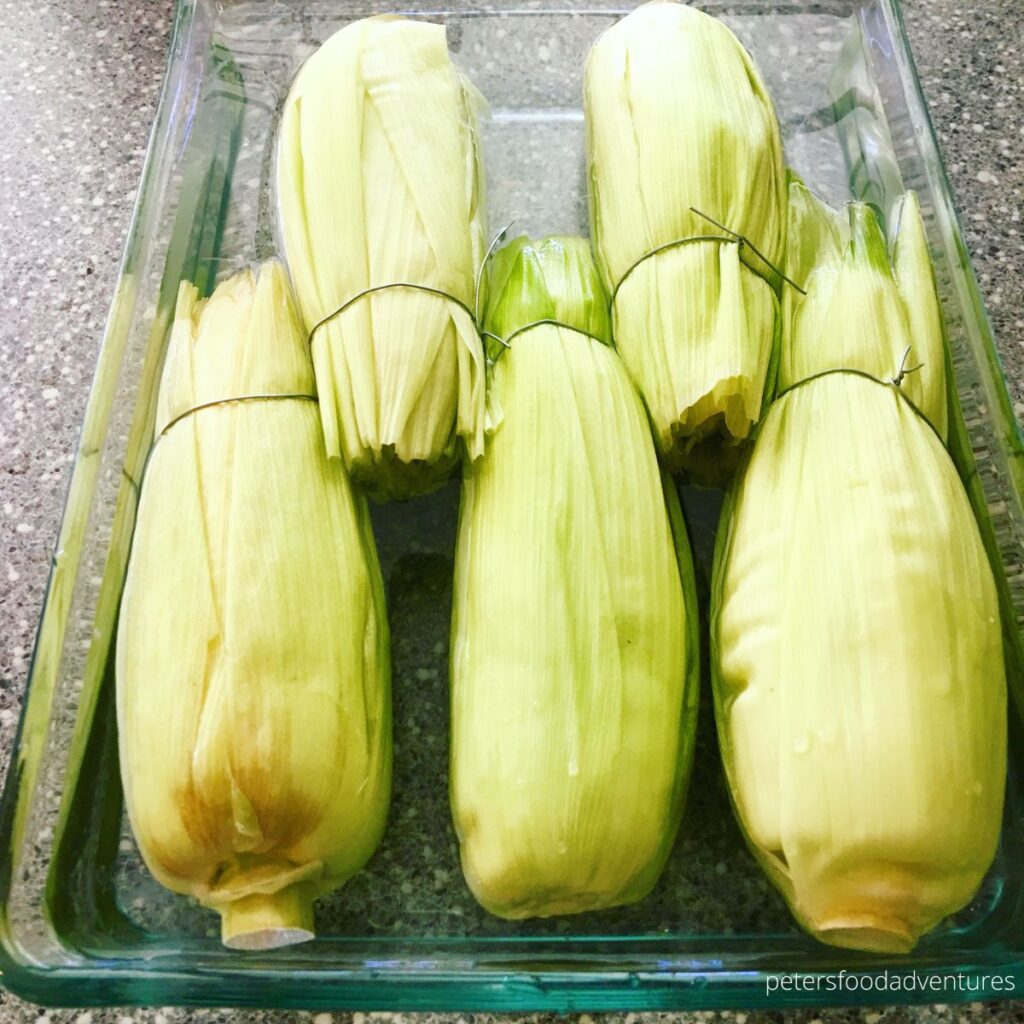
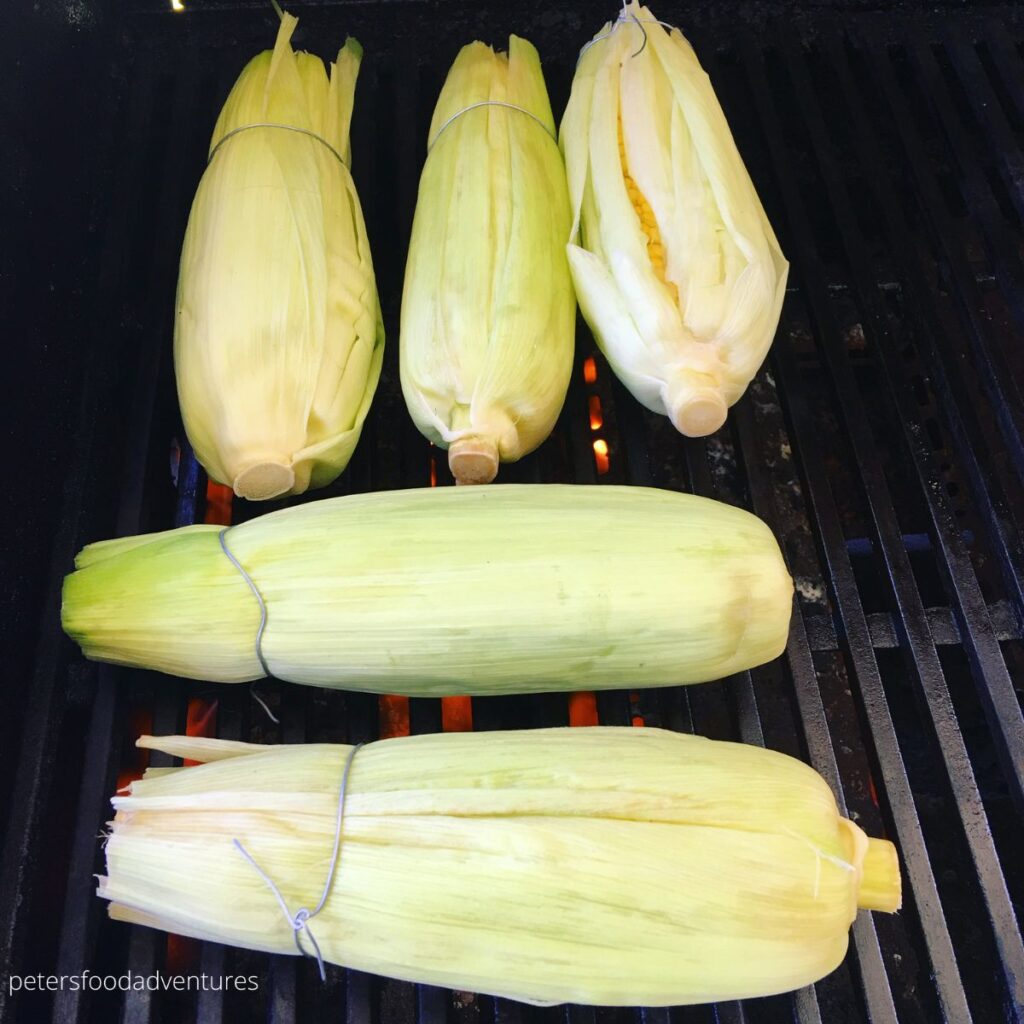
- Tie Together - close back the husks and tie together with a string or wire
- Soak - submerge corn husks in water for at least 15 minutes
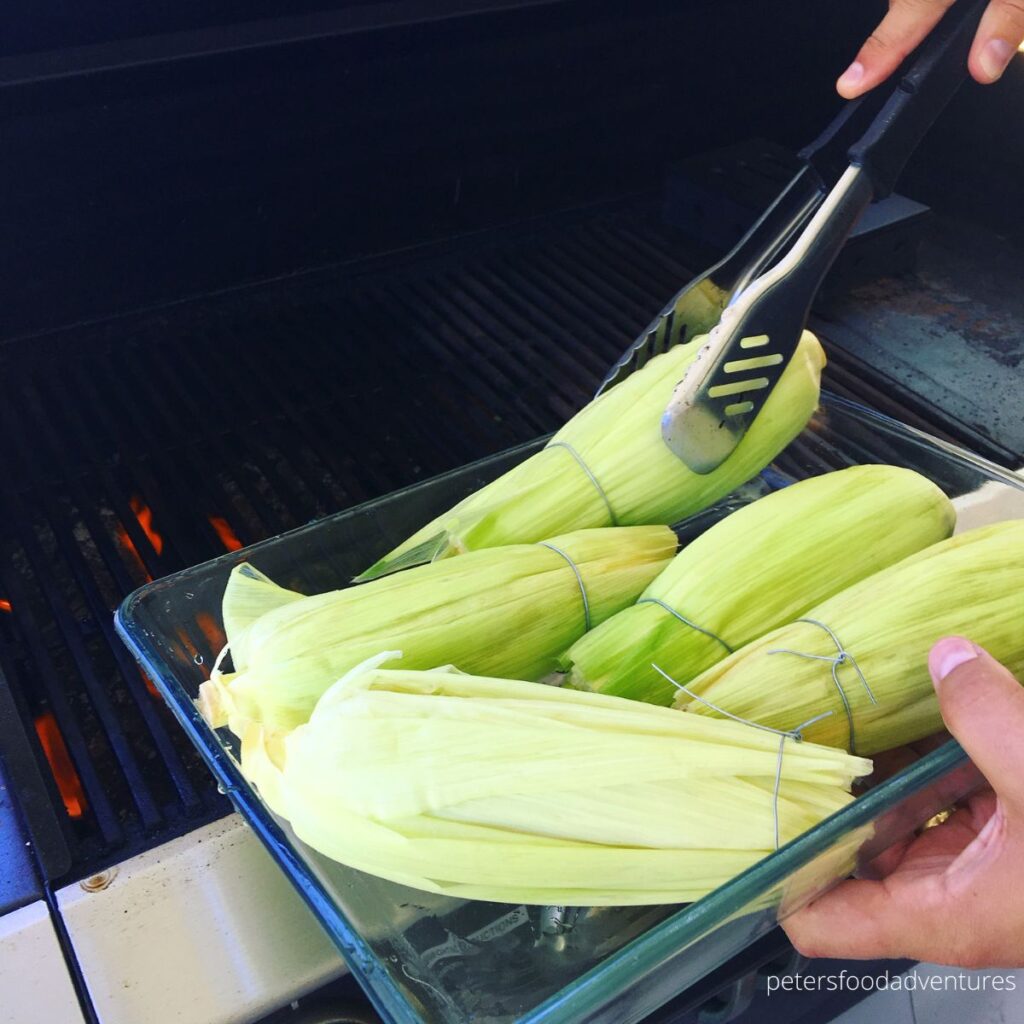
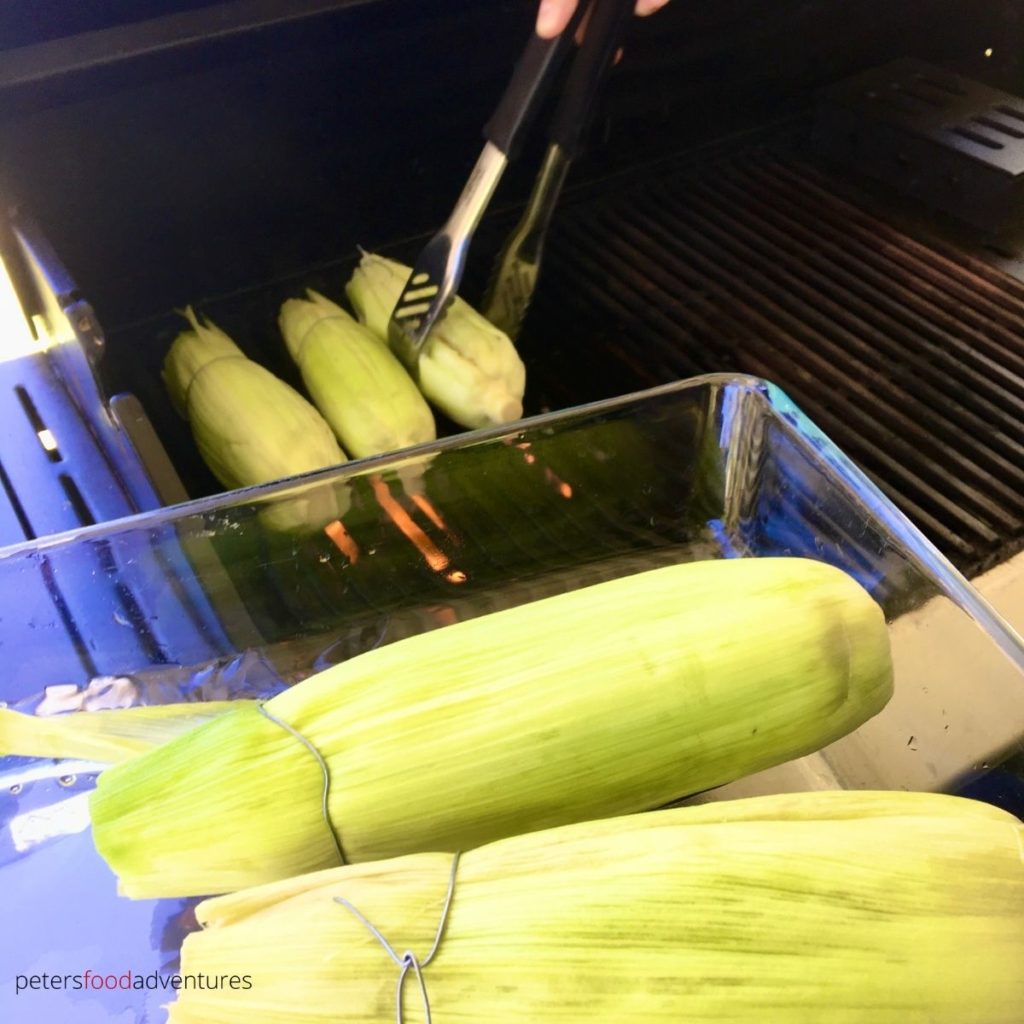
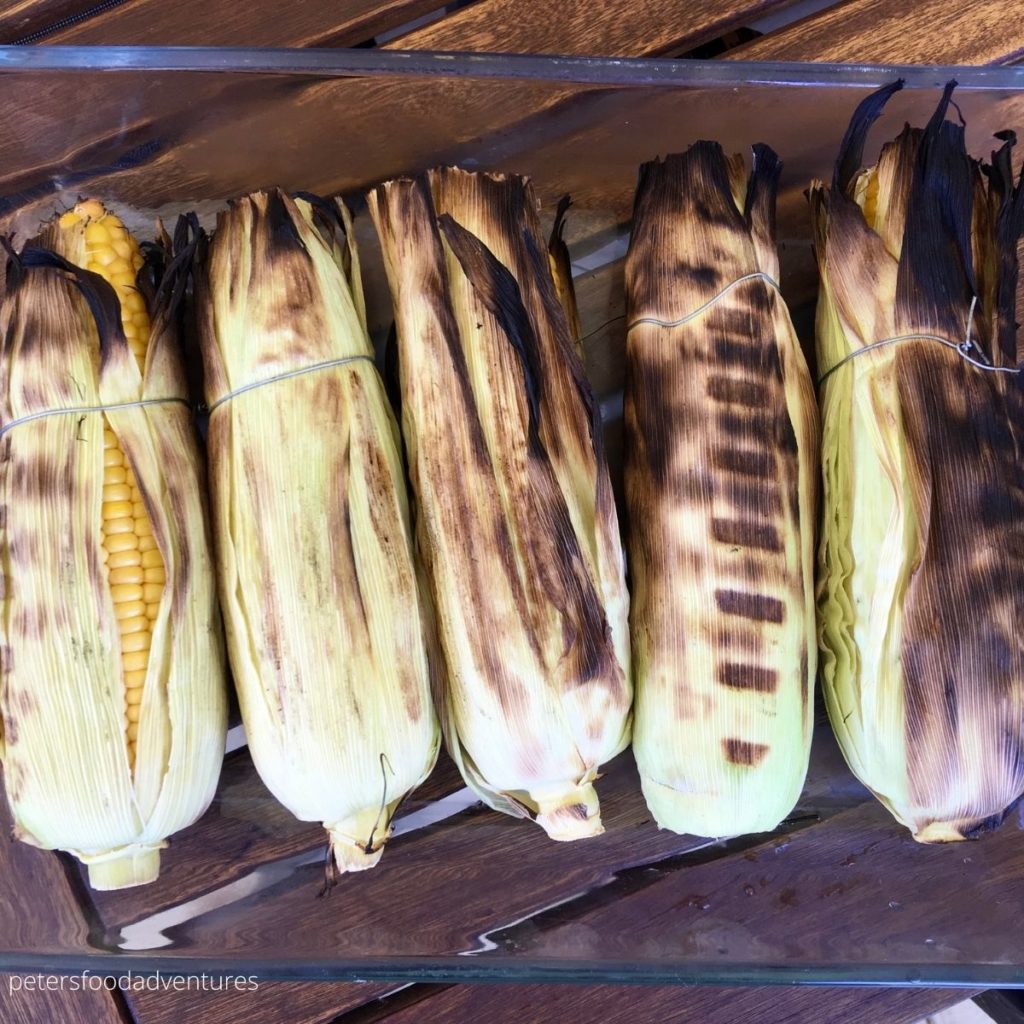
- Grill - pre-heat bbq on medium high. Grill for 15 minutes, or until the corn easily bursts when pierced. Turn over the corn every 5 minutes.
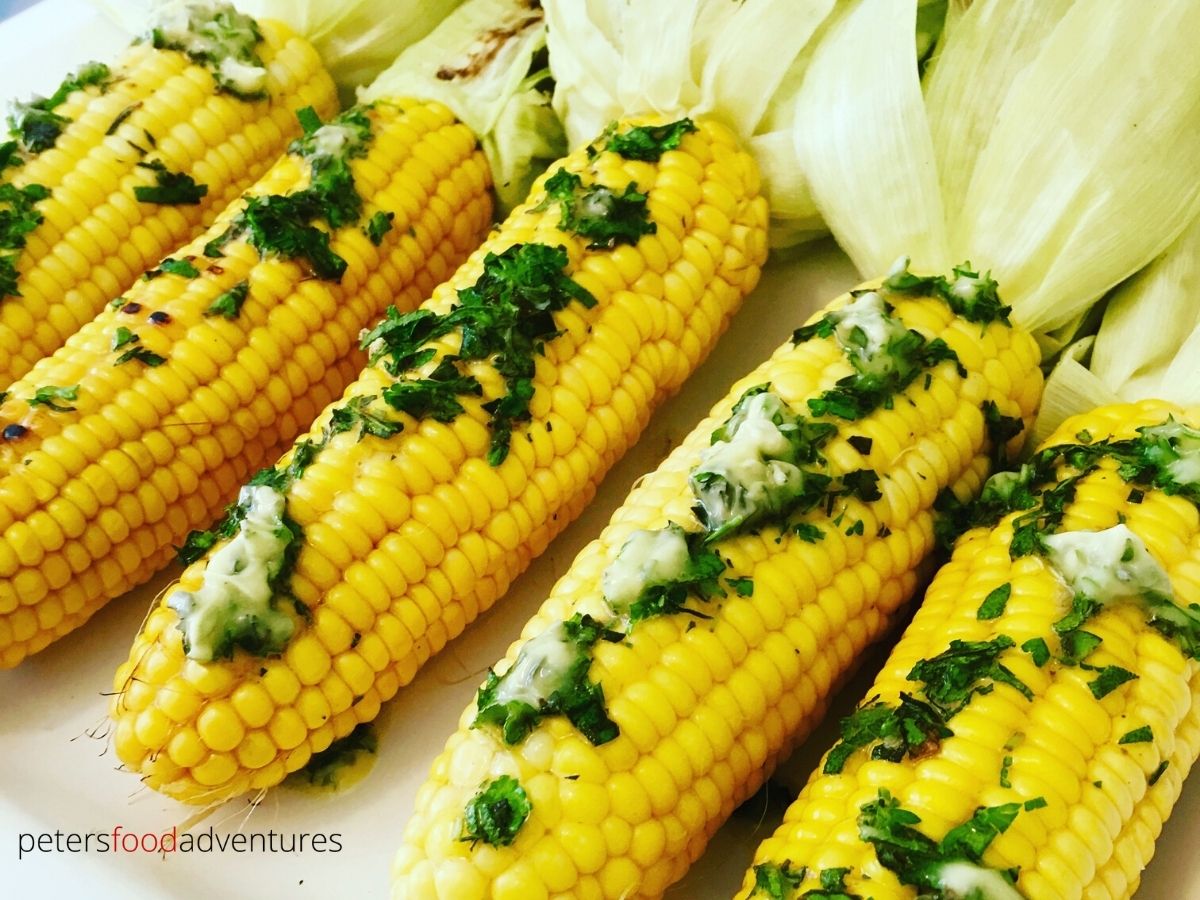
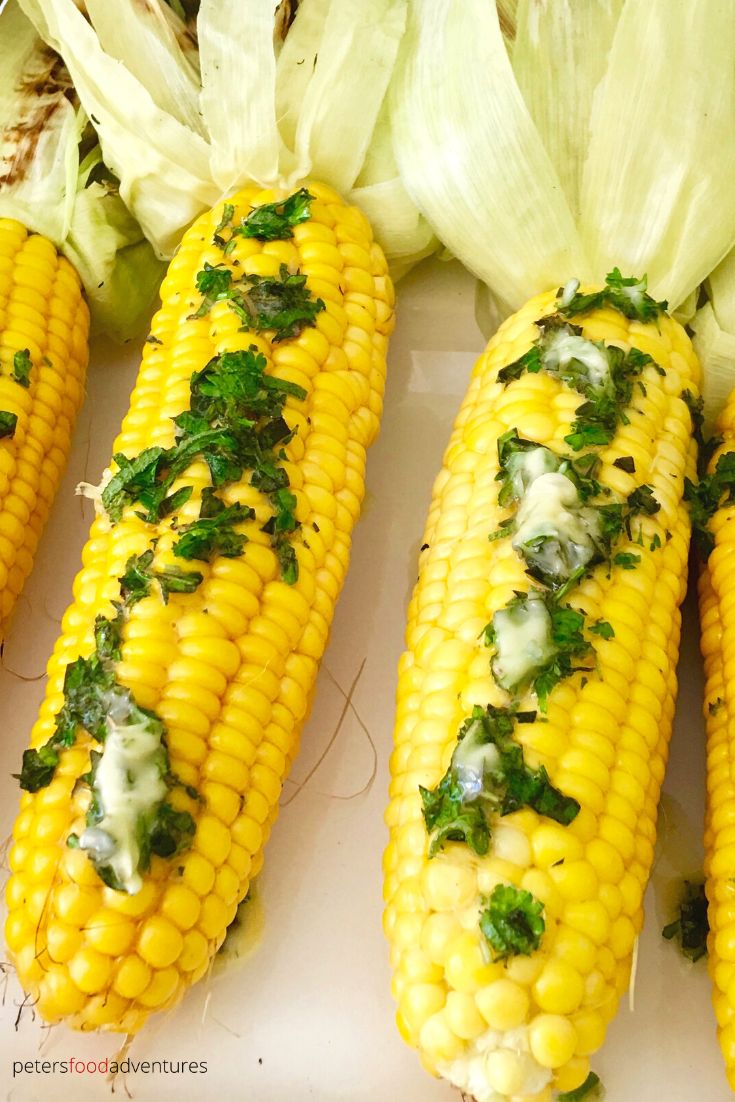
- Herb Butter - mix softened butter with chopped basil, parsley and oregano.
- Serve - slather with fresh herb butter and serve immediately.
Grilled Corn on the Cob in Foil
Corn isn't always sold with the husks attached. Supermarkets are starting to sell fresh corn with no husks, so here's another option so you don't miss out.
- Prepare Foil - place individual corn on a piece of aluminum foil (big enough to fully wrap the corn)
- Add Butter - slather corn with the herb butter
- Grill - wrap tightly with foil and place on gas bbq for 15-20 minutes until tender
- Serve - remove from heat, unwrap and add more herb butter when serving
Herb Butter for Corn
The best way to elevate the flavor when Grilling Corn in Husk is the herb butter mixture. Be flexible with the flavors you prefer, using your favorite fresh herbs. Parsley, basil, cilantro, thyme, chives, dill and oregano are easily found in supermarkets and gardens. Add a clove of minced garlic for extra flavor.
- Prepare Butter - soften butter to room temperature
- Add Herbs - chop your favorite fresh herbs, about 6 teaspoons per cup of butter
- Season - mix and season with salt and spices
Grilled Corn Flavor Ideas
- Mexican Street Corn - cover grilled corn with mayo or sour cream, then sprinkle crumbled cotija cheese (or feta), chili powder and lime juice
- Asian Corn - mix soy sauce, sesame oil and honey, brush over grilled corn
- Chipotle Buttered Corn - mix softened butter with Chipotle spice and chopped Chipotle in Adobo Sauce for a smokey and spicy twist
- Italian Corn - mix softened butter with Pesto and parmesan cheese
Recipe Tips and FAQs
- Vegan It - substitute butter with olive oil or a dairy free margarine
- Add Seasonings - try mixing in Cajun Spice, Cumin, Curry Powder or Cayenne to make the butter extra tasty
- Test for Doneness - peel back a corner of the grilled corn and pierce with a knife or fork. Kernels should be plump and juicy with some charring
- Rotate Frequently - to ensure even cooking and charring, rotate corn every 5 minutes
Can I Grill Frozen Corn?
Yes, frozen corn can be grilled. Make sure you defrost before following the the same grilling instructions.
Do I Need to Soak Corn Before Grilling?
Soaking corn is optional but is recommended. Soaking husks prevents them from drying out and burning during the grilling process.
Storage
- Fridge - remove kernels from corn and place in airtight container for up to 3 days. Re-heat in microwave or in a frying pan.
- Freezer - allow to fully cool and remove kernels from corn. Place corn into a Ziploc bag, squeezing out the air. Freeze for up to 3 months. Thaw in fridge overnight or gently microwave or heat in a frying pan.
Side Dishes You'll Love
- Grilled Zucchini
- Garlic Butter Green Beans
- Asian Snow Peas
- Olivier Potato Salad
- Air Fryer Potato Wedges
- Crispy Roasted Moroccan Potatoes
- Garlic Parmesan Roasted Broccoli
Grilling Corn in Husks is easy to make and the perfect side dish, a great addition to salads, salsas, tacos and soups. Enjoy on its own as Corn on the Cob or part of your next backyard bbq. Bon Appetit! Приятного аппетита!
Equipment
- string or wire
- Aluminum Foil
Ingredients
Grilled Corn
- 5-6 whole ears of corn with husks attached
Fresh Herb Butter
- 1 cup butter softed to room temp
- 2 teaspoons fresh parsley chopped
- 2 teaspoons fresh oregano chopped
- 2 teaspoons fresh basil chopped
- pinch of salt
Instructions
Grilling Corn in Husk
- Remove Corn Silk - pull the husks of corn down to the base, keeping them still attached to the corn. Remove the corn silk until the corn is clean.
- Tie Together - close back the husks and tie together with a string or wire
- Soak - submerge corn husks in water for at least 15 minutes
- Grill - pre-heat bbq on medium high. Grill for 15 minutes, or until the corn easily bursts when pierced. Turn over the corn every 5 minutes.
- Herb Butter - mix softened butter with chopped basil, parsley and oregano.
- Serve - slather with fresh herb butter and serve immediately.
Grilled Corn on the Cob in Foil
- Prepare Foil - place individual corn on a piece of aluminum foil (big enough to fully wrap the corn)
- Add Butter - slather corn with the herb butter
- Grill - wrap tightly with foil and place on gas bbq for 15-20 minutes until tender
- Serve - remove from heat, unwrap and add more herb butter when serving
©PetersFoodAdventures.com *originally posted January 2016, updated April 2024