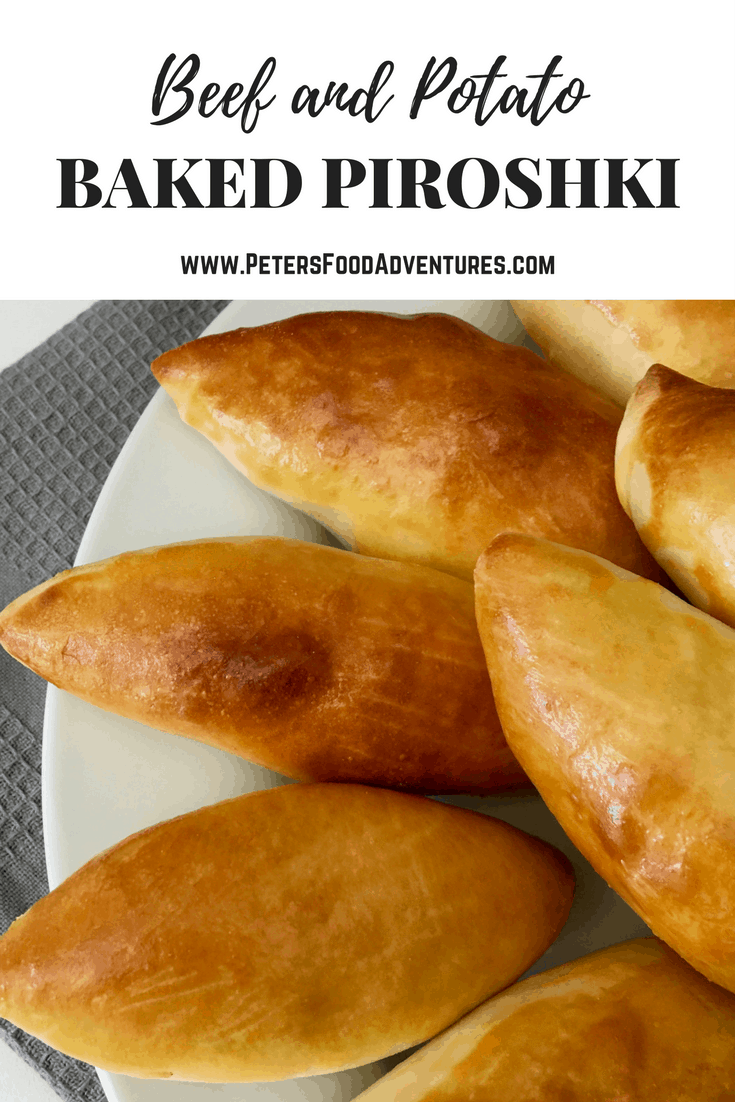
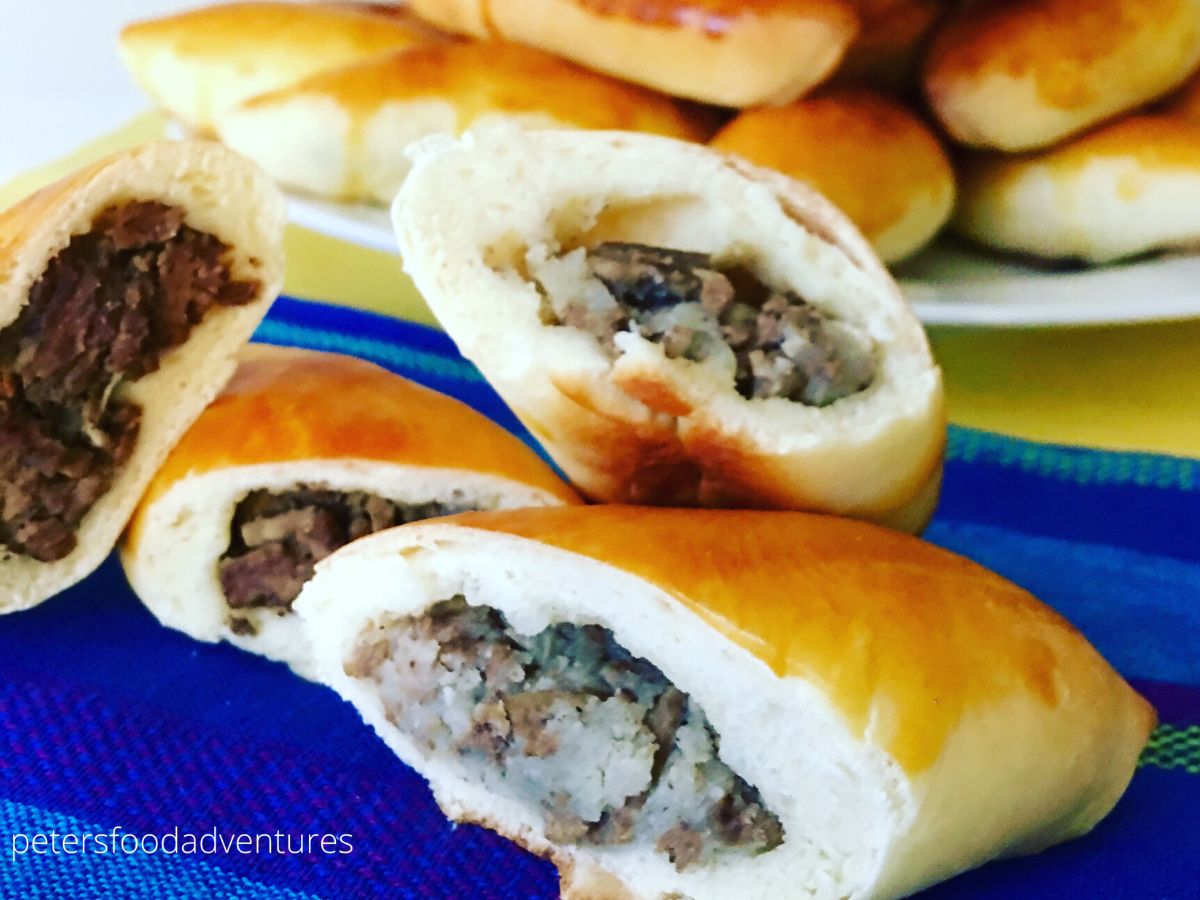
Classic oven baked Potato Piroshki are a popular Russian snack enjoyed in the former Soviet states. Like a hand pie stuffed with meat, baked in the traditional way. This Piroshki recipe is easy to make because of the bread machine dough recipe.
What are Piroshki?
Baked Potato Piroshki are simply the plural form of the Russian word Pirozhok, meaning small pie. A popular street food or snack made with a yeast dough. They're baked or fried and stuffed with a variety of different fillings.
Sometimes called Pirozhki, Piragi, or Pirojki, depending of what part of Eastern Europe you’re from. They were introduced by the USSR across the empire and are now commonly found across Eastern Europe to Central Asia.
Traditional Piroshki Dough
Sometimes I use a bread machine as a time saver to make the Piroshki dough. However, not everyone has one, or prefers the traditional method. To make traditional yeast dough for Piroshki, check out my Cabbage Piroshki recipe.
That's my Master Dough recipe that I use for anything savory that's made from yeast dough. Check out the video below to see step by step video instructions.
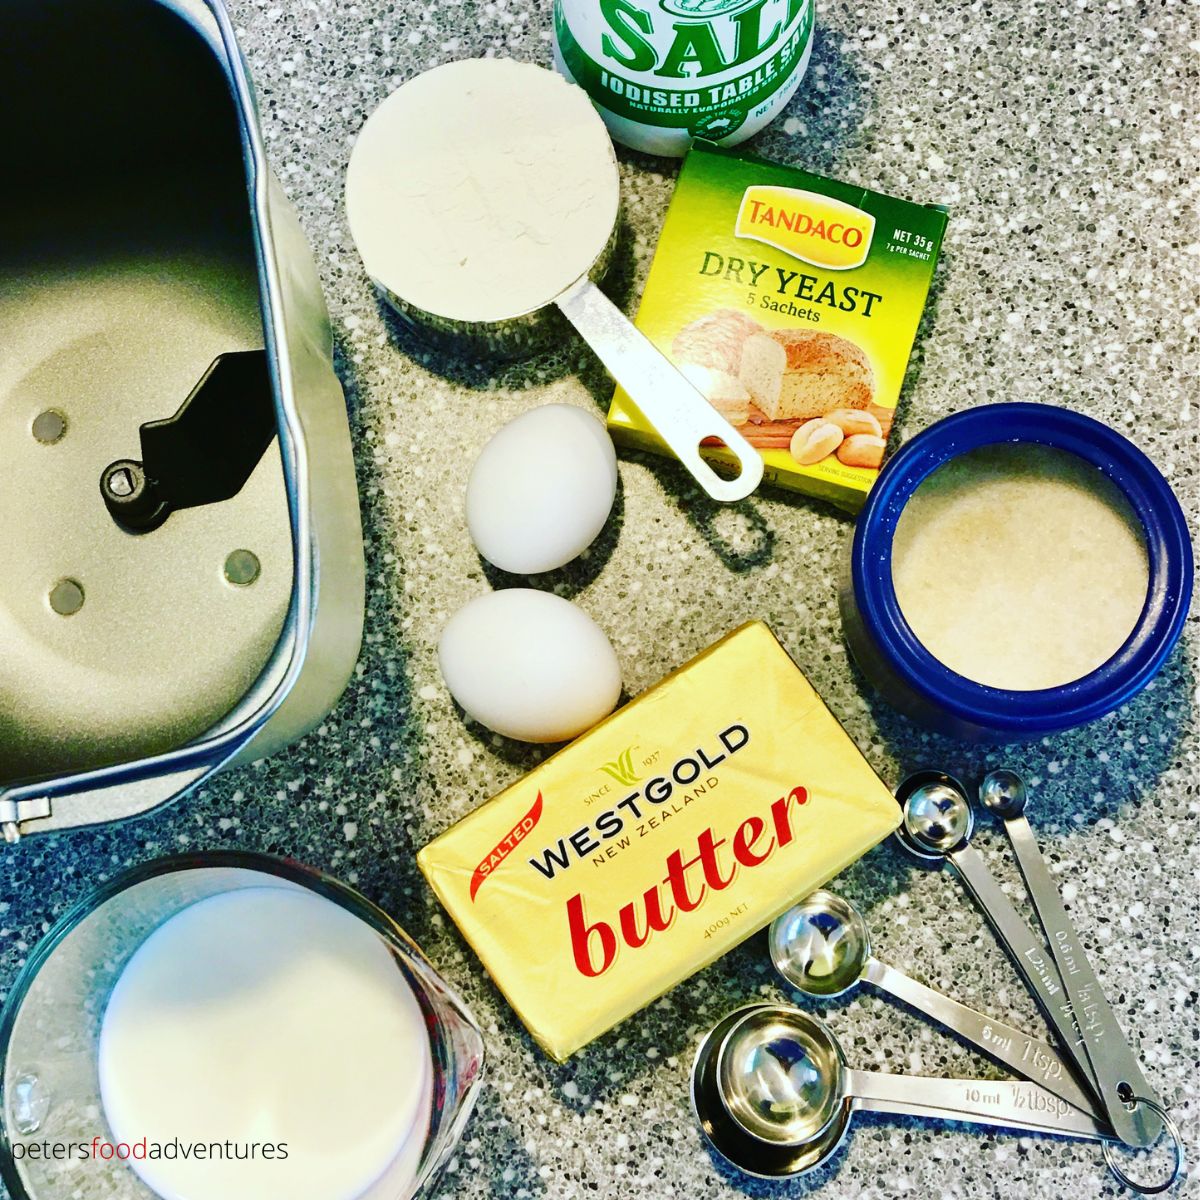
Ingredients for Bread Machine Dough
When I was learning how to cook, I used to be scared of the work required to make dough with yeast. The rising... the temperature... but I love the dough setting on my Cuisinart bread maker. It does all the work for me, just drop the ingredients and walk away. It's such an easy way to make yeast dough.
- 1 cup lukewarm milk
- 2 eggs
- 3 tablespoons oil or melted butter
- 3 ⅓ cups of flour
- 1 tablespoon sugar
- 1 ½ teaspoons salt
- 2 teaspoons Bread Machine Yeast
Fillings for Piroshki
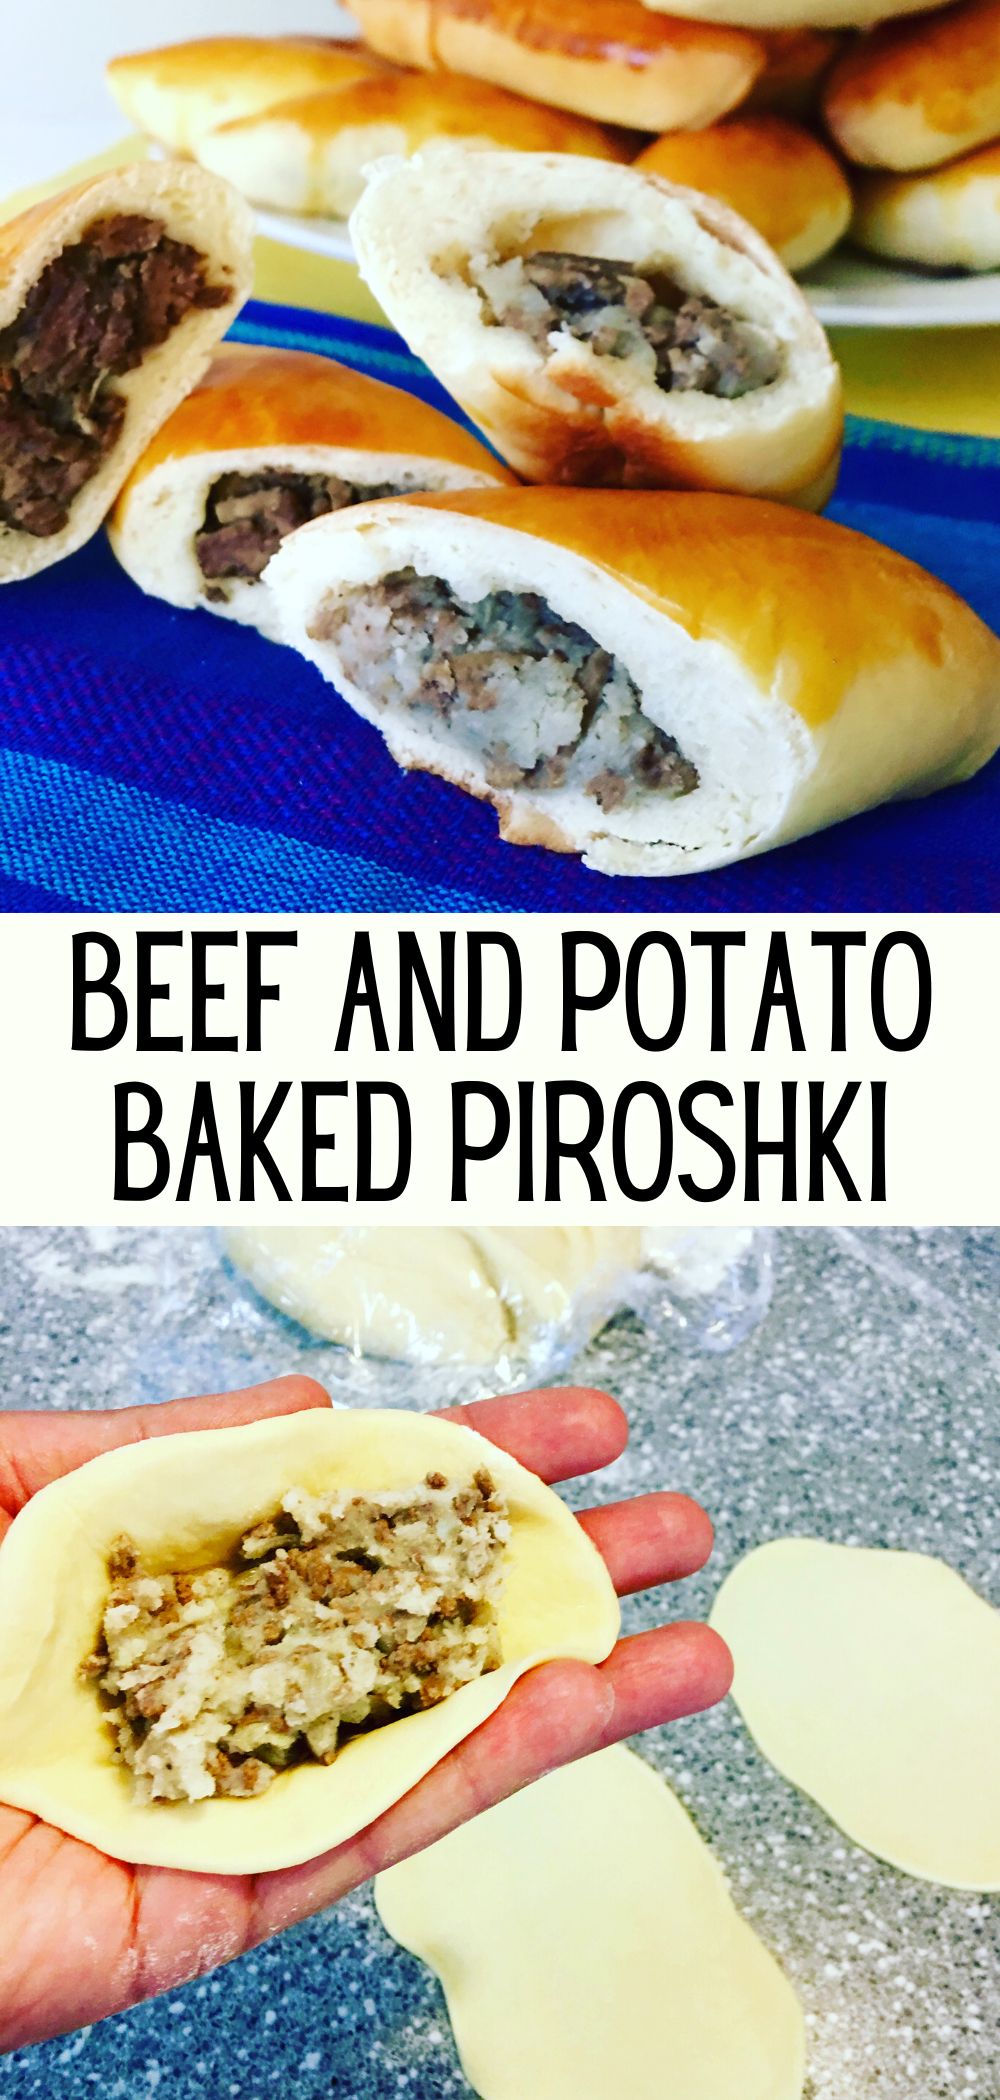
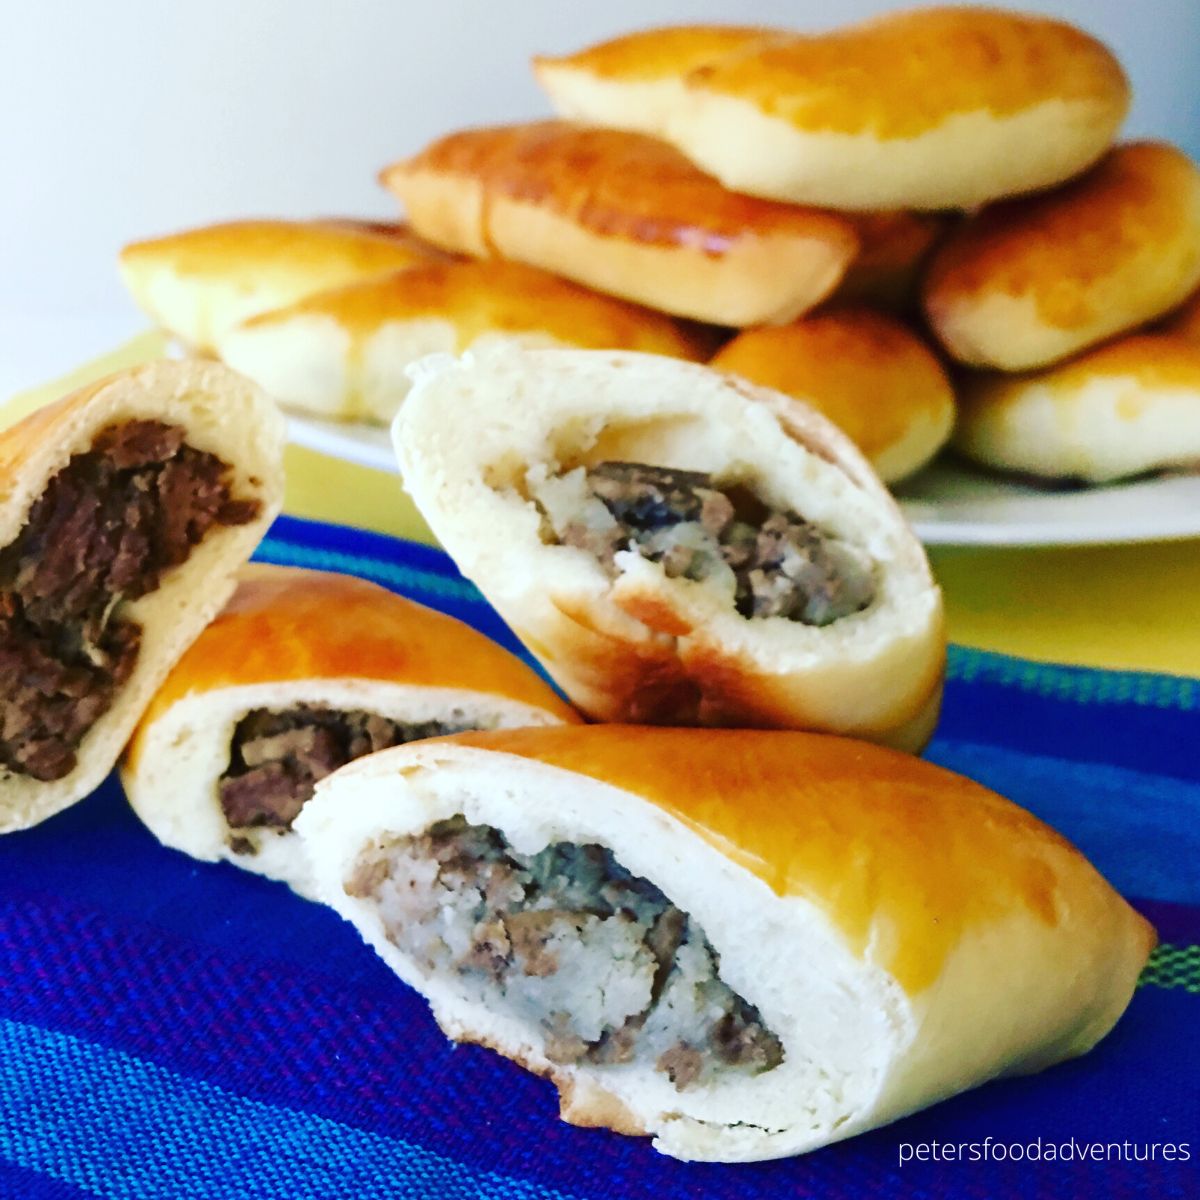
There are many variations of savory piroshki, and I think this Potato Piroshki recipe is one of my favorites. I think everyone loves potatoes. Combining leftover Mashed Potatoes with ground beef and onion is so simple and rustic, baked perfection. Here are some Piroshki filling ideas.
- beef and onion
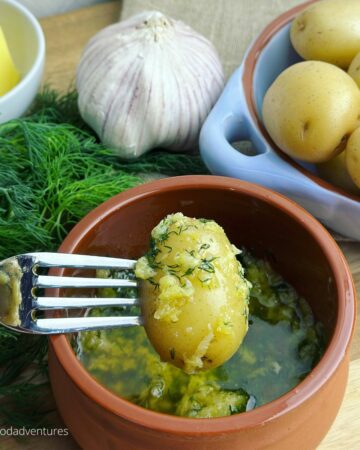
- mashed potatoes and onion
- braised cabbage
- buckwheat and egg
- mashed potatoes, onion and mushrooms
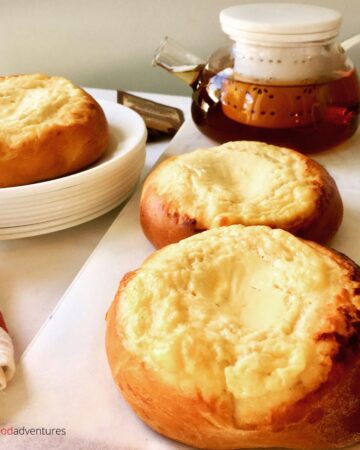
- tvorog or quark
- ground beef and rice
- beef, onion and bean vermicelli
How to Make Potato Piroshki
Prep Work
- Place dough ingredients in the bread machine and select the dough program. Takes about 90 minutes for the dough cycle to complete.
- Make mashed potatoes by boiling peeled potatoes and mashing them together in a bowl.
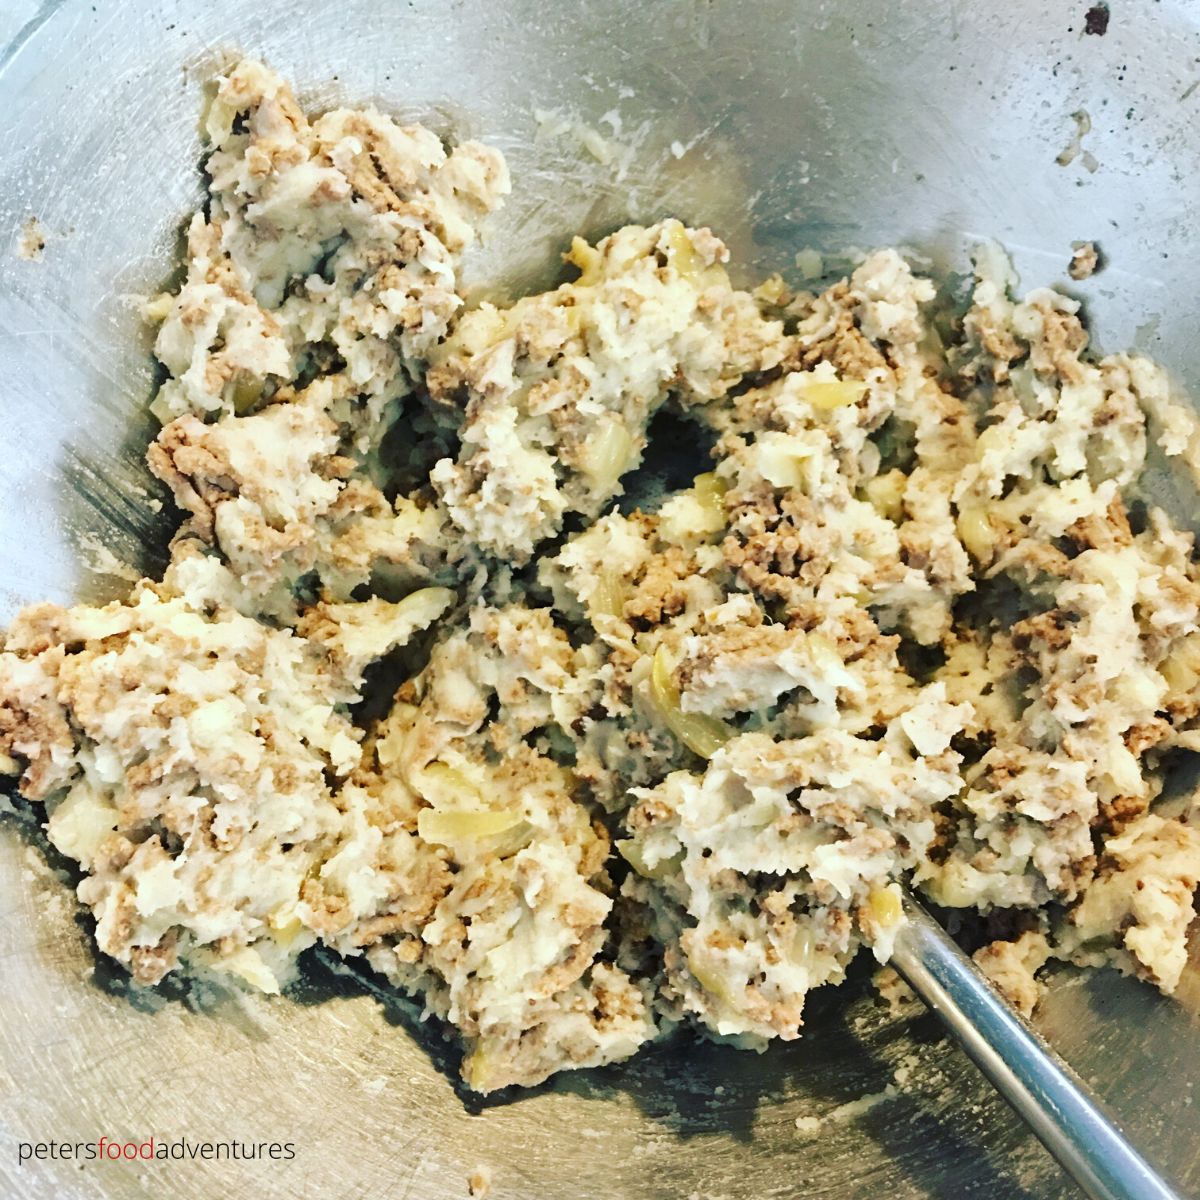
- Fry ground beef until evenly browned. Add onions and fry until translucent. Mix together with the mashed potatoes and season with salt and pepper. Allow to cool.
- Preheat oven to 350°F/ 180°C.
Assembling Piroshki
- When the dough cycle is done, place onto a lightly floured surface. Roll out the dough into a long sausage shape. Cut pieces of dough the size of a golf ball, it doesn't have to be perfect. You should get 24 pieces from this recipe.
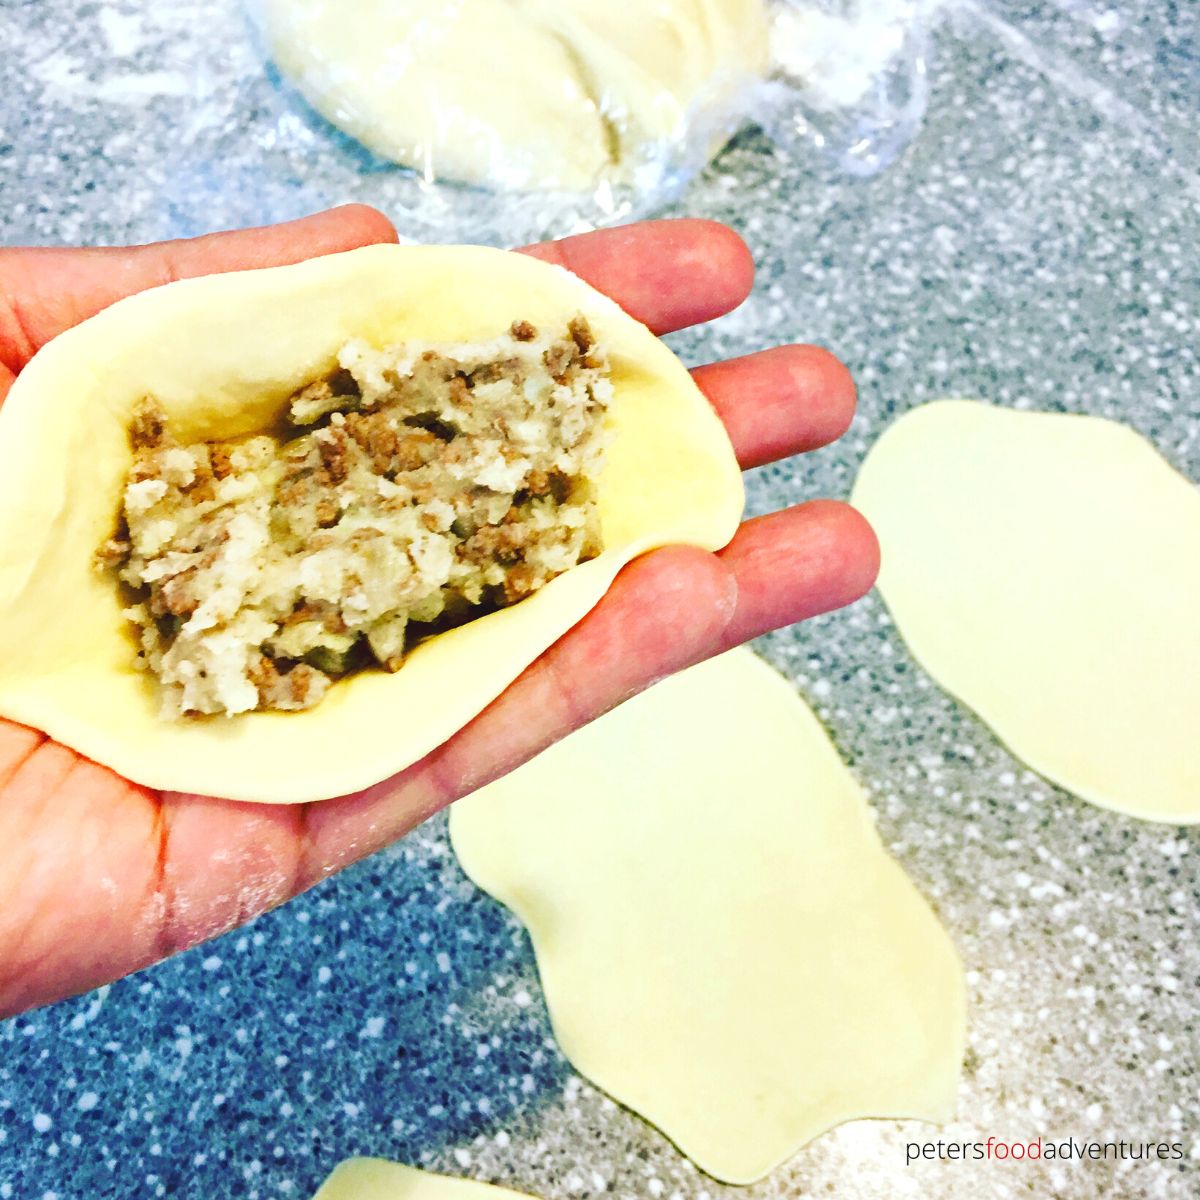
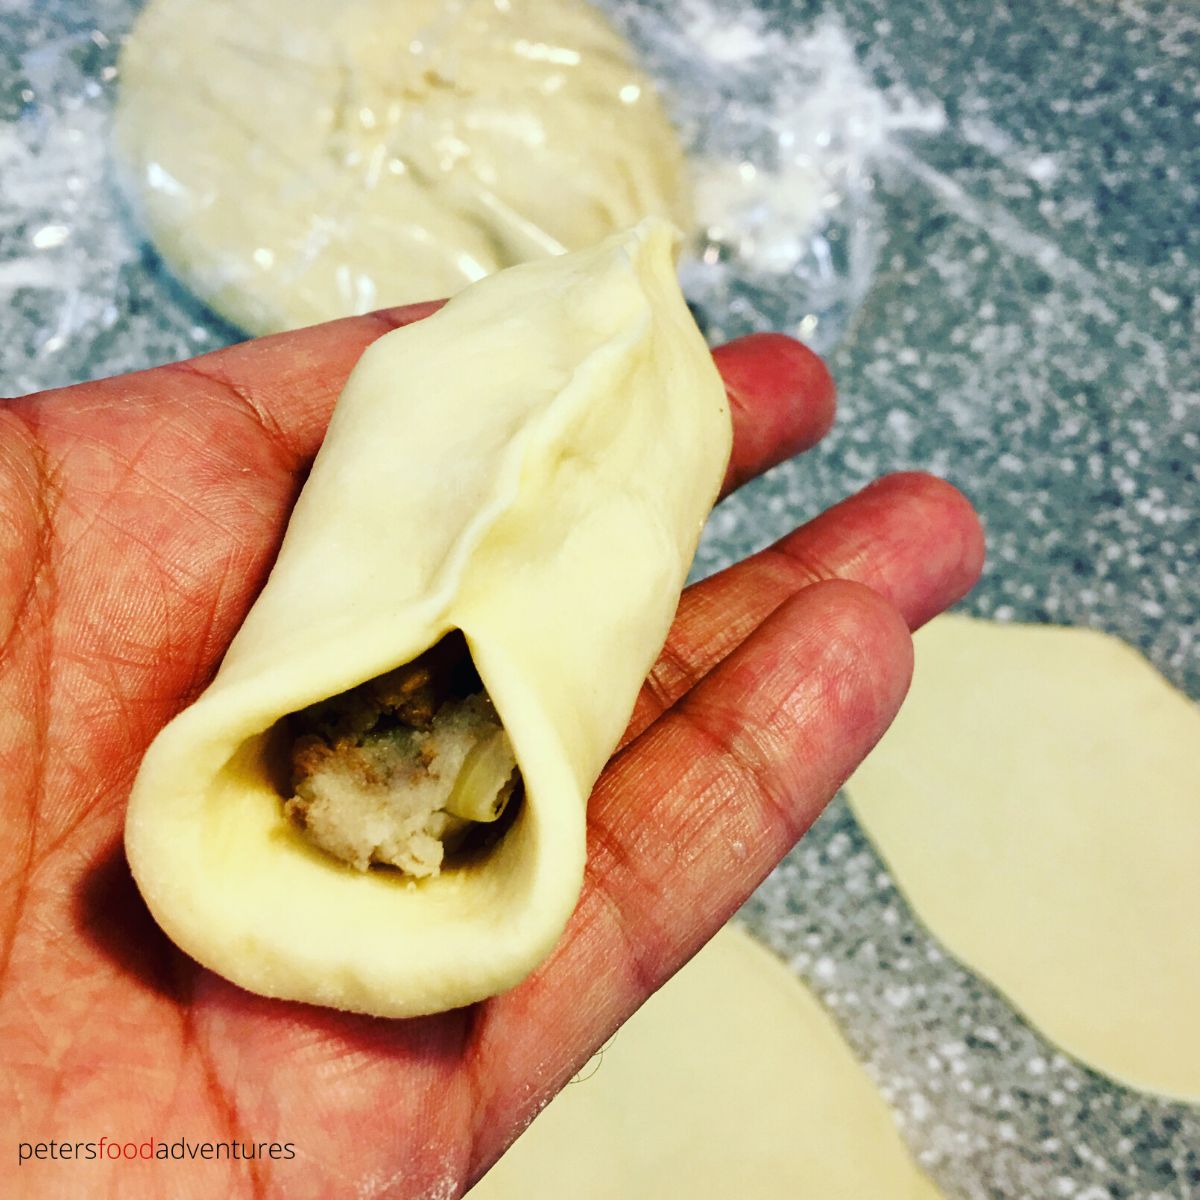
- Roll each dough balls thinly shaped ovals. Place about 1-2 tablespoons of the filling in the centre. Pinch both sides of the edges of the dough together, creating a seal all around. Don't allow the filling to touch the edges or the seal will come apart.
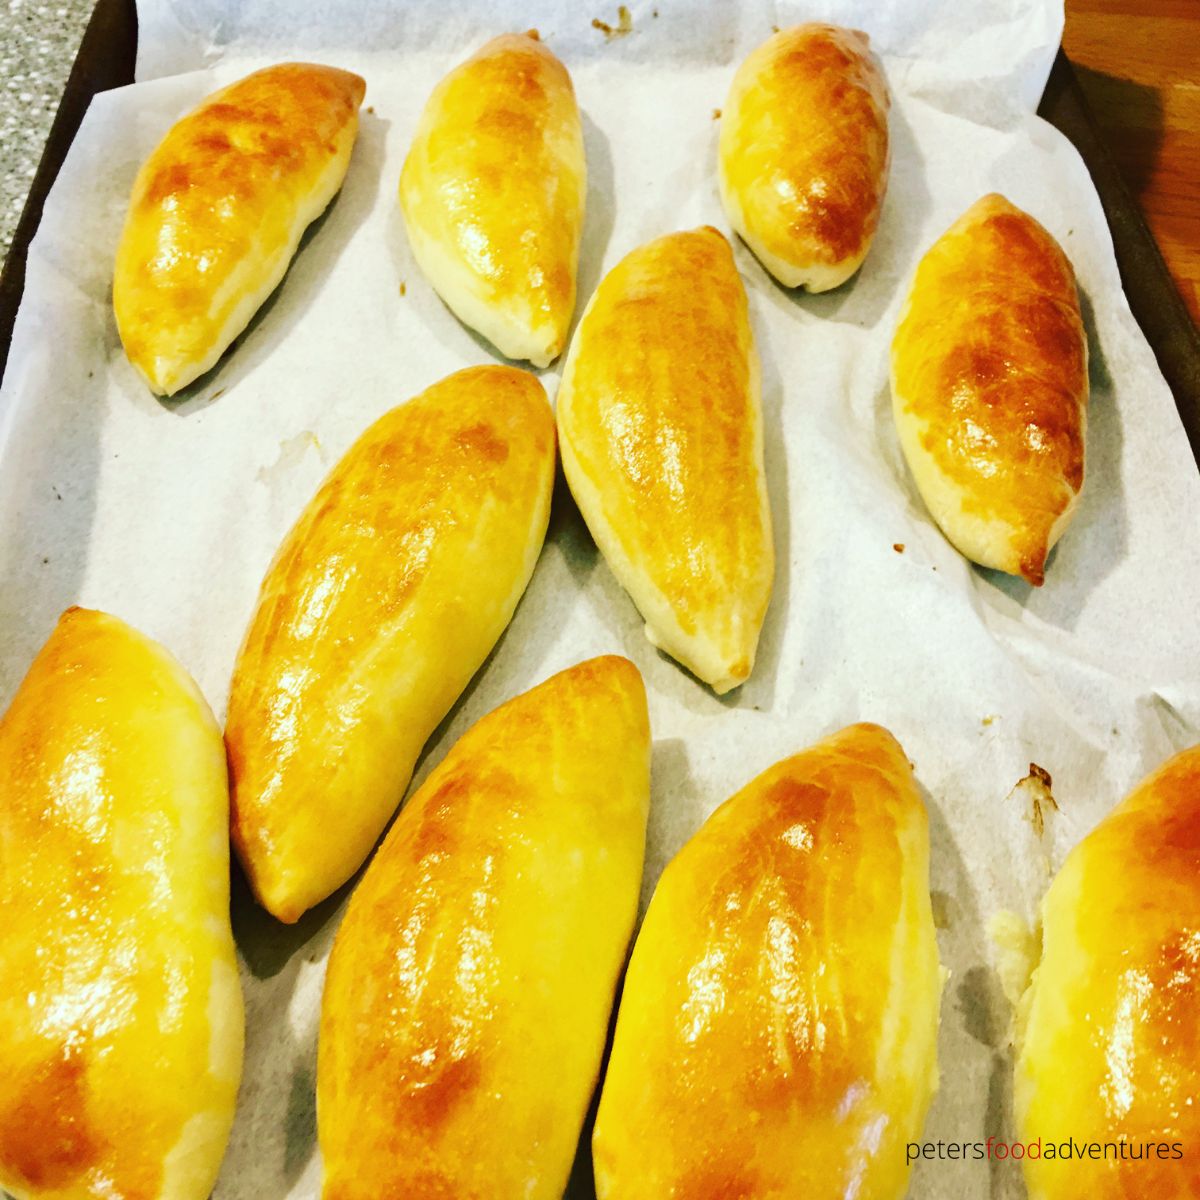
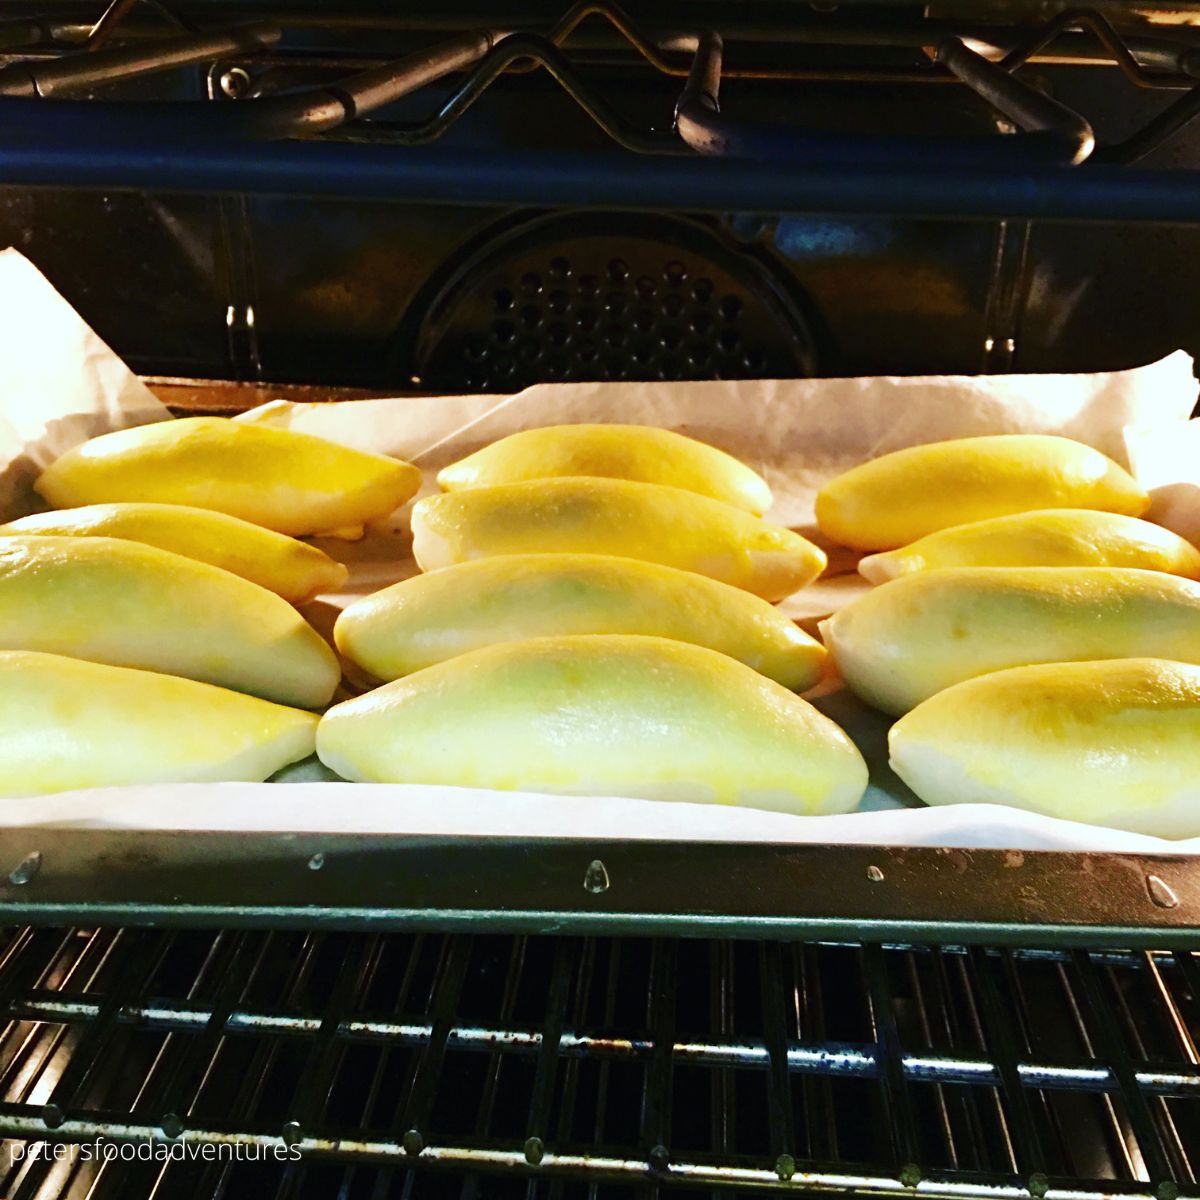
- Place the Piroshki upside down on baking paper so you cannot see the pinched seal, and flatten them a bit. Don't allow them to touch each other, as they will stick together.
- Make the egg wash by beating the egg yolk with 1 teaspoon of whipping cream and brush the piroshki with the egg wash before putting into the oven.
- Place into the oven and bake until golden brown, about 15 minutes.
Piroshki Recipe Tips and FAQs
- Cover dough pieces you aren't working on with cling wrap so they don't dry out. I made 4 piroshki at a time before rolling out more, allowing 12 Piroshki per baking sheet.
- Lukewarm milk means around 100°F/38°C. Too cold and the yeast won't activate, and too hot it will kill the yeast.
- Mixing the Beef with Potato makes the filling easier to work with compared to regular ground beef. The potato binds the mixture together, and doesn't get in the way of pinching to seal your Piroshki.
- If you don't have baking paper, you can bake piroshki on a greased baking tray.
- Use an Air Fryer! Bake in your Air Fryer for 4-5 minutes per side until golden brown
Can You Freeze Piroshki
Yes! Piroshki freeze really well, allowing the kids to pull them out for an after school snack. Allow them to cool before putting in a Ziploc bag. Should last about 3 months in the freezer (if they last that long).
Reheating Piroshki
Piroshki taste best when served warm, just like they came out of the oven. Microwave one or two Piroshki for 30 seconds, and zap again if required. To reheat frozen Piroshki, microwave for 1 minute, and add 30 seconds more if needed. Alternatively, cover with foil and reheat in oven until warm.
How to Serve Piroshki
- Heinz Ketchup, which isn't traditional, but tastes great.
- Smetana or Sour Cream
- Dip into Sriracha Mayo (clearly not traditional but delicious)!
- Serve alongside Shchi Cabbage Soup or with Borscht
Hand Pie Recipes You Need to Check Out!
- Chebureki - my mother's recipe with an easy follow recipe
- Fried Piroshki - classic beef and onion hand pies, pan fried
- Cabbage Piroshki - a tasty vegetarian version
- Baked Piroshki - like babushka made, with beef and onion
- Easy Blueberry Piroshki - sweet, not savory with fresh and canned blueberries
These mini meat pies are sure to be a hit. This Baked Potato Piroshki recipe is healthier than fried, and absolutely delicious. From my kitchen to yours. Bon Appetit! Приятного аппетита!
Equipment
- Bread Machine
Ingredients
Bread Maker Dough Recipe
- 1 cup milk lukewarm
- 2 eggs set aside 1 yolk for egg wash
- 3 tablespoons oil - using 15ml measure - melted butter is better
- 3 ⅓ cups of flour
- 1 tablespoon sugar
- 1 ½ teaspoons salt
- 2 teaspoons yeast - slightly less than a packet
Piroshki Filling
- 1 lb /500g lean ground beef
- ½ lb /250g potatoes boiled, peeled and mashed
- 1 large onion chopped finely
- ½ teaspoon salt to taste
- ½ teaspoon black pepper
Egg Wash
- 1 egg yolk
- 1 teaspoon whipping cream
Instructions
Preparing to Make Piroshki
- Place dough ingredients in the bread machine and select the dough program. Takes about 90 minutes for the dough cycle to complete.
- Fry ground beef until evenly browned. Add onions and fry until translucent. Mix together with the mashed potatoes and season with salt and pepper. Allow to cool.
- Preheat oven to 350°F/180°C.
Assembling Piroshki
- When the dough cycle is done, place onto a lightly floured surface. Roll out the dough into a long sausage shape. Cut pieces of dough the size of a golf ball, it doesn't have to be perfect. You should get 24 pieces from this recipe.
- Roll each dough balls thinly shaped ovals. Place about 1-2 tablespoons of the filling in the centre. Pinch both sides of the edges of the dough together, creating a seal all around. Don't allow the filling to touch the edges or the seal will come apart.
- Place the Piroshki upside down on baking paper so you cannot see the pinched seal, and flatten them a bit. Don't allow them to touch each other, as they will stick together.
- Make the egg wash by beating the egg yolk with 1 teaspoon of whipping cream and brush the piroshki with the egg wash before putting into the oven.
- Place into the oven and bake until golden brown, about 15 minutes.
©PetersFoodAdventures.com