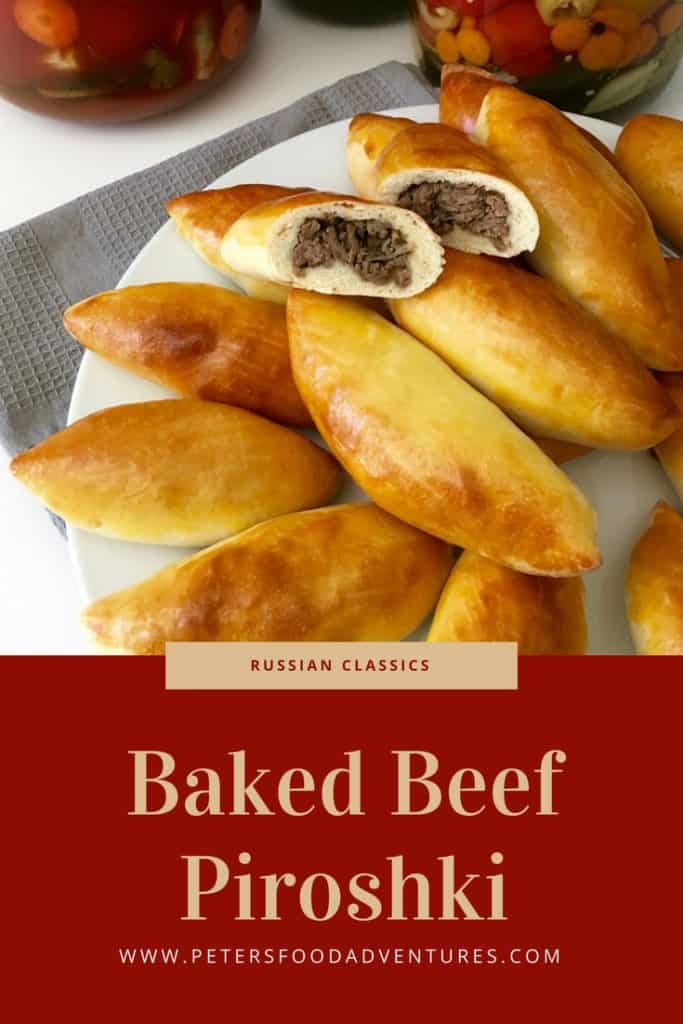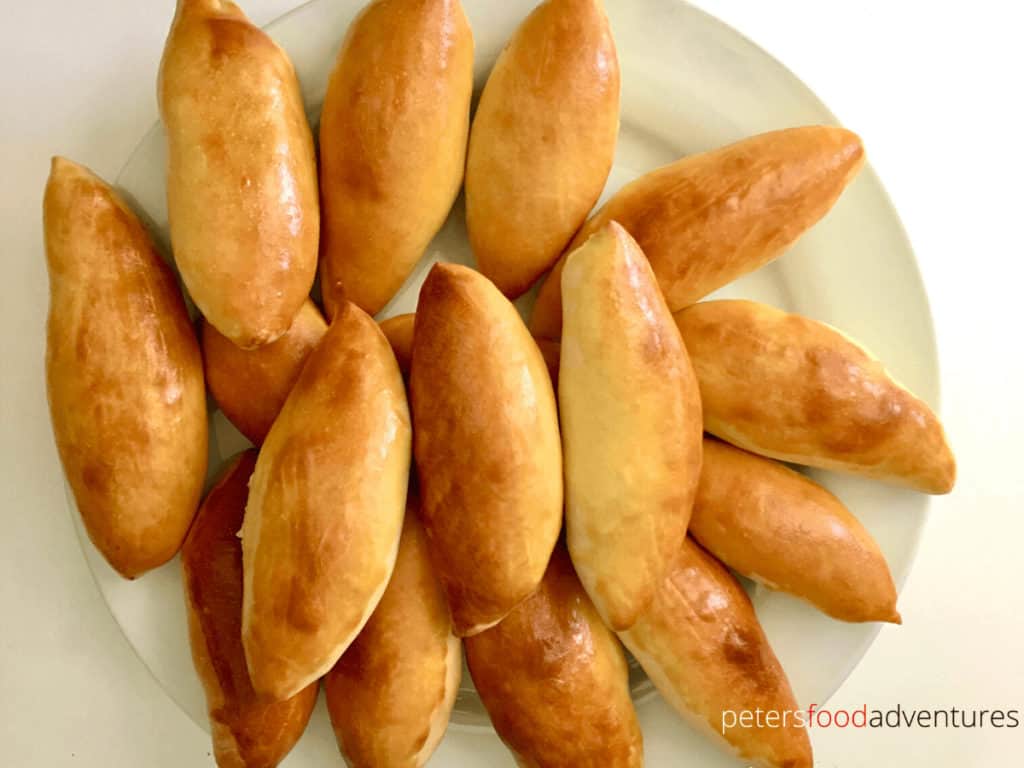
What are Pirozhki?
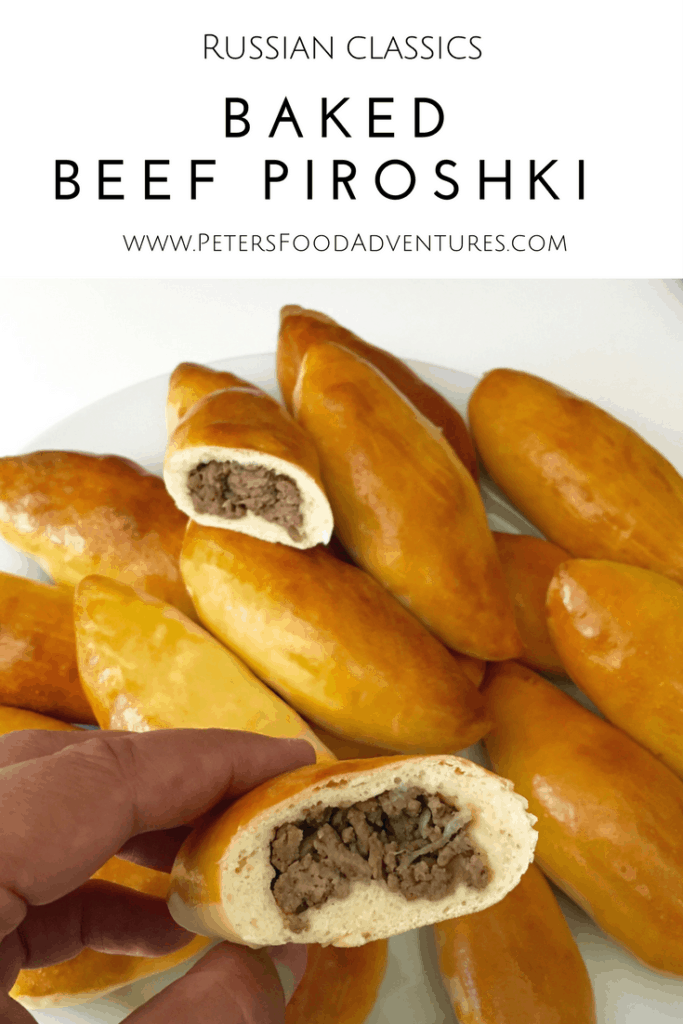
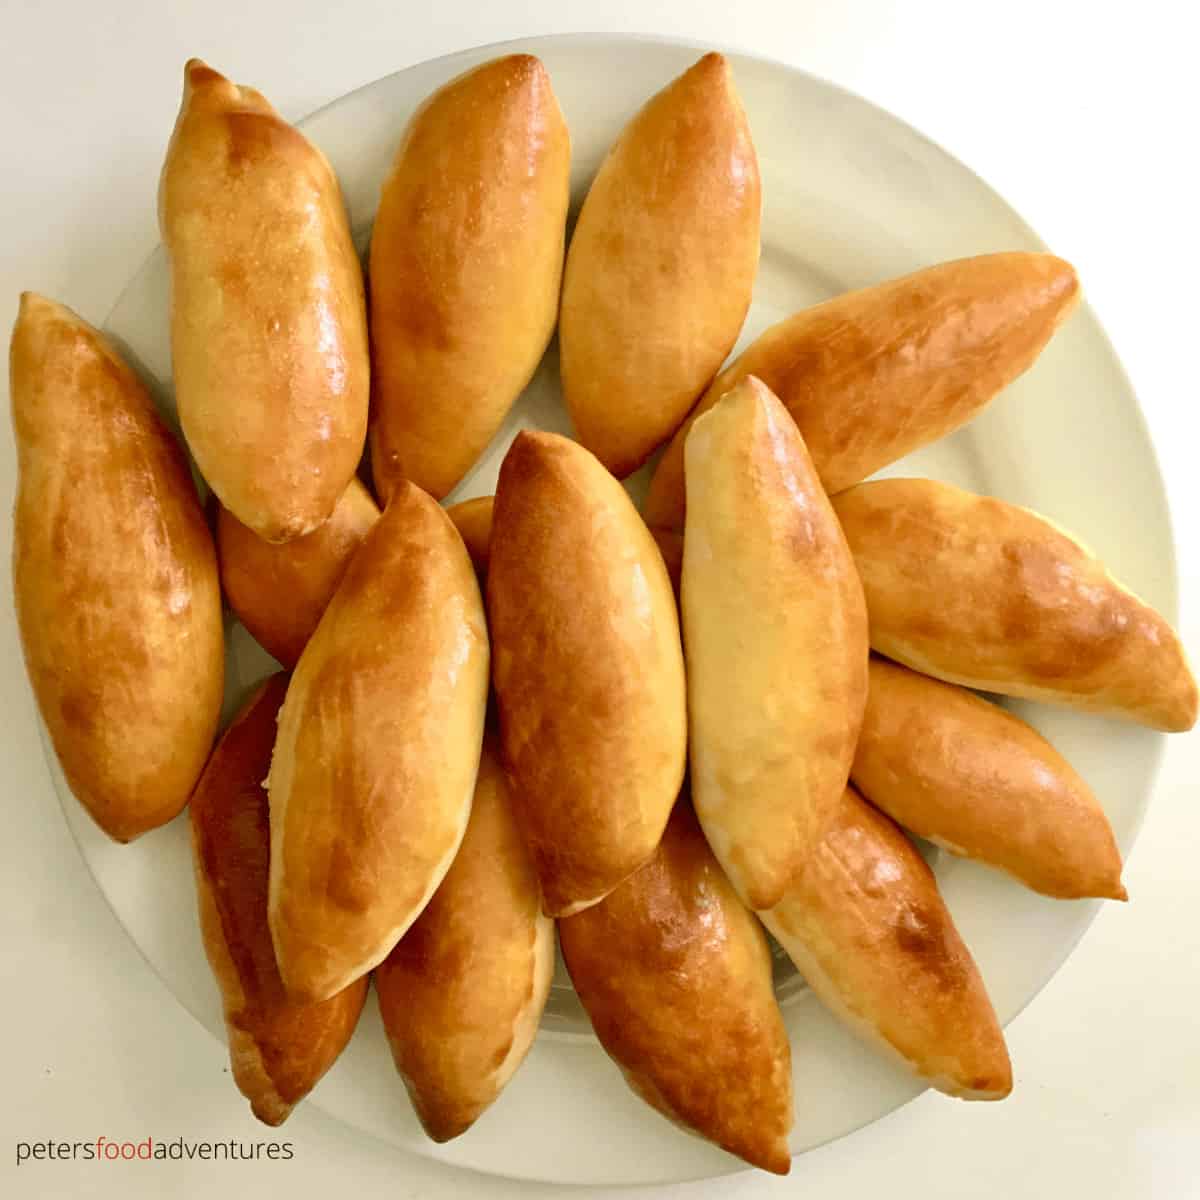
Pirozhki is simply the plural form of the Russian word pirozhok, meaning small pie. This recipe is a bunch of small meat pies. They are also sometimes called pirozhki, or Pīrāgi, depending of what part of Eastern Europe you're from. They were common around the USSR are now commonly found across Central Asian countries like Kazakhstan.
Baked Piroshki vs Fried
Around the world there are many variations of a meat pie, such as Empanadas, Samosas, Belyashi, and even the Pastie are all similar. Although commonly fried in oil, to bake it is much healthier and absolutely delicious. Either method is fine!
Pirozhki were originally baked in a 'Russian oven', which is a large centrally located masonry oven, which heats the house and cooks your food at the same time. It's been used in Russia since the 15th century. In Russian folklore, Baba Yaga (a Russian forest witch) would bake lost children in the same type of Russian oven. (No children were harmed in my baked pirozhki!) Thank goodness we use regular ovens now. 🤣
Some people prefer pirozhki baked, others like it fried. The recipe doesn't change, only the method of cooking. Fried in a frying pan, or baked on a baking sheet, you decide!
Pirozhki Dough
In today's day and age, we are always trying to find ways to save time. That's why I have 2 basic yeast dough recipes that I use. This recipe provides instructions for yeast dough made in a Bread Maker, but I have another recipe I use for traditional yeast dough. You can use either recipe you like with this filling.
When using a Bread Maker, it's such a time saver to throw in the ingredients inside the bread maker and in 90 minutes, you have yeast dough, ready to use! I really only use the Bread Maker for the dough setting if I am in a hurry and don't want to fuss with traditional dough. Check out the video for a traditional yeast dough recipe.
Filling Variations
We grew up eating several different variations of Piroshki, depending on the filling. It can be savoury with meat, beef and potatoes, cabbage or made sweet with fruit fillings. This is the classic baked beef pirozhki with onion recipe, which is so tasty. As kids, we would eat it with Ketchup, not so traditional, but I suppose Heinz Ketchup has invaded everywhere. Check out my different Piroshki recipes on my site.
Can You Freeze Pirozhki?
If you're going through all the work of making this recipe, double the batch and freeze what you can't eat. After the dough cycle is complete, remove the dough and start the second batch while you make the piroshki. They freeze perfectly to pull out for a quick delicious snack, or enjoy them alongside your homemade Shchi cabbage soup.
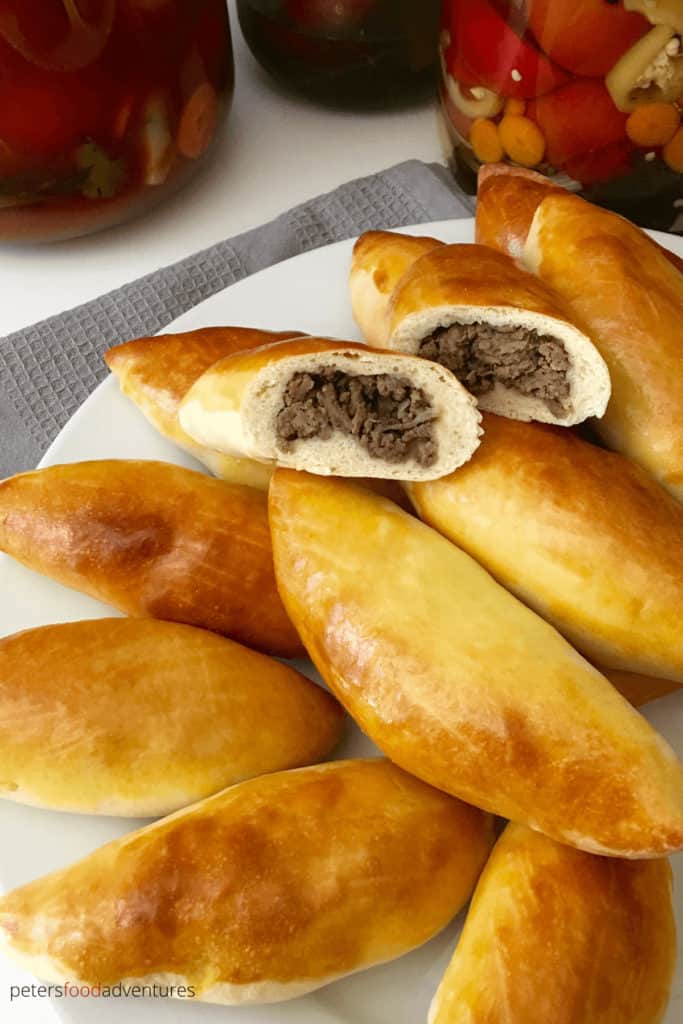
This is another high carb Russian comfort food I could eat everyday, but if I did, I would need to be careful not to become a giant pirozhok. Bon Appetit! Приятного аппетита!
Ingredients
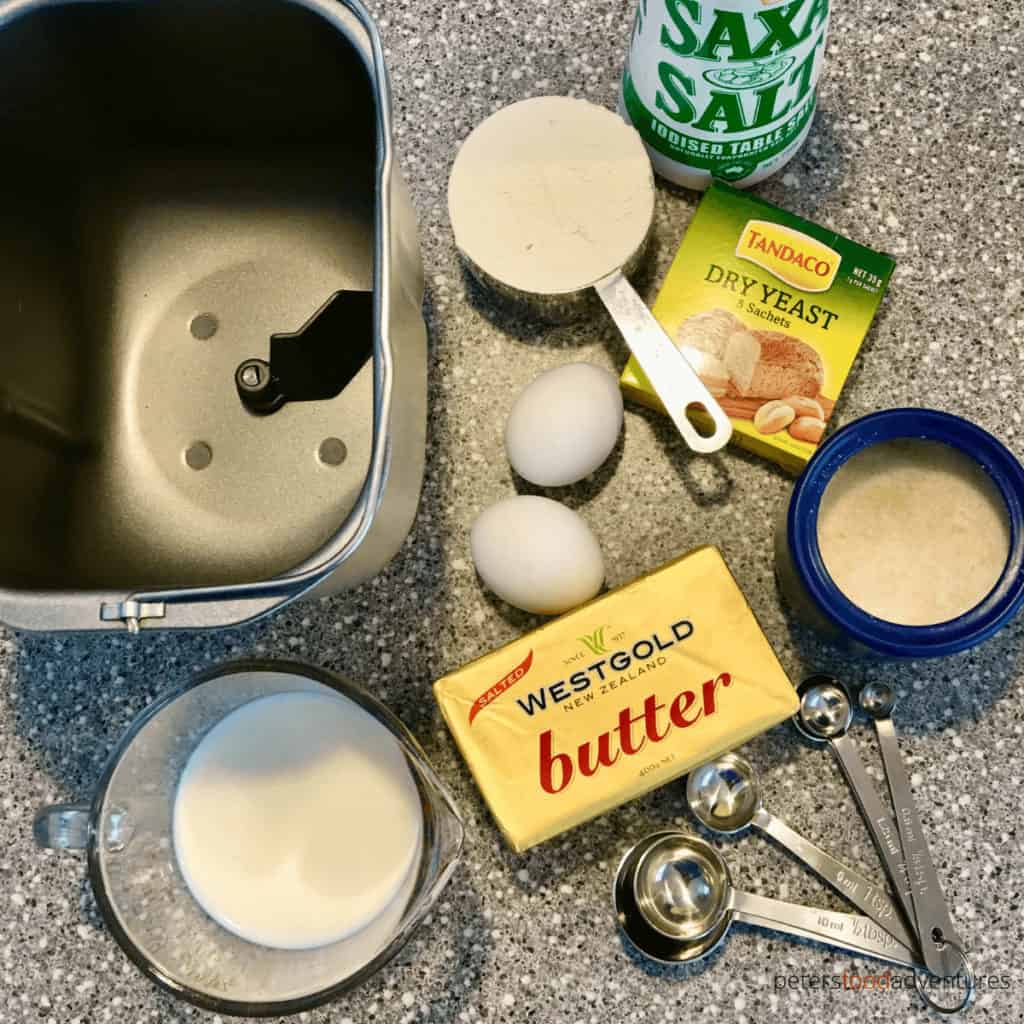
Ingredients for dough using a bread maker
- 1 cup milk lukewarm
- 2 eggs set aside 1 yolk for egg wash with 1 teaspoon whipping cream
- 3 tablespoons oil - using 15ml measure - melted butter is better
- 3 ⅓ cups of flour
- 1 tablespoon sugar
- 1 ½ teaspoons salt
- 2 teaspoons yeast - slightly less than a packet
Ingredients for meat filling
- 500 g lean ground beef
- 1 onion chopped finely
- ½ teaspoon salt as per your taste
- ½ teaspoon black pepper
Instructions
- Place ingredients, in the order listed, into your bread machine and select the dough program. Should take about 90 minutes to complete the dough cycle. Or prepare the dough as per video, the traditional way.
- In a frying pan, over medium high heat, the ground beef until cooked and evenly browned. Add onions and continue to fry until translucent. Add salt and pepper, taste and adjust if necessary and set aside to cool before adding to the dough.
- Preheat oven to 180°C/350°F
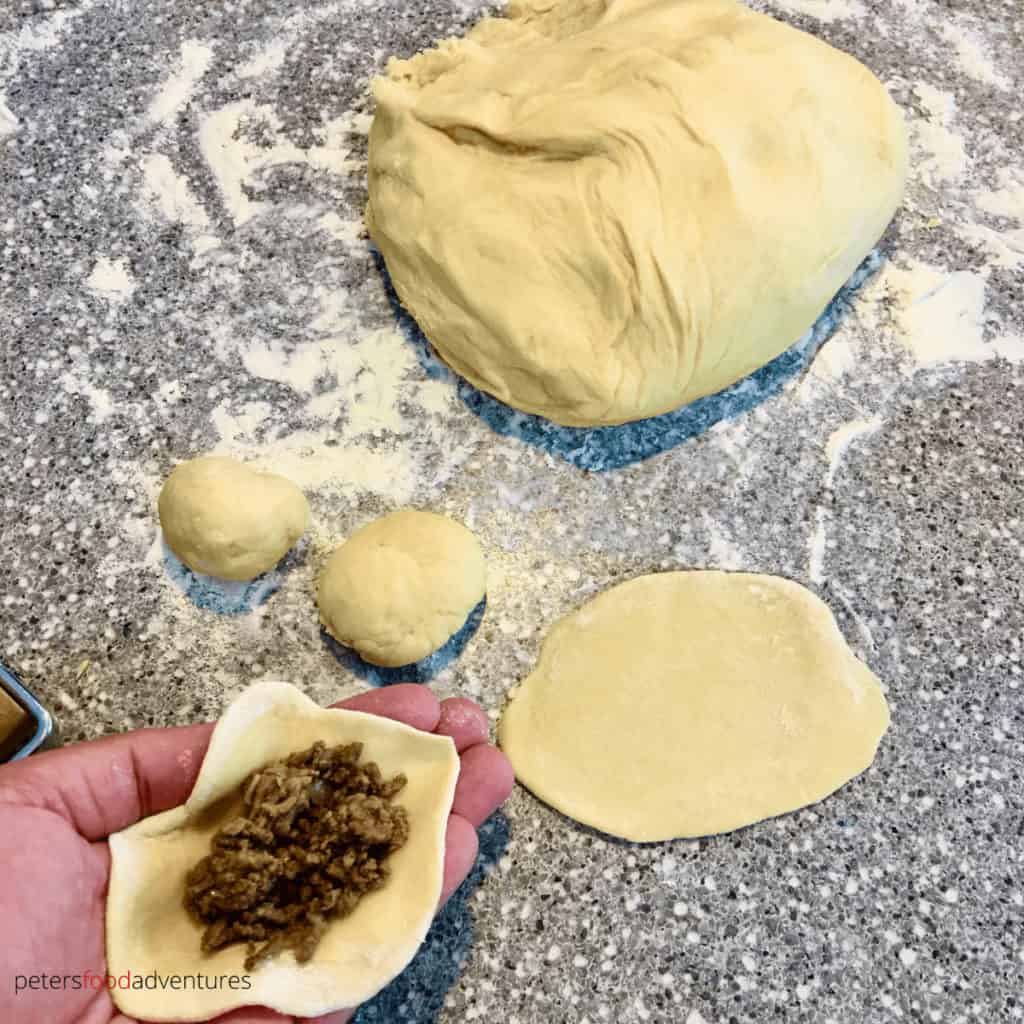
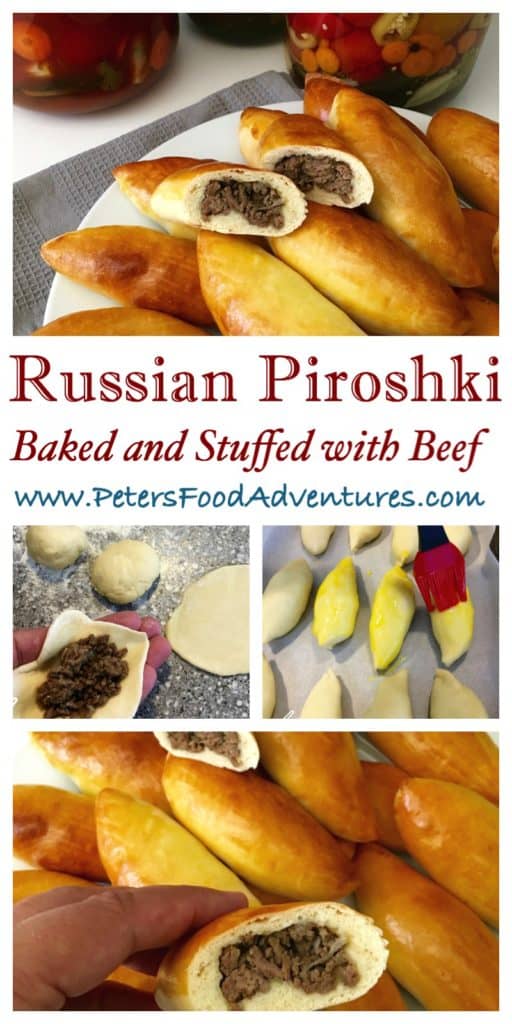
- When the dough is ready, carefully place onto a very lightly floured surface. Roll out the dough into a long sausage shape. You want to cut into pieces that are approx. the size of a golf ball. Or you can pinch off golf ball pieces from the dough. You should get at least 24 pieces from this recipe. Cover pieces you aren't working on with cling wrap so they don't dry out.
- Roll out the dough balls as thin as you can into the shape of an oval. Place about 1 tablespoon of the filling in the centre. Pinch both sides of the edges of the dough together, creating a seal all around. Don’t allow the filling to touch the edges or the seal will come apart.
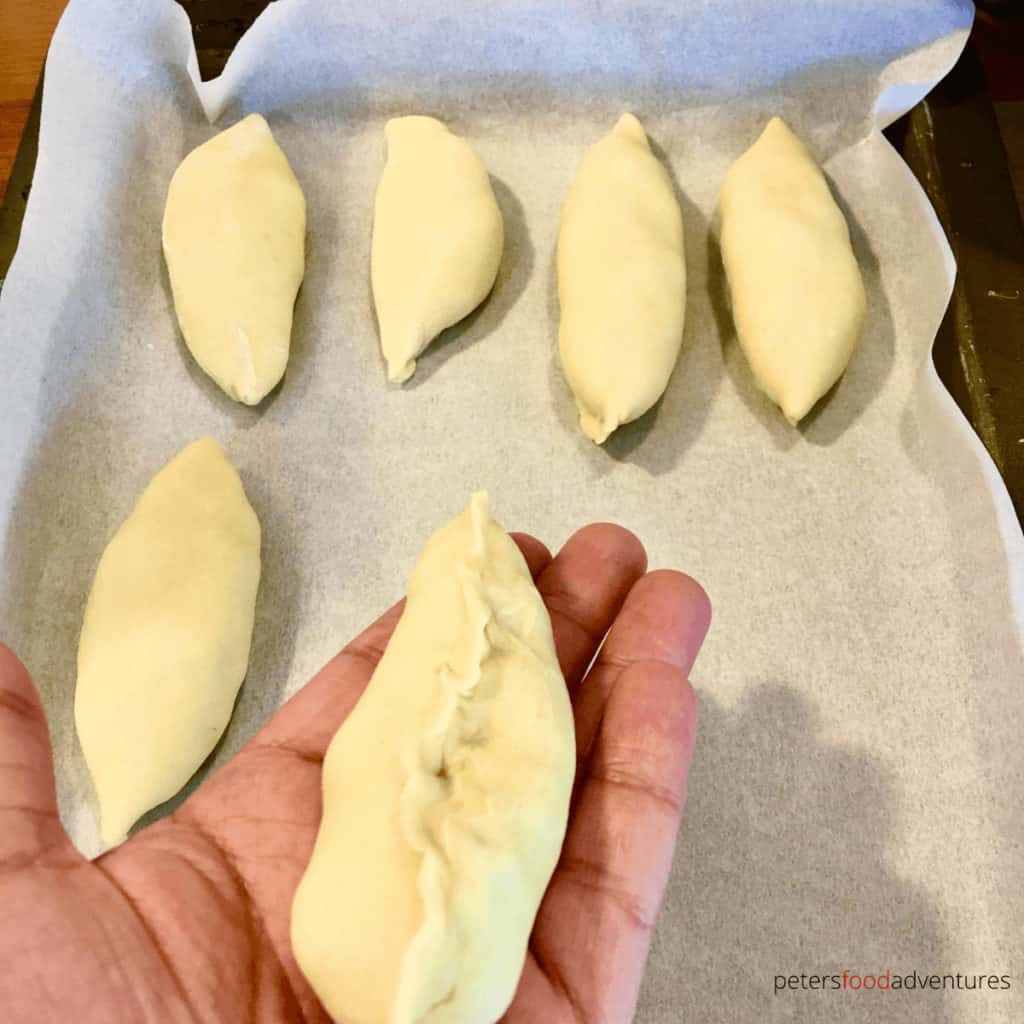
- Place the piroshki on parchment paper, or a lightly greased baking tray, upside down, so you cannot see the pinched seal, and flatten them a bit. Don't allow them to touch each other, as they will stick together.
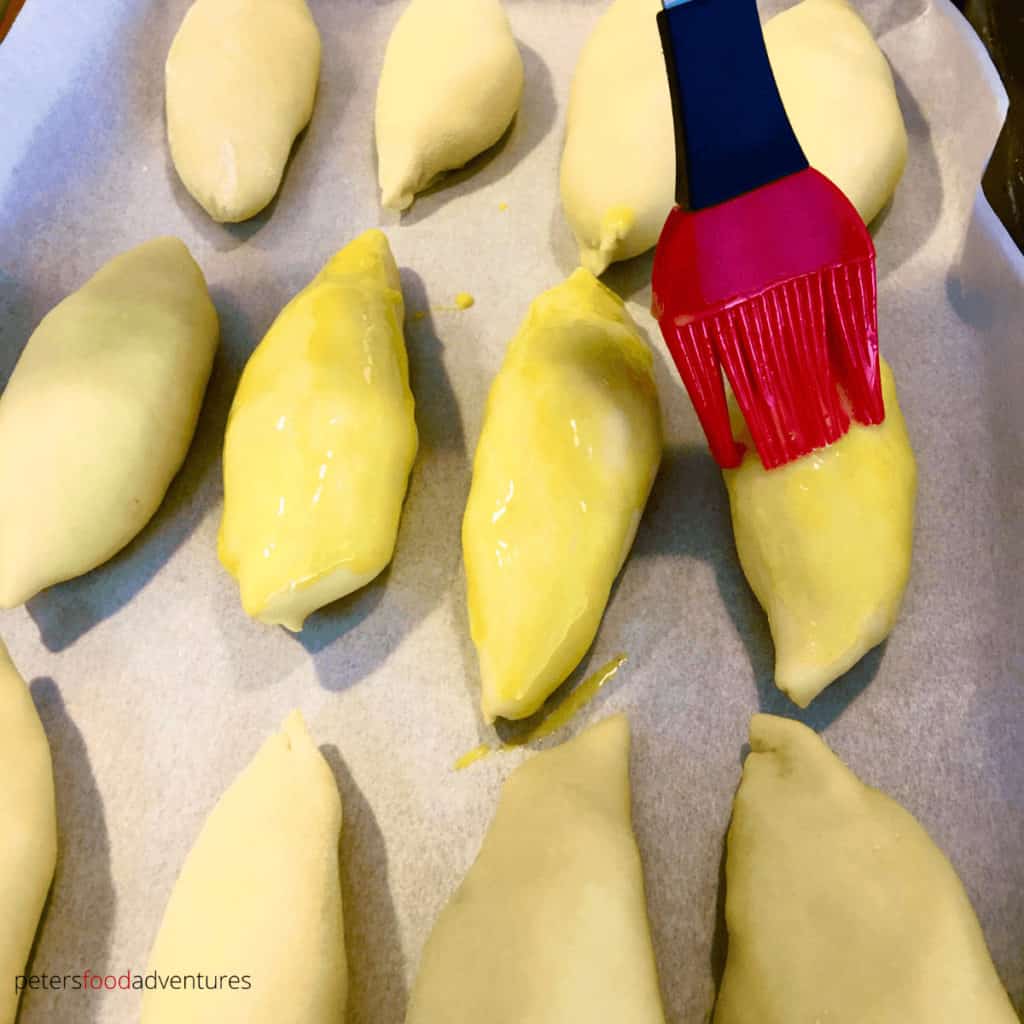
- Make the egg wash by beating the egg yolk with 1 teaspoon of whipping cream and brush the piroshki with the egg wash before putting into the oven.
- Place into the oven and bake until golden brown, about 15 minutes.
©PetersFoodAdventures.com

